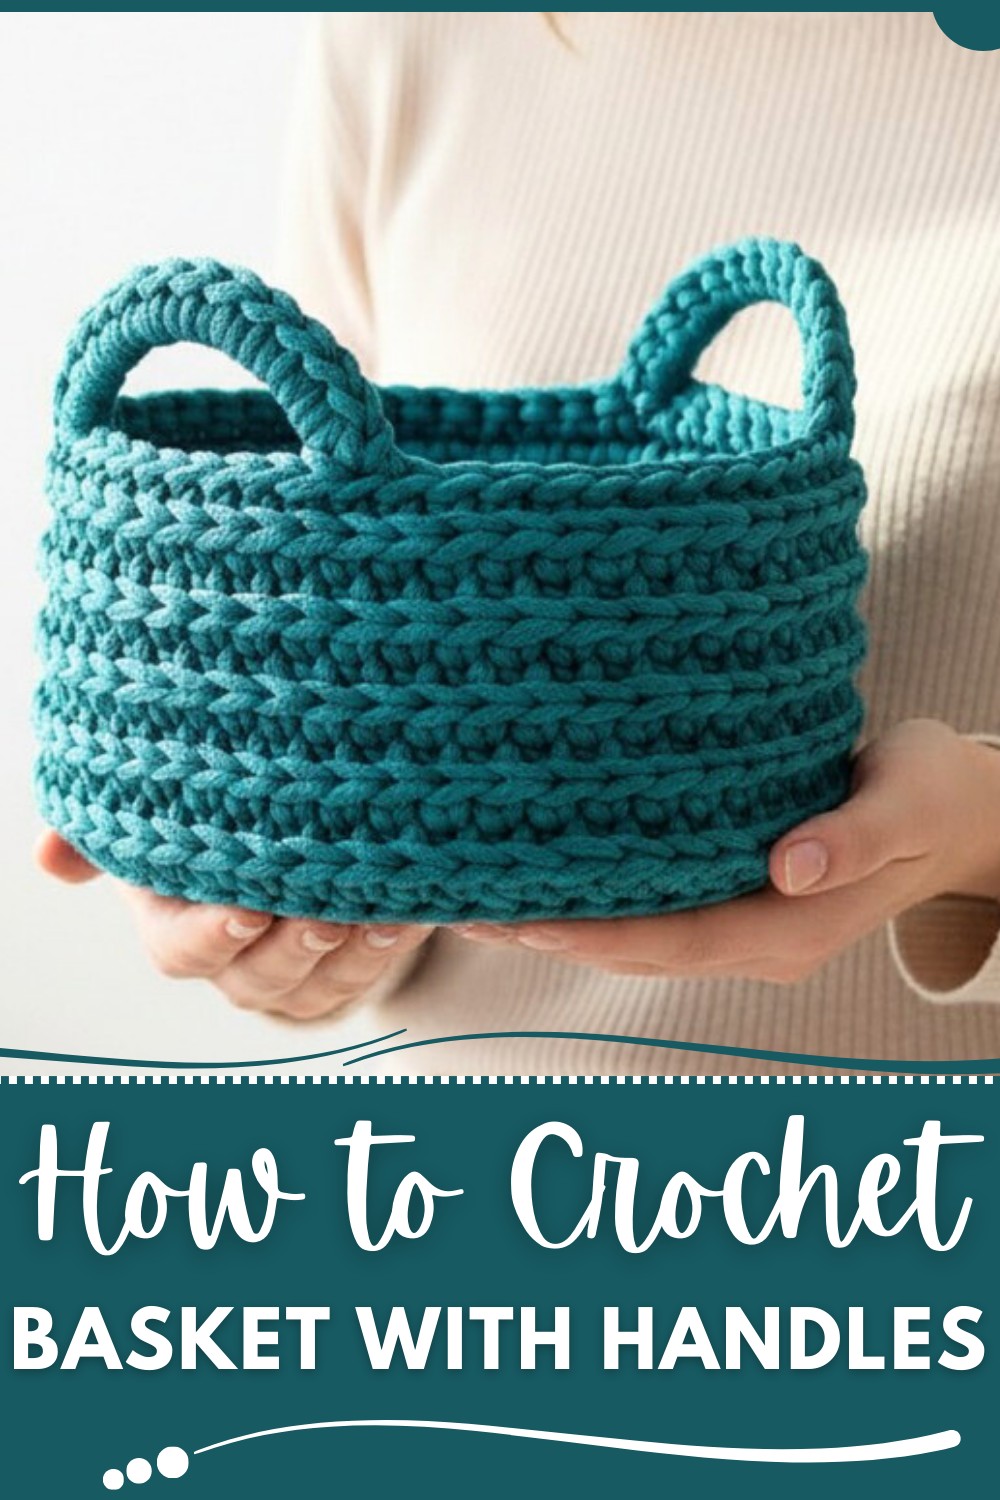
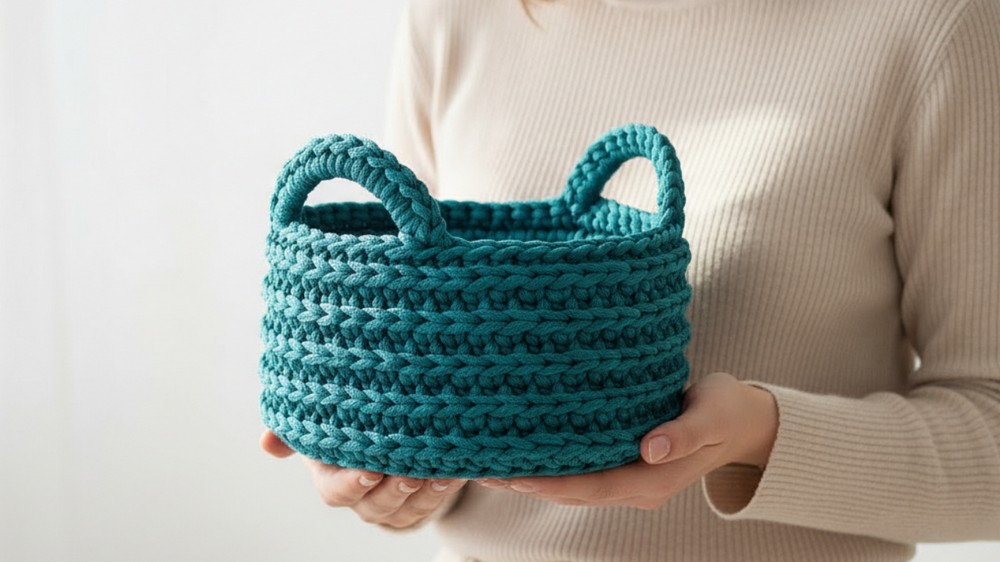
Needing a stylish way to organize your home, but nothing quite fits your aesthetic or budget. That’s where a crochet basket with handles becomes your creative solution. This easy-to-follow design lets you crochet a chic, durable basket perfect for storing everything from yarn and blankets to toys and household essentials.
With sturdy handles, it’s not just practical but portable, great for quick clean-ups or moving items around. Customize it with vibrant colors or neutral tones to match your decor style. Whether you’re looking to declutter or add a handmade touch to your space, these baskets are both functional and beautiful. Plus, they make thoughtful handmade gifts for loved ones who’ll appreciate their utility and charm.
Trendy Crochet Basket with Handles to Match Any Decor
Materials List
Supplies Required:
- Yarn Type:
- Polyester cord (5mm thickness) for durability and structure.
- Approximately 60 meters for a basket 18cm tall with a 16cm base diameter.
- Alternative: Knitted yarn or jute for varying textures and appearances.
- Crochet Hook:
- 6mm hook (US Size J).
- Additional Tools:
- Tapestry needle (large eye, for weaving ends).
- Scissors.
- Optional: Stitch markers (to mark significant points, such as handle positions).
- Extra Thread:
- Approximately 60cm of yarn/cord, used for creating neat row connections.
FREE Crochet Basket with Handles Pattern
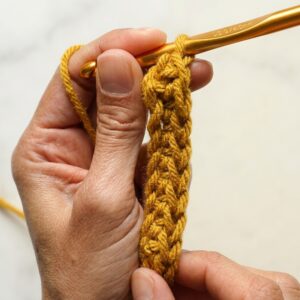
This tutorial explains how to create a beautiful basket with handles using single crochet rows and textured effects. The robust design with handles is ideal for storage and decorating interiors. The pattern involves working single crochet stitches, creating a textured braid effect through split stitches and jumpers, and carefully incorporating handles into your basket.
Skill Level
- Intermediate: Knowledge of basic crochet stitches, seamless connections, and understanding split stitch techniques are required.
Key Abbreviations (US Terminology)
- CH: Chain
- SC: Single Crochet
- SL ST: Slip Stitch
- FLO: Front Loop Only
- ST: Stitch
Special Notes
- Consistent Loops: For a clean and symmetrical texture, ensure all loops are evenly sized when pulling yarn through stitches.
- Row Connections: Use the extra thread to connect rows seamlessly, creating a uniform and professional finish.
- Customization: Handle size, basket height, and width can be easily adjusted to suit varying needs.
Step-by-Step Instructions
Bottom
- Foundation Circle:
- Begin with the perfect circle technique. Make a magic ring or start with CH 4 and join with SL ST to form a ring.
- Work 12 DC into the ring. Pull tight and join with a SL ST into the first DC.
- Circular Rows:
- Continue increasing based on standard circular growth patterns:
- Round 2: (1 DC, 1 increase) repeated around (total: 24 ST).
- Round 3: (2 DC, 1 increase) repeated around (total: 36 ST).
- Round 4: (3 DC, 1 increase) repeated around (total: 48 ST).
- Keep increasing until you reach 9 rounds or your desired base diameter (16cm in tutorial).
- Continue increasing based on standard circular growth patterns:
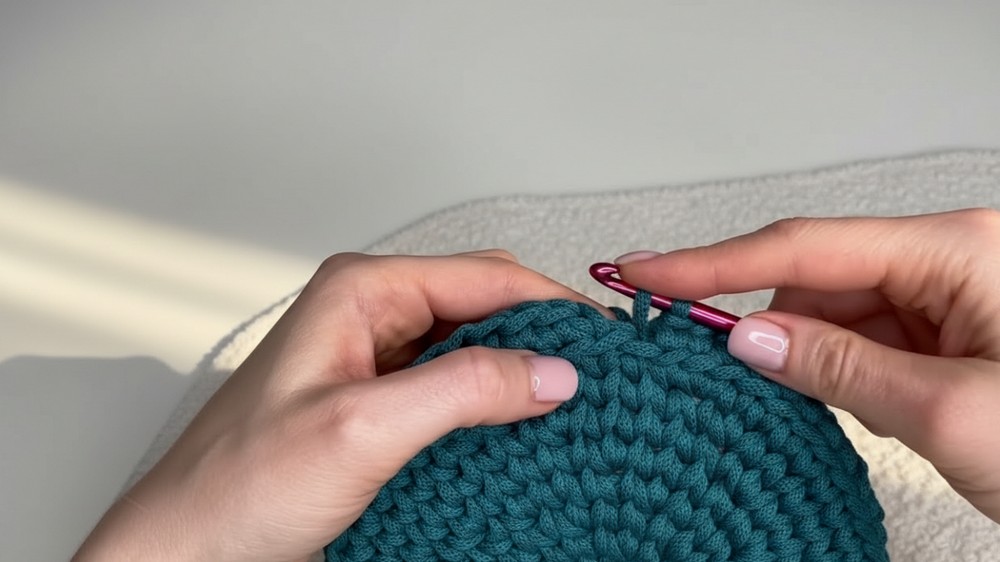
- Final Row Connection:
- After the last round of the base, join with a SL ST, ensuring edges remain clean.

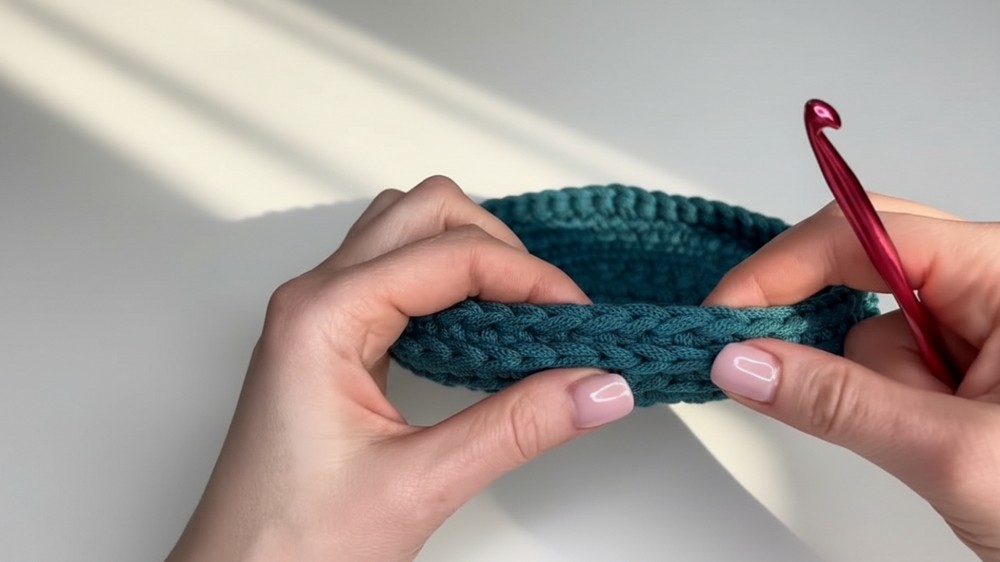
Walls
- Transition to Walls:
- Work 1 SC into the far loops of each stitch in the final row of the base.
- Additionally, capture the small "jumpers" beneath the loop for added structure.
- As you crochet, attach a 60cm strand of extra thread along the base. This thread will assist in creating perfect row connections later.
- Foundation Row for Walls:
- Continue working SC stitches into far loops and jumpers.
- At the end of the row, tie the last SC using the extra thread. Pull the thread to match loop sizes and connect the row seamlessly.
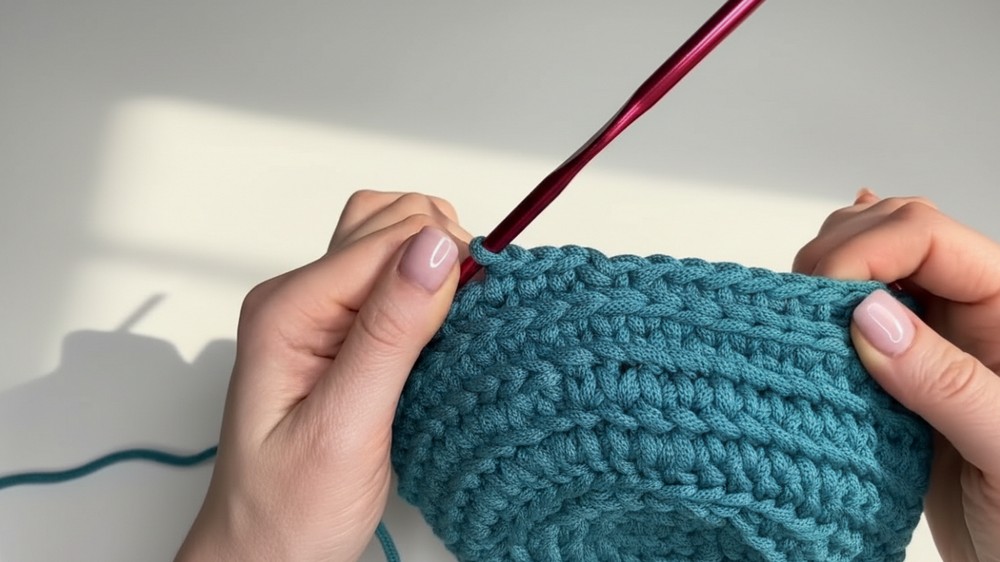
- Wall Pattern:
- Alternate between SCs worked into jumpers and SCs worked into the split of the legs from the previous row.
- For odd rows, work SCs directly into the split between stitch legs (creates braid-like texture).
- For even rows, work SCs into jumpers (forms clean stripes).
- Continue this pattern until you complete 10 rows of the basket wall.
- Alternate between SCs worked into jumpers and SCs worked into the split of the legs from the previous row.
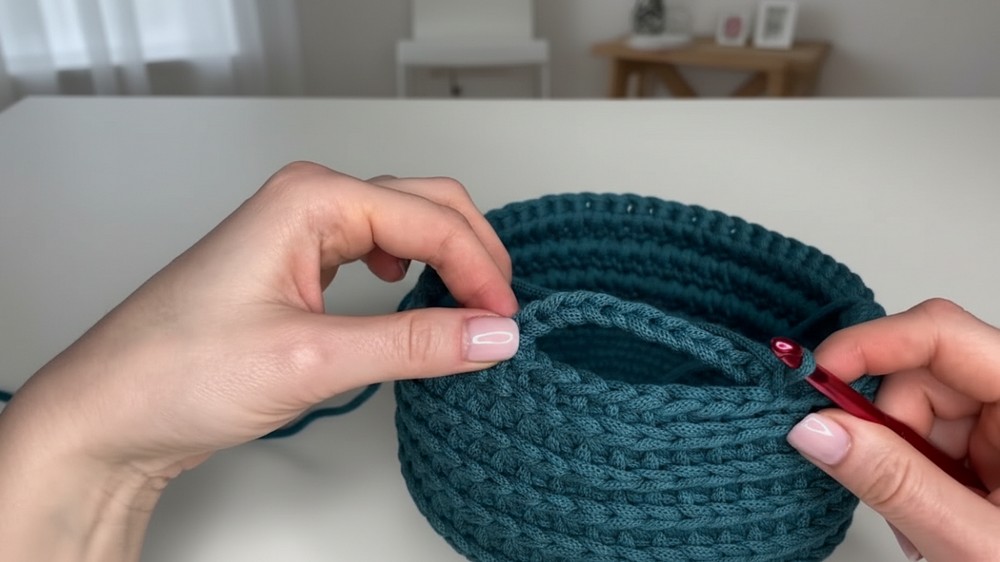
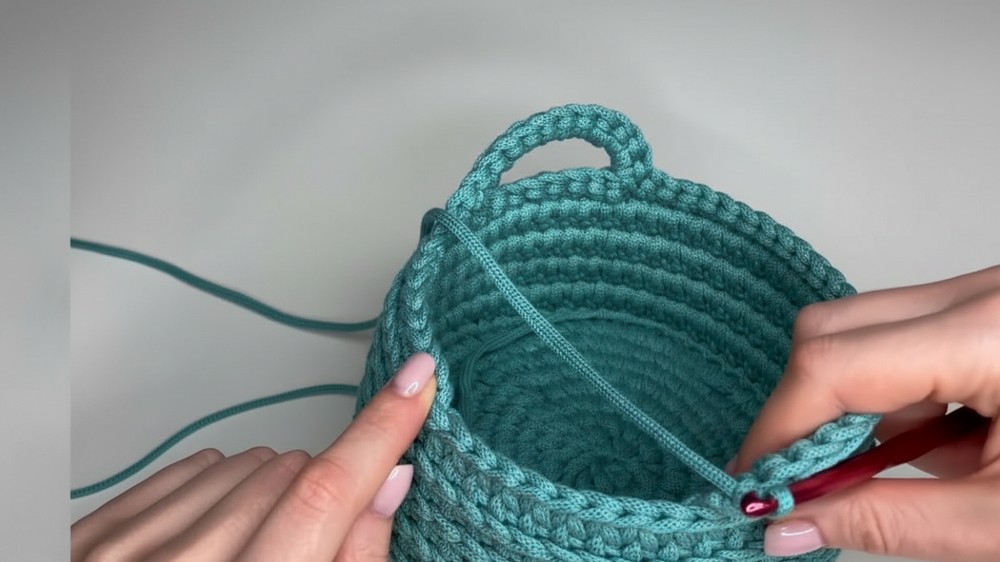
Handles
- Creating the Handles (Row 10):
- Begin the tenth (final) row:
- Work 10 SCs into the back jumpers before starting the first handle.
- Chain 12 loops to form the handle.
- Begin the tenth (final) row:
- Attaching Handle:
- Skip 10 stitches, then connect the handle by diving into the 10th ST (through the far loop and jumper).
- Pull the handle's final loop through, securing it.
- Forming the Handle Chains:
- Work 12 SCs directly into the handle chain to reinforce the handle.
- After completing the handle, continue working 17 SCs into the back jumpers to reach the position of the second handle.
- Second Handle:
- Repeat the process, creating another 12-chain loop for the second handle.
- Skip 10 stitches, attach the handle as before, and work 12 reinforced SCs into the chains.
- Final Connection:
- Finish the remaining stitches of the row with SCs into jumpers.
- Join with the extra thread for a seamless connection.
Finishing
- Hiding Ends:
- Weave in the ends using the tapestry needle. Place ends beneath stitch legs for a clean finish.
- Trim any excess threads.
- Edge Reinforcement:
- Optionally, work a round of SL ST or SC across the top edge to firm up the basket's opening.
Tips for Success
- Consistent Stitch Sizes: Stretch loops gently to maintain a uniform appearance. Inconsistent loops will distort the braid-like texture.
- Handle Symmetry: Count carefully between handles to ensure they are evenly spaced.
- Thread Connections: Use the extra thread to create clean, seamless connections between rows, appearing professional and polished.
Customization Ideas
- Size Variations:
- For a larger basket, increase the number of rows in the base and extend the wall's height proportionally.
- For a smaller basket, reduce the number of increasing rounds in the base and shorten walls.
- Color Customization:
- Choose contrasting yarn for handles to add flair.
- Alternate colors in the wall rows (e.g., stripes or gradients).
- Material Options:
- For rustic baskets, use jute for a natural aesthetic.
- Soft yarn creates delicate baskets for lightweight storage.
Conclusion
This basket with handles is a sturdy, practical, and visually appealing storage option for interiors. The textured pattern formed by alternating SC techniques creates a unique braided effect, while the handles make the basket functional for carrying or organizing items. Once completed, the basket measures approximately 18cm in height and 16cm in diameter.