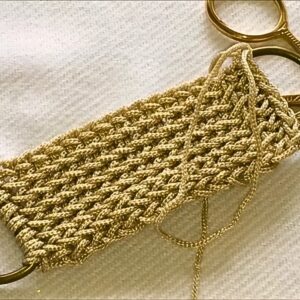
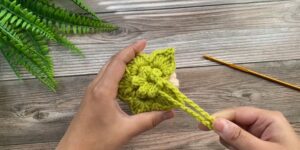
Holding a soft and colorful crochet carnation flower, crafted lovingly with yarn and a crochet hook. This little flower brings a burst of joy and a touch of nature into your home without ever wilting.
Softer Crochet Carnation Flower

Creating it is like painting with threads, where each stitch adds a petal, and every row brings the flower to life. It's a small, cozy project that you can tuck into whenever you have a moment, whether you're curled up on your couch or soaking up the sun in a park. Once you're done, this crochet carnation stands as a sweet token of your creativity, ready to brighten any corner, be a charming gift, or simply make you smile.
Materials Needed:
- Yarn
- Crochet hook
- Darning needle
- Scissors
- Wooden dowels
- Hot glue gun
Crochet Pattern:

Starting the Base:
- Create a magic circle and chain one.
- Single crochet six into the magic circle.
- Slip stitch into the first single crochet to close the row and chain one.

Row Two (Increase Round):
- Half double crochet two in each stitch around (an increase in each stitch). There should be 12 half double crochets at the end.
- Slip stitch into the first stitch and chain one.

Row Three (Alternating Increase Round):
- Half double crochet into the first stitch.
- In the next stitch, do two half double crochets (increase).
- Repeat this pattern around. You should end up with 18 stitches.
- Slip stitch into the first stitch but do not chain one. Instead, switch to a color of your choice, making a slip stitch and then chain one with the new color.
Subsequent Rounds (Continued Increases):

- Continue increasing in each stitch as instructed, putting two half double crochets in each stitch around.
- At the end of this round, you should have 36 stitches.
- In the next round, repeat the increase pattern. You will have 72 stitches by the end of this round.
Finishing the Top:
- After achieving 72 stitches, slip stitch into the first stitch and chain one to end the row.
- Chain three, then slip stitch the chain three into the next stitch. Continue this for the entire round.
- Once you reach the end, slip stitch again and chain one to close off the row.

Securing and Adding the Wooden Dowel:
- Tie off the yarn and cut, leaving a long tail.
- Use the darning needle to weave the tail in and out of the last row, pulling tight to close the top.
- Secure the end with a couple of knots.
- Insert the wooden dowel into the center.
- Use a hot glue gun to apply a bit of glue to the top of the dowel.
Wrap green yarn around the dowel, applying more glue at the end to secure it.
Remember to smooth out the glue with your finger for a clean finish.


