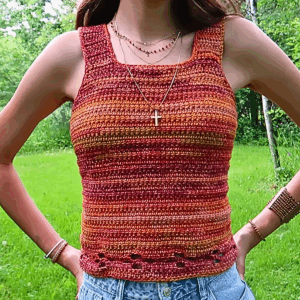
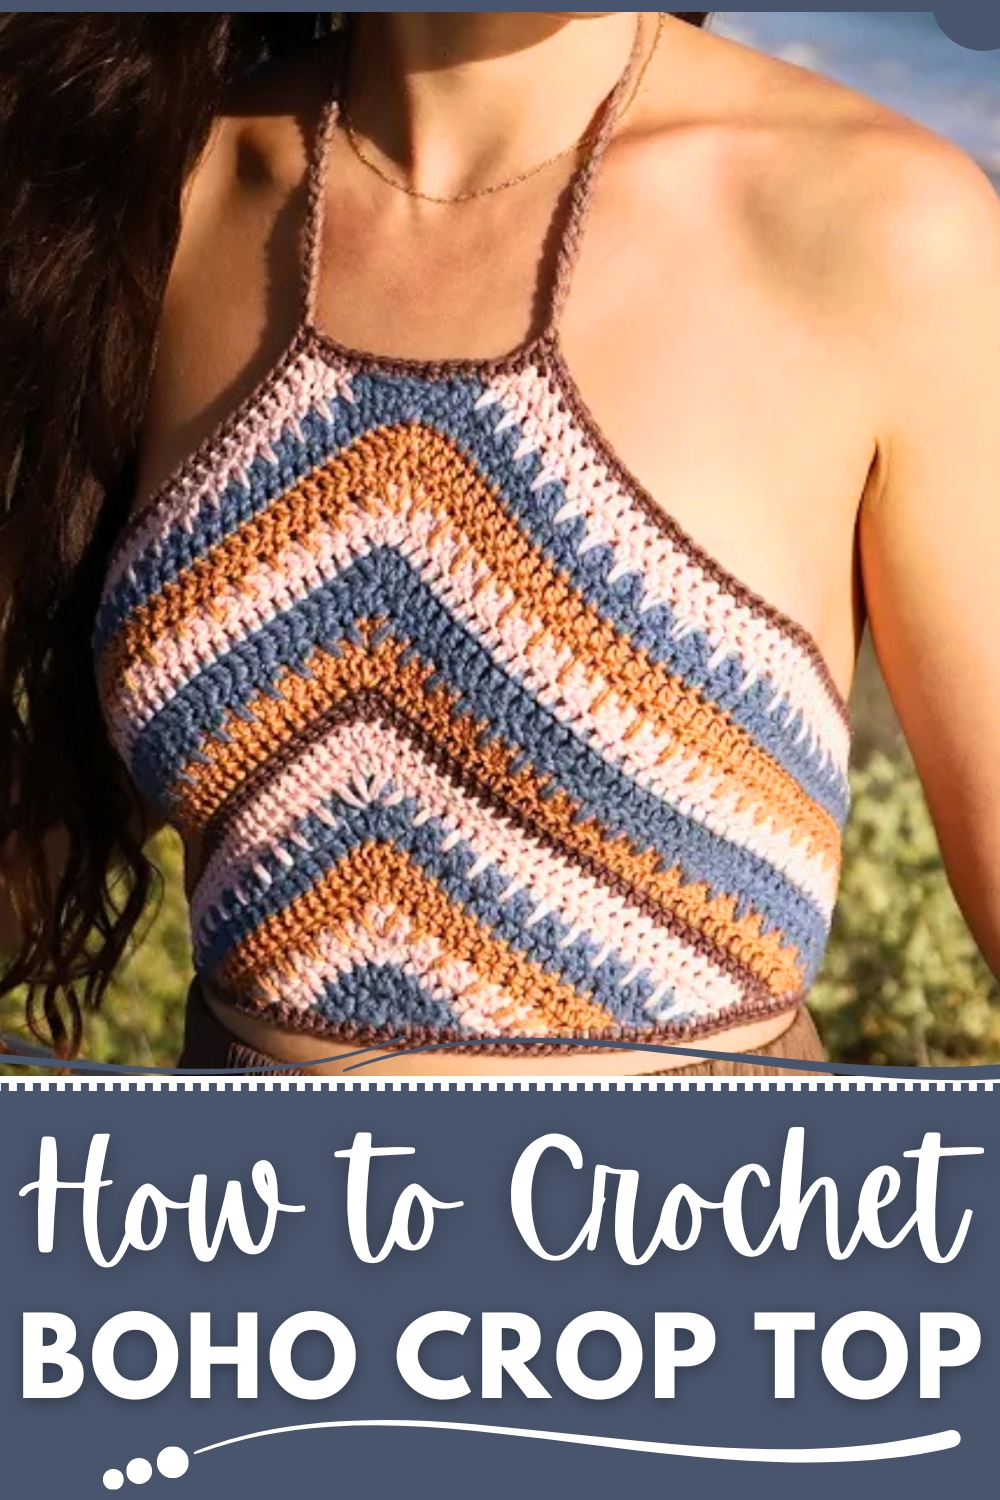
A sunlit afternoon at a local market brings a lively crowd, laughter mixing with the soft rustle of fabric as a casually stylish crop top catches attention with its airy texture and flattering fit. The Free Crochet Boho Crop Top pattern turns simple yarn into a versatile wardrobe piece that balances comfort, breathability, and effortless charm. Perfect for warm days, music festivals, beach outings, or casual strolls, its lightweight construction allows ease of movement while keeping the wearer cool and stylish.
Easy Crochet Boho Crop Top Pattern which Feels Soft
The crochet stitches create subtle texture and visual interest, giving the garment character without overwhelming simplicity. Adjustable sizing ensures a comfortable fit for various body types, while color choices allow personal expression or seasonal coordination. Working on this crop top provides a meditative rhythm for crocheters, combining repetition with creative satisfaction as each stitch forms a wearable piece of art.
Beyond personal wear, it serves as a thoughtful gift, offering warmth, style, and the quiet appeal of handmade effort. Each completed top embodies patience, focus, and attention to detail, turning a simple accessory into a meaningful addition to everyday outfits. From casual adventures to special outings, this crochet crop top adds charm, comfort, and a subtle statement of creativity to any occasion.

Step-by-Step Instructions
1. Materials Needed
- Yarn: 4 colors of medium-weight (#4) yarn.
- Crochet Hook: 3.75mm hook.
- Additional Tools: Scissors and a yarn needle for weaving in ends.
- Optional: A stitch marker, to mark key points in the pattern.
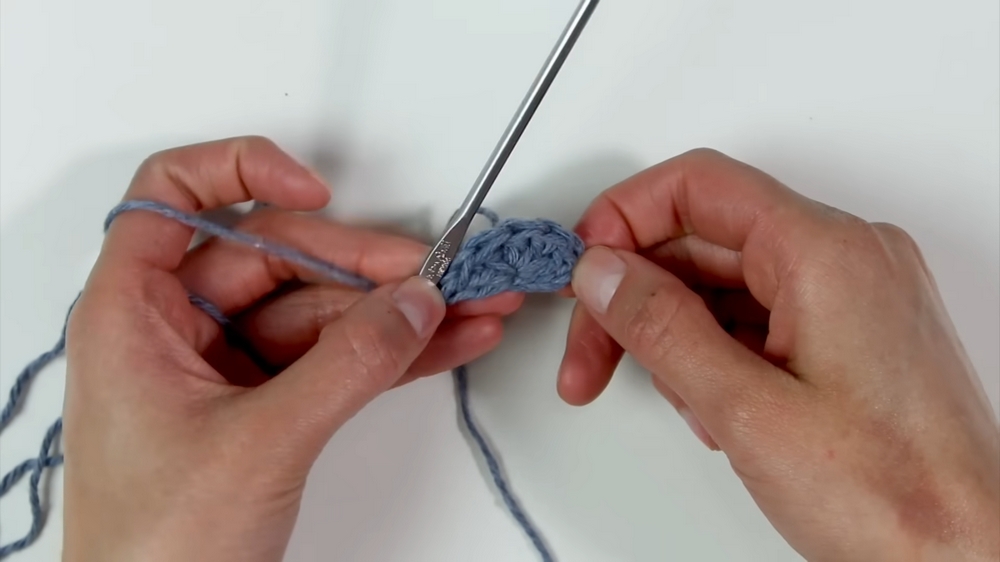
2. Creating the Foundation Row
- Start with Color A:
- Tie a slip knot on your hook and chain 4.
- In the first chain, work 6 double crochets (DC).
- The 3 chains in the beginning count as your first double crochet, so you should have 7 double crochets total at the end of this row.
- Row 2 - Increase Row:
- Chain 3, turn your work, and double crochet in the first stitch.
- Double crochet in the next 2 stitches.
- In the middle stitch, work 5 double crochets to form the midpoint.
- Double crochet in the next 2 stitches, then double crochet twice into the last stitch.
- You should end this row with 13 stitches (6 more than the previous row).
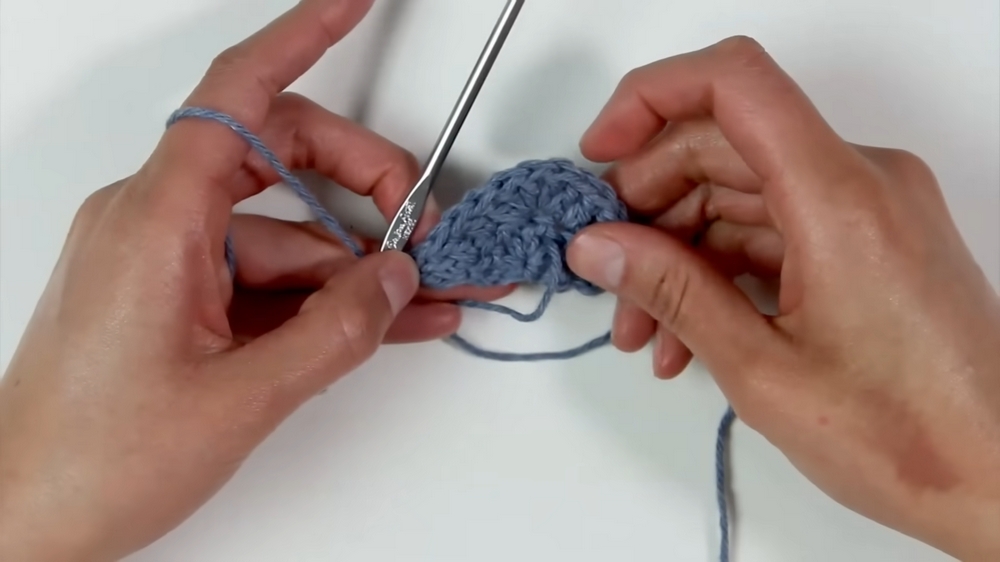
- Row 3 - Adding Color B:
- Change to Color B using Amanda’s clean color-change method:
- Before finishing the last double crochet of Row 2, undo the final pull-through.
- Tie on the new color, then pull it through to complete the last double crochet.
- Repeat the same pattern as Row 2, increasing at the midpoint.
- At the end, you will have 19 stitches.
- Change to Color B using Amanda’s clean color-change method:
3. Alternating Regular Rows and Spike Stitch Rows
- Regular Rows:
- Continue crocheting rows where each one increases by 6 stitches.
- Work 5 double crochets into the midpoint of the previous row.
- Double crochet twice in the last stitch of each row.
- Spike Stitch Rows (Introduced in Row 5):
- Alternate between regular double crochets and spike double crochets:
- For a spike double crochet, insert the hook into the corresponding stitch of the row below the previous row, forming a longer stitch.
- Maintain increases in the midpoint and the edges as usual.
- Spike stitch rows provide texture and visual interest.
- Alternate between regular double crochets and spike double crochets:
4. The Color and Row Pattern
- The color sequence alternates between Colors A, B, and C, with Color D introduced later (Row 11).
- The rows alternate following this pattern:
- Spike double crochet row, followed by three regular double crochet rows.
- Keep working the pattern until you complete Row 20 with consistent 6-stitch increases per row.
5. Shaping the Neckline
- Row 21:
- Mark the 56th stitch with a stitch marker.
- Double crochet across the row until reaching the marked stitch.
- From there, create shaping:
- Work single crochets and slip stitches into the marked area to flatten the neckline.
- Continue double crocheting to finish the row.
- Row 22:
- After flattening the neckline, reduce the row length:
- Work back and forth on one half of the top, stopping at the center midpoint.
- Use a spike stitch pattern for extra texture.
- Repeat this process on the opposite side to even out the neckline shape.
- After flattening the neckline, reduce the row length:

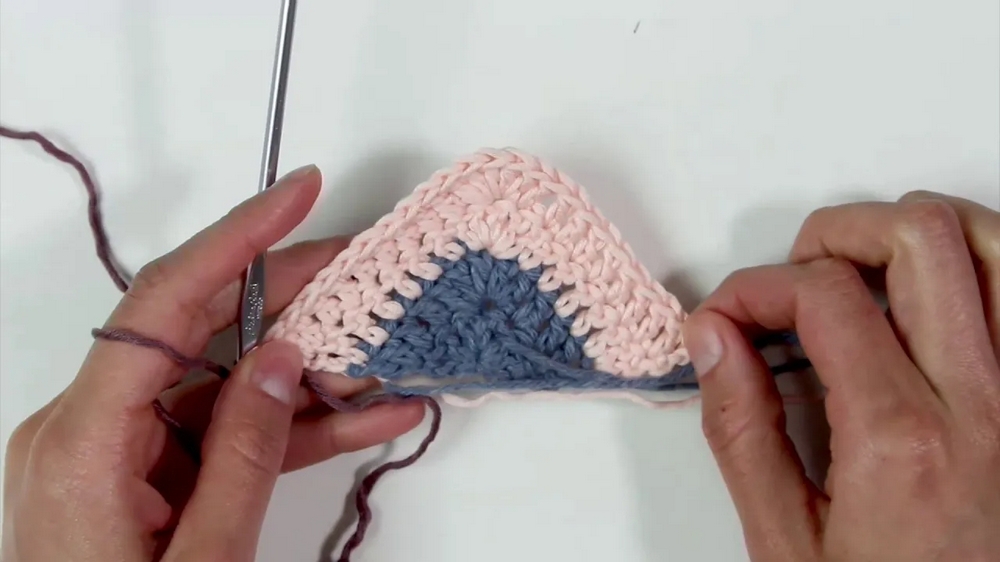
6. Adding the Trim
- Bottom Edge:
- Begin at the bottom edge of the halter top.
- Work half double crochets (HDC) evenly across the bottom.
- In the corners, work 4 half double crochets to create a rounded edge.
- Continue the HDC rows along the sides and top edges.
- Creating Strap Loops:
- At the top corners, create chain spaces for attaching straps:
- Half double crochet, chain 1, and HDC again into the same corner stitch.
- At the top corners, create chain spaces for attaching straps:
7. Adding the Straps
- Neck Straps:
- Cut 5 pieces of yarn, each at 70 inches.
- Loop the yarn through the chain space in the corner, pulling it halfway through to form 10 strands.
- Separate the strands into groups of 3, 3, and 4, and braid.
- Tie off the end and trim to form a tassel.
- Back Strap:
- Cut 9 pieces of yarn at 65 inches each.
- Tie a knot at one end of the strands and braid following the same method.
- Lace the back strap through the holes in the top and tie.

Special Features
- Adventure-Inspired Design: The halter’s pattern and colors evoke a sense of carefree summer fun.
- Customizable Colors: Choose any 4 colors to personalize your top.
- Textured Spike Stitches: Alternating rows of spike stitches offer a beautiful and unique texture.
- Adjustable Straps: Braided straps and lacing make the top adjustable to fit your body shape comfortably.
Level of Difficulty
- Intermediate:
- Basic stitches such as double crochets are used, but the addition of spike stitches, color changes, and neckline shaping may challenge beginners. Guidance is clear for those ready to tackle new techniques.
Tutor's Suggestions
- Color Changes: Amanda recommends undoing the last pull-through of the previous color and tying on the new color for a seamless transition.
- Neat Finishing: Weave in ends as you go to save time during final assembly.
- Count Stitches: Since each row increases by 6 stitches, count your stitches regularly to ensure accuracy.
Uses and Materials
- Uses:
- Wearable as a casual summer top or styled for festivals and beach outings.
- A wonderful gift for friends or family members.
- Materials:
- Medium-weight acrylic or cotton yarn in 4 colors.
- A lightweight yarn works best for drape and comfort.
Pro Tip
For a polished look, take the time to block your halter top after finishing. Blocking will help the stitches settle, even out the shape, and enhance the overall fit of the piece.
Conclusion
The Crochet Boho Crop Top is a versatile, adventure-ready crochet piece that balances beauty and practicality. The textured stitches, clever use of colors, and adjustable fit make it a standout summer creation. Whether you’re a seasoned crocheter or looking to advance your skills, this project combines creativity and functionality.