
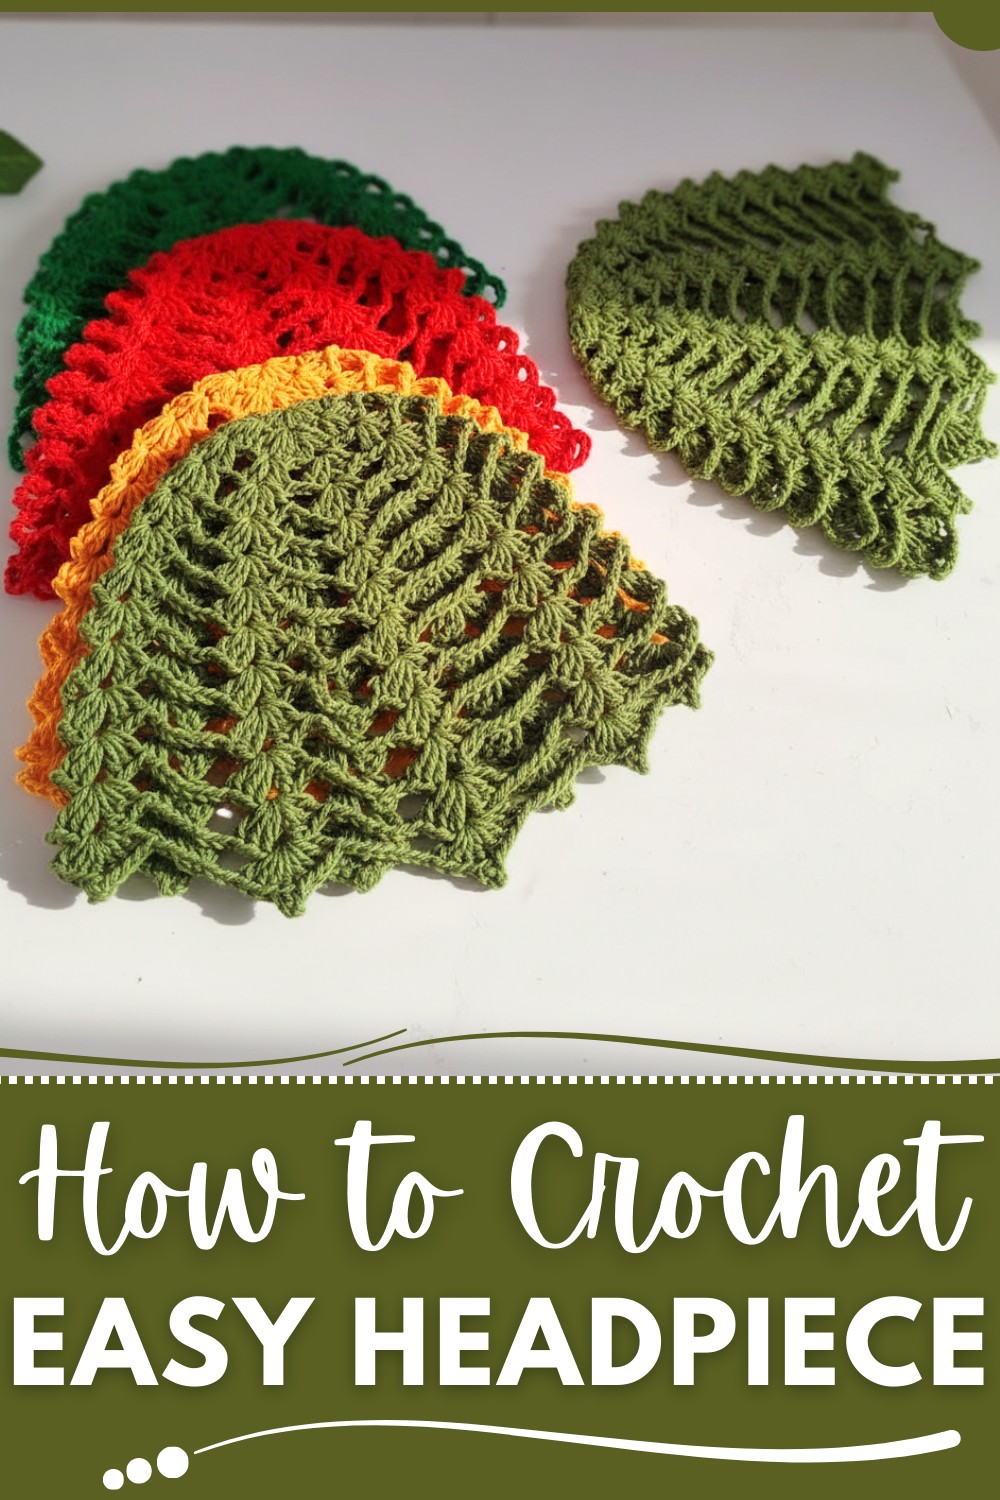
Nothing elevates an outfit quite like a handmade accessory with a personal touch. With a crochet headpiece pattern, you can create a stunning and unique hairpiece perfect for weddings, festivals, or casual outings. A headpiece like this pairs beautifully with loose waves, an elegant updo, or even everyday hairstyles, instantly adding charm and character to your look.
It serves as a practical and eco-friendly alternative to store-bought options, making it a meaningful project for yourself or as a special gift. Delicate yet versatile, this accessory lets you crochet something timeless and entirely your own, no matter your skill level. Whether for a big event or a touch of daily elegance, it’s a delightful touch to any wardrobe.
Romantic Crochet Headpiece Pattern for Bridal Looks
Materials Required
- Yarn:
- Recommended: Size #4 medium-weight yarn (e.g., EuroRoma, Supreme, Bandeirantes, or similar brands).
- Optional: Size #6 bulky yarn (adjust stitch count and technique if using thicker yarn).
- Color: Use leftover yarn or customize based on client preferences.
- Hook:
- Recommended for Size #4 Yarn: 3.0 mm crochet hook.
- For Size #6 Yarn: Use a larger hook (4.0 mm or 4.5 mm).
- Additional Tools:
- Scissors.
- Fabric-safe glue (optional, for securing ends).
Gauge
- The gauge is not critical for this project as the pattern is stretchy and adjustable.
- However, for approximation: 16 double crochet stitches = 10 cm (4 inches), worked with a 3.0 mm hook and medium-weight yarn.
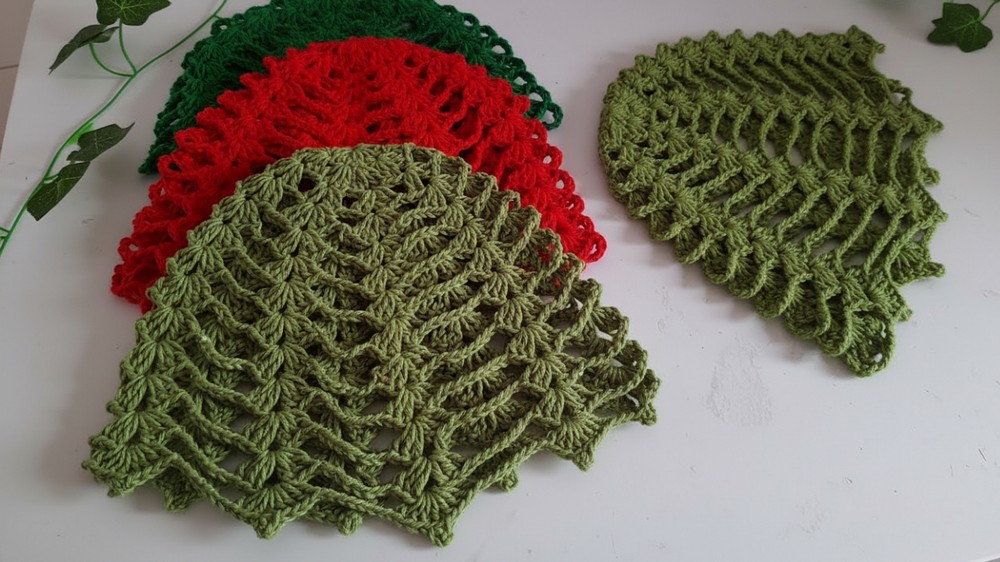
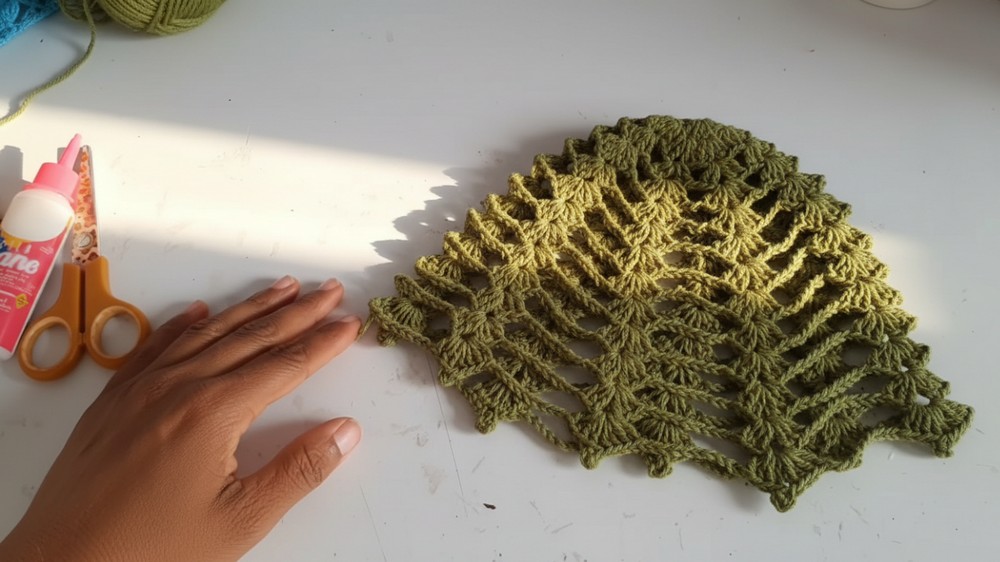
Adult-Sized Crochet Headpiece with Picot Border
This pattern details how to create a stunning and versatile crochet mesh beanie with a picot-style finishing edge. It is lightweight, stretchy, and perfect for casual wear. Additionally, it is beginner-friendly and quick to make, making it an excellent project for personal use, gifts, or sales.
Finished Size
- Length (Depth of Beanie): ~19 cm (7.5 inches).
- Circumference (Width at Widest Point): ~27 cm (10.5 inches).
- This size fits the average adult head. To adjust, follow customization tips below.
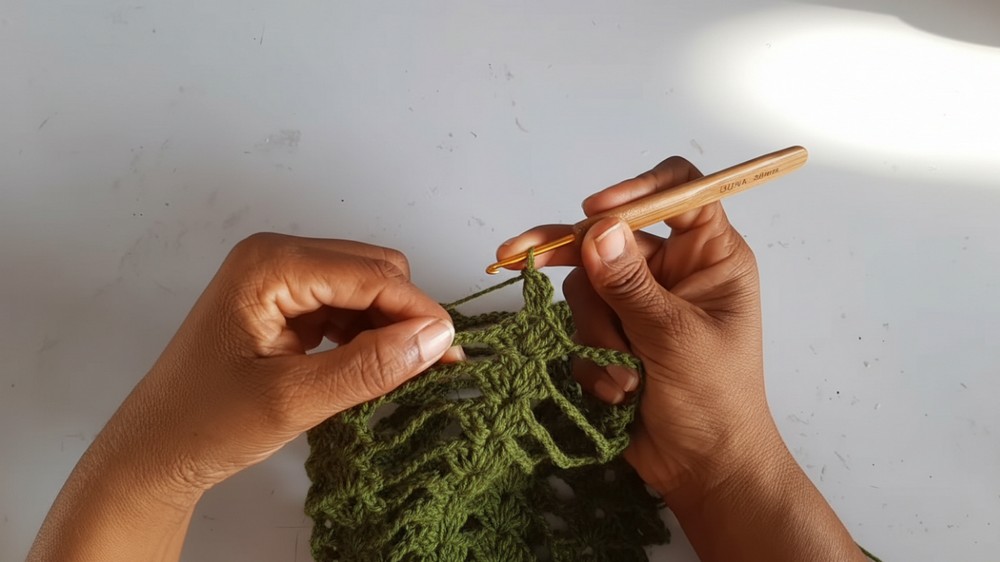
Pattern Instructions
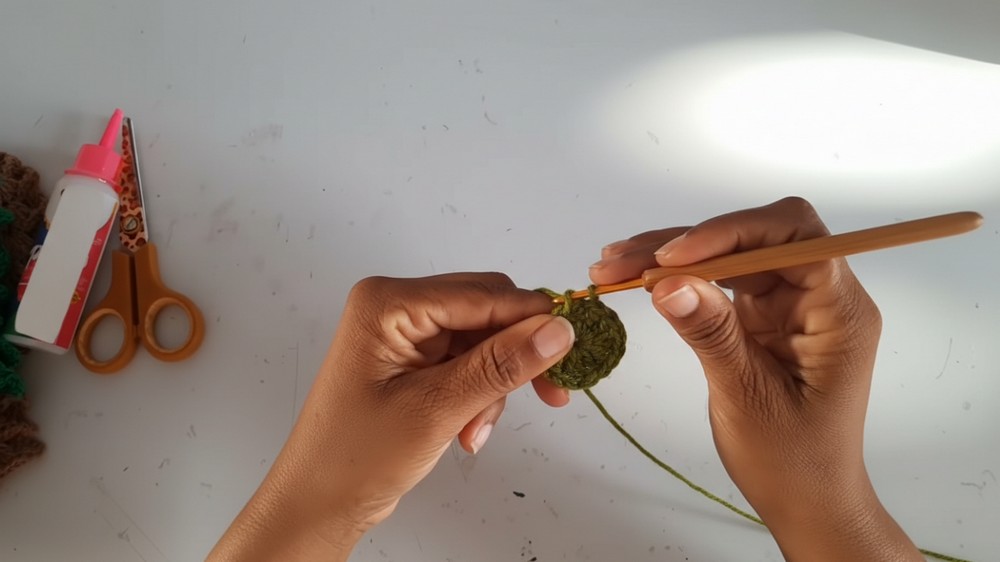
Step 1: Magic Circle Foundation
- Begin with a magic circle. If you're unfamiliar with this, chain 4 and join with a slip stitch to create a small loop.
- Work 15 double crochet (DC) stitches into the magic circle.
- Chain 2 at the start (counts as the first DC).
- Join to the first stitch with a slip stitch to complete the round.
- Pull the loose thread tightly to close the circle.
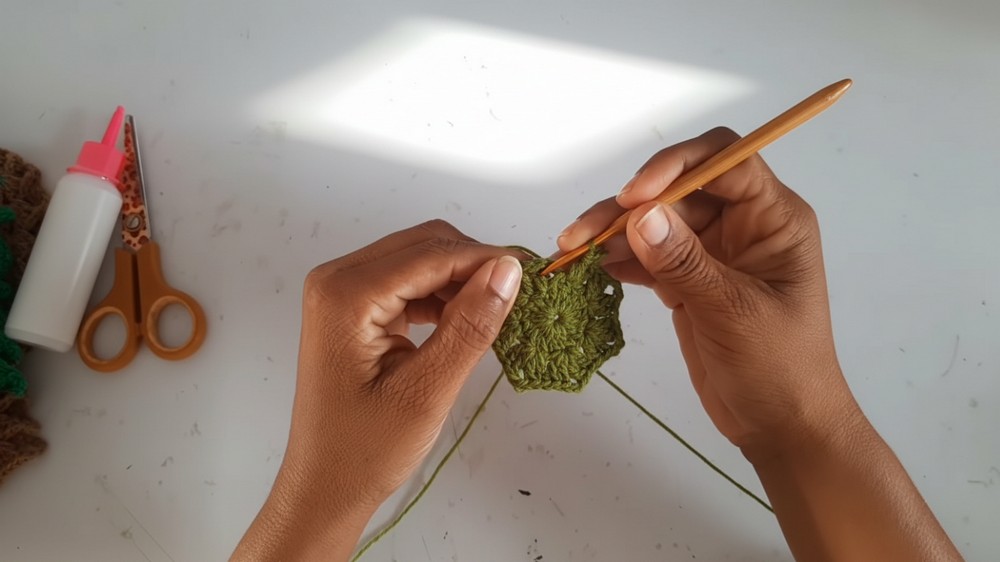
Step 2: Increasing Mesh Rounds
- Round 1:
- Chain 2 (acts as the first DC), and in the same stitch, make another DC.
- Skip 1 stitch, then into the next:
- Make a fan: 2 DC, chain 2, 2 DC.
- Repeat this pattern around:
- [Skip 1 stitch, fan (2 DC, chain 2, 2 DC) in the next stitch].
- Once you’ve worked all the stitches, join with a slip stitch into the top of the first DC.
- You should have 8 fans in total.
- Round 2:
- Chain 2 and work 2 DC into the first space of the previous round's fan (these are the starting stitches for the new fan).
- Chain 1 (separation chain) and move to the next fan space.
- Repeat: [2 DC, chain 2, 2 DC in the fan space; chain 1 (separation chain)].
- Continue until you complete the round and join with a slip stitch.
- Subsequent Rounds (Rounds 3 to 12):
- For each new round:
- Continue working fans (2 DC, chain 2, 2 DC) into the fan spaces from the previous round.
- Increase the number of chains between fans for every round:
- Round 1: No chain between fans.
- Round 2: Chain 1 between fans.
- Round 3: Chain 2 between fans.
- Repeat this increase, adding 1 chain stitch per round, until Round 12.
- Example for Round 7: [Fan (2 DC, chain 2, 2 DC); chain 5].
- Each round will expand the mesh to create the proper width.
- For each new round:
Step 3: Final Round – Picot Edge
- After completing the desired number of rounds (12 is standard for an adult beanie):
- Work around the edges of each fan and chain space, adding a decorative picot edging.
- Picot Stitch Instructions:
- Inside each fan:
- Work 4 DC, chain 3, slip stitch into the top of the 4th DC to form a picot.
- Continue with 4 DC into the same fan space.
- Over chain spaces:
- Work simple chain stitches (e.g., for a 9-chain space, crochet 9 SC or slip stitches evenly).
- Inside each fan:
- Join the round with a slip stitch.
Special Techniques
- Magic Circle: Provides a clean and adjustable base for the project.
- Fan Stitches: These are clusters of DCs separated by chains. Keep the stitch count consistent for symmetry.
- Picot Stitches:
- Optional but add a decorative finish.
- Tip: Hold onto the loop when forming the picot to maintain even tension.
- Adjusting Yarn Weight:
- If using thicker yarn (size #6), reduce the number of rounds to avoid an overly large hat.
- Replace 2-chain fans with 1-chain fans for a denser pattern.
Customization Ideas
- Colors:
- Use variegated yarn for a dynamic look or combine solid colors for stripes.
- Size Adjustments:
- For a larger beanie, add extra rounds or increase the number of chains between fans.
- For a smaller hat, skip one or two mesh rounds.
- Decorative Variations:
- Add beads while crocheting the picot edges for a playful look.
- Accessories:
- Attach a crocheted flower or pom-pom on one side for embellishment.
- Material Changes:
- Use cotton yarn for summer-friendly versions or wool blends for winter.
Tips for a Successful Project
- Tension:
- Keep your tension consistent for an even mesh pattern.
- Count Your Fans:
- Ensure you have the correct number of fans and chain spaces in every round to keep the hat symmetrical.
- Finishing Touches:
- Weave in all loose ends carefully. For extra security, dab fabric glue on knots to prevent unraveling.
Conclusion
This beautiful mesh beanie is lightweight yet durable, making it versatile for everyday wear or as a statement piece. Its quick and easy construction makes it ideal for beginners, while the picot finish adds charm. Whether you're crocheting this for yourself, as a gift, or for sale, this pattern will yield excellent results and plenty of compliments.
Optional Add-Ons
- Matching Accessories:
- Pair the beanie with a crocheted scarf or fingerless gloves.
- Lining:
- Add a fleece or cotton lining for added warmth without compromising stretchiness.
- Personalization:
- Embroider initials or designs onto the finished piece to make it unique.
Final Remarks
This crochet mesh beanie combines functionality, elegance, and ease of construction, making it a must-try project. With thoughtful finishing techniques and optional customization, it can be adapted for various styles and preferences.


