
It’s chilly outside, and nothing feels better than pulling on a warm, handmade hat to keep cozy. A crochet hat isn’t just practical—it’s a statement piece that speaks to your personal style. Whether you prefer a slouchy beanie, a snug cap, or something quirky, it’s the perfect accessory for cold weather.
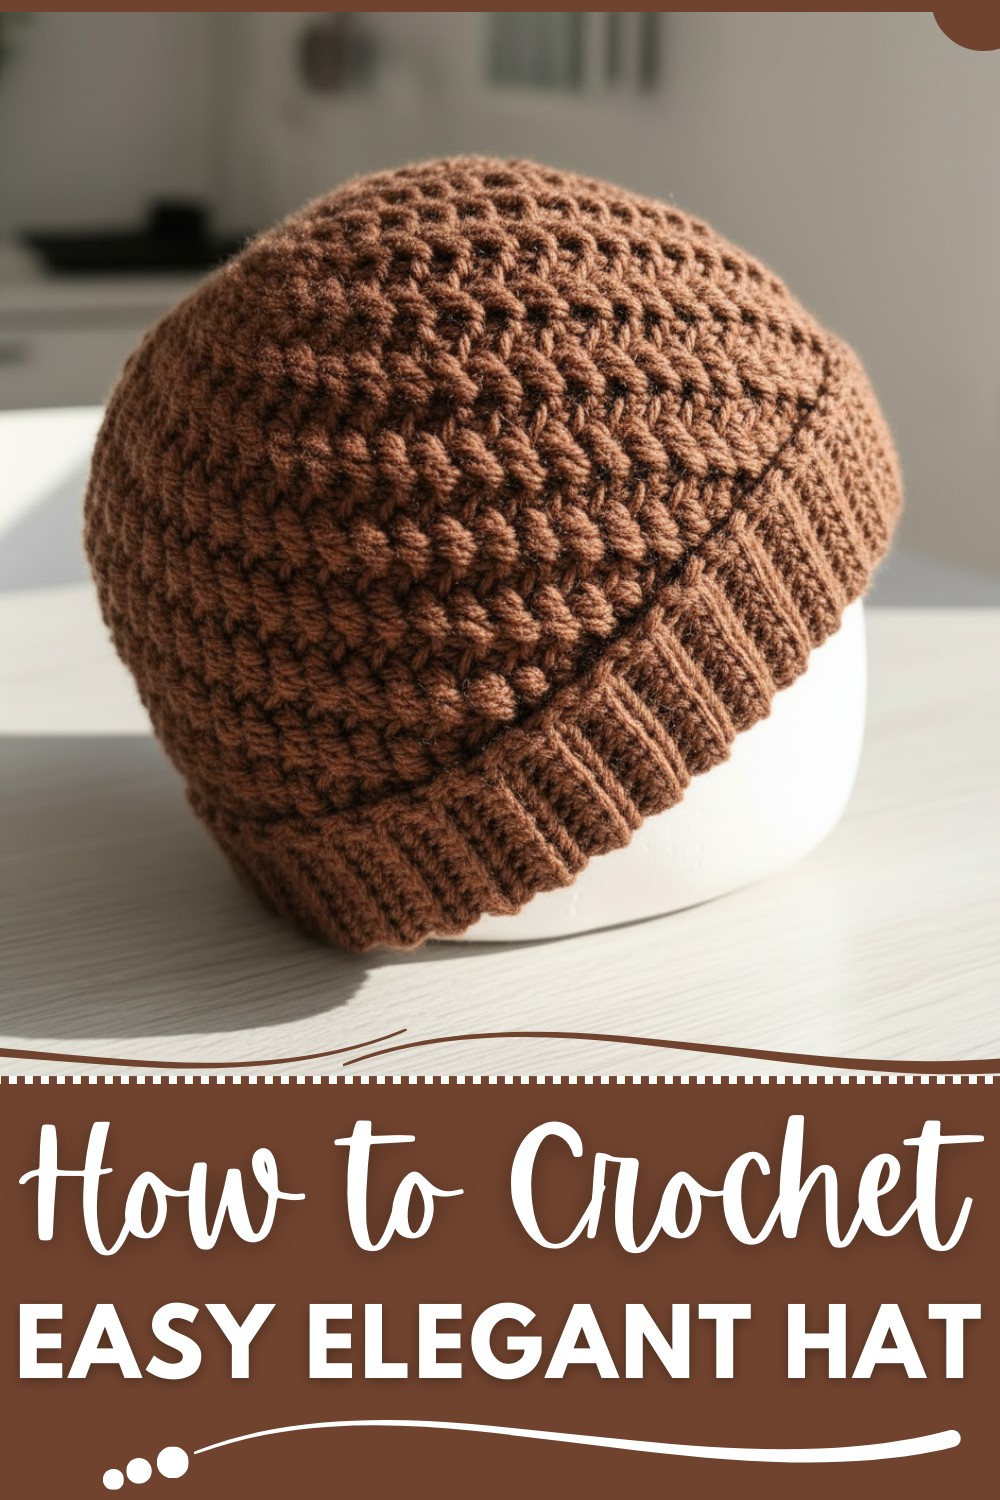
Pair it with a chunky sweater and boots for a casual look, or match it with a scarf for those extra frosty days. The beauty of a crochet hat is that it can be customized to fit any mood, season, or vibe. It’s also a thoughtful, one-of-a-kind gift for friends and family. Warmth combined with style? That’s what makes a crochet hat stand out in every sense.
Stylish Crochet Hat Ideas to Refresh Your Look
Materials List
Required Supplies
- Yarn: Light worsted/Size 3 yarn
- Crochet Hooks:
- 3.5 mm hook for general work
- 4.0 mm hook for hat height and crown
- Scissors
- Tapestry Needle for finishing
- Stitch Marker (optional for tracking rounds)
Optional Supplies
- Measuring Tape: To check sizes accurately
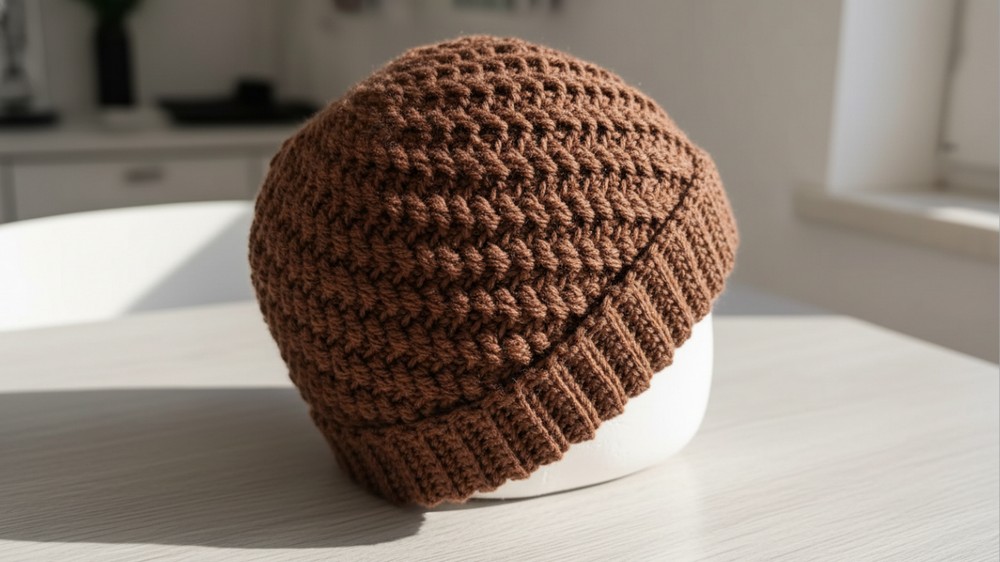
Crochet Relief Stitch Hat
This detailed pattern guide assists intermediate to advanced crocheters in crafting a charming crochet hat using the relief stitch technique, applicable for all age groups, from newborn to adult.
Skill Level
Intermediate
Key Abbreviations (US Crochet Terminology)
- CH: Chain
- SC: Single Crochet
- SL ST: Slip Stitch
- DC: Double Crochet
- ST: Stitch
- BLO: Back Loop Only
Special Notes
- Gauge: Gauge is flexible but ensure consistent tension for shape retention.
- Multiple Rule: This pattern uses multiples of three.
Pattern Instructions
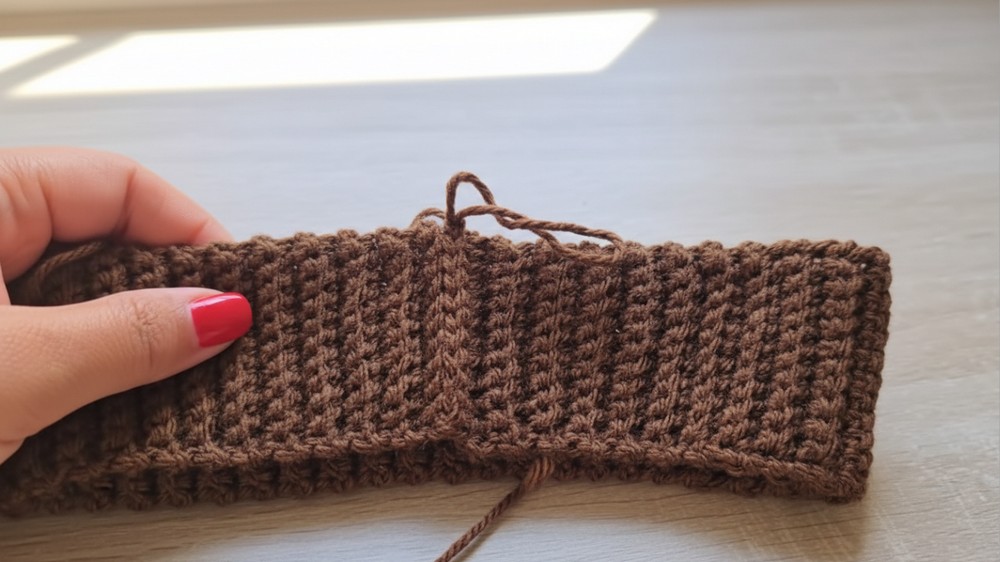
The hat is crafted starting from a rectangle for the band, which is then joined, and worked upward to form the body of the hat.
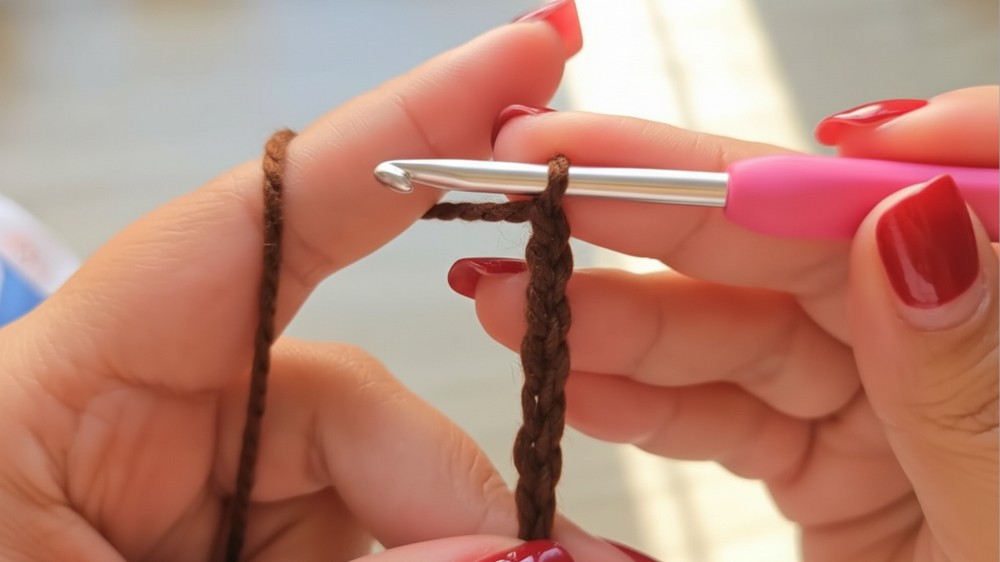
1. Band Foundation
Step 1: Chain and Single Crochet (Foundation)
- CH 12 for adults, CH 9 for children, or adjust as needed for fit.
- Skip the first chain, SC in each chain across.
- Finish round by tugging and cutting loose ends from the start.
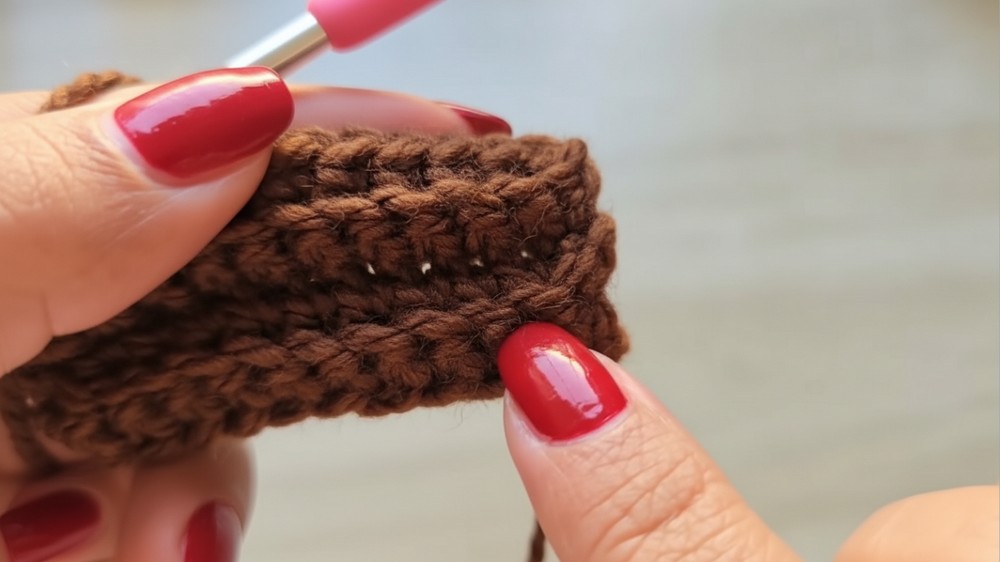
Step 2: Building the Band
- CH 1, only work SC into BLO across, except for the last stitch.
- For the last stitch, insert hook into the complete stitch for stability and finish with an SC.
- Repeat the band pattern by alternating between BLO for texture and complete stitch for firmness at each end.
- Continue until the band reaches the length in centimeters for your size (see table below).
2. Band Length Guide
Refer to the following table for the circumference:
| Age | Circumference | Approximate Turns |
|---|---|---|
| Men | 56 cm (22 in) | 88 |
| Women | 53 cm (20.8 in) | 84 |
| Teenagers | 51 cm (20 in) | 80 |
| 5–10 Years Old | 48 cm (18.9 in) | 76 |
| 2–5 Years Old | 45 cm (17.7 in) | 72 |
| 9–12 Months Old | 41 cm (16 in) | 68 |
| 6–9 Months Old | 39 cm (15.3 in) | 64 |
| 3–6 Months Old | 37 cm (14.5 in) | 60 |
| 1–3 Months Old | 34 cm (13.4 in) | 56 |
| Newborn | 32 cm (12.6 in) | 52 |
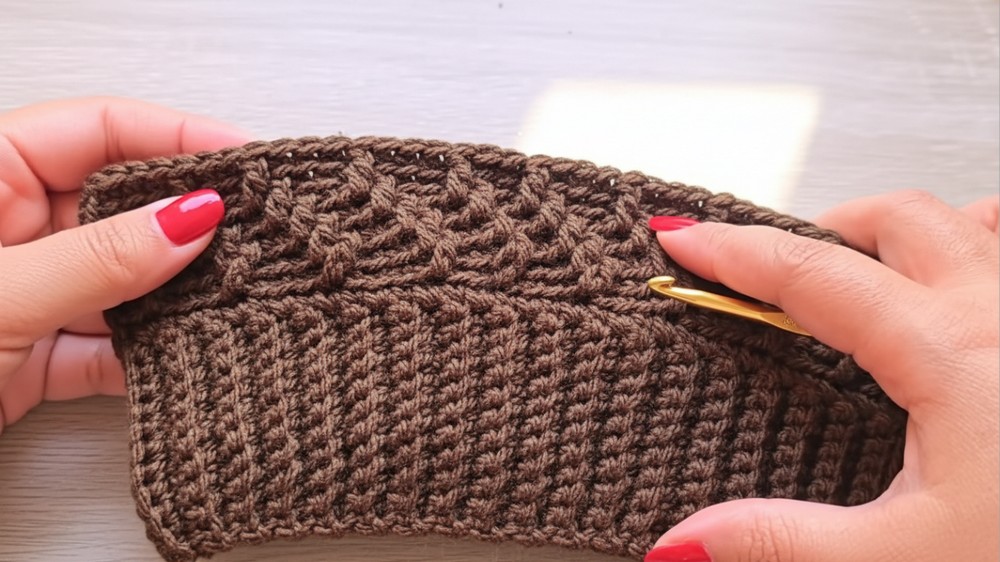
3. Joining the Band
Step 1: Seam the Edges
- Form the rectangle into a circle and use SL ST through both edges to join.
- Secure seam and cut any loose tails.
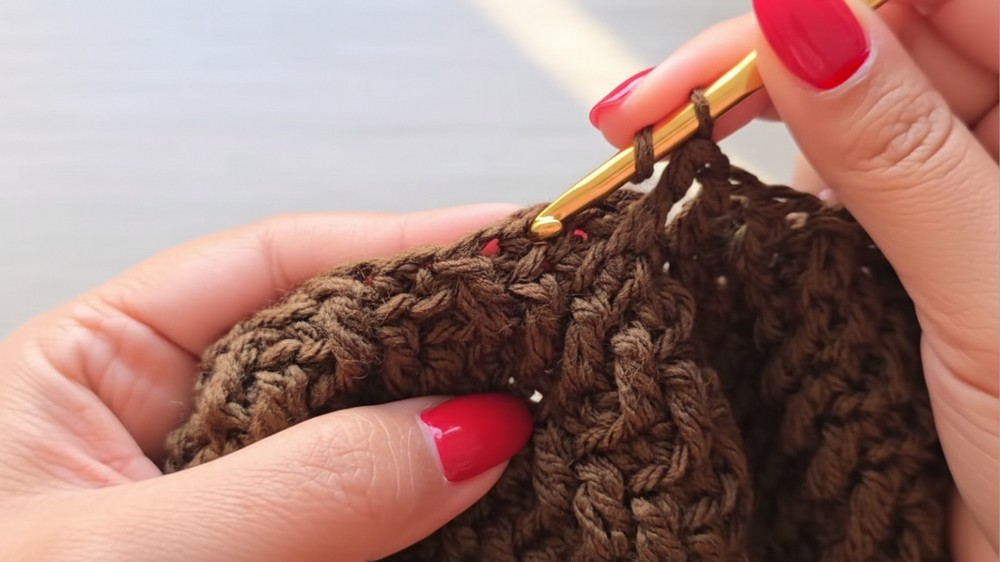
4. Hat Body (Relief Stitch)
Step 1: Transition to Crown with 4mm Hook
- Attach yarn to the relief stitches. Use SC across the edge to start building the crown.
- Ensure uniform spacing of SC around the body.
- For each relief section, insert into the loop and SC.
Step 2: Constructing the Relief Stitches
- CH 1, work SC across the circles of the hat, alternating between relief and the next stitch:
- For each group of three SC from the band, add a DC to create the relief effect.
- Skip the fourth stitch when transitioning between sections to maintain shape.
- Repeat pattern until desired height is achieved:
- Men: 18 cm
- Women/Teens: 17 cm
- Younger age groups: Adjust based on table.
5. Decreasing and Finishing the Crown
Step 1: Structuring the Decrease
- Switch back to 3.5 mm hook for tighter work or use 4 mm for consistency.
- Simplify stitches in the final rounds:
- Double crochet stitches should follow every third stitch.
- Remove several SC at the end of laps to enhance closure.
- Continue until the crown closes smoothly:
- Slip unnecessary stitches and prioritize relief placement.
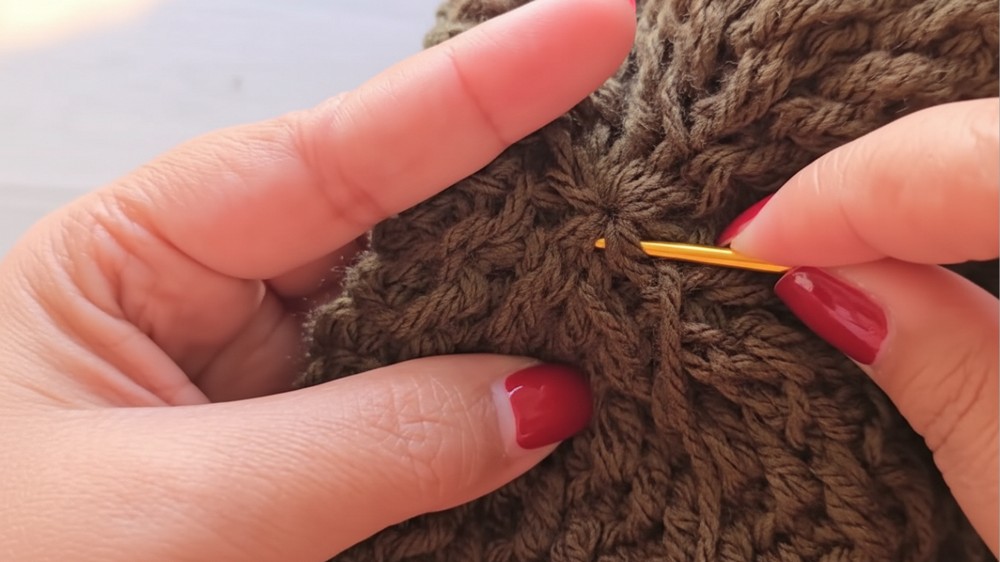
Step 2: Ensuring a Clean Finish
- Pull through remaining points in the hat, closing with a needle.
- Reinforce any loose loops with a tapestry needle and alternative yarn path.
Conclusion
Your crochet relief stitch hat is complete, featuring a beautifully dense fabric with a textured relief design. It's adaptable and robust, suitable for varied practical and fashion needs.
Pattern Corrections
Ensure symmetry and correct stitch count around the crown by consistently applying relief DC. Joining seam errors can distort the form, so reconsider seam joining technique if issues arise.
Tips for Success
- Experiment with Colors: Mix sections with different yarn colors for unique styles.
- Twist Adjustment: Be sure to untwist loop alignment for a cleaner band finish.
- Regular Measurements: Measure circumferences frequently for an appropriate fit.


