
A sunny afternoon is the perfect excuse to try something creative, and a crochet bucket hat pattern makes it both fun and purposeful. This handmade hat is lightweight, stylish, and offers excellent sun protection, making it a great choice for days at the beach, park outings, or running errands. Practical yet trendy, it can easily be paired with everything from casual jeans and tees to flowy summer dresses.
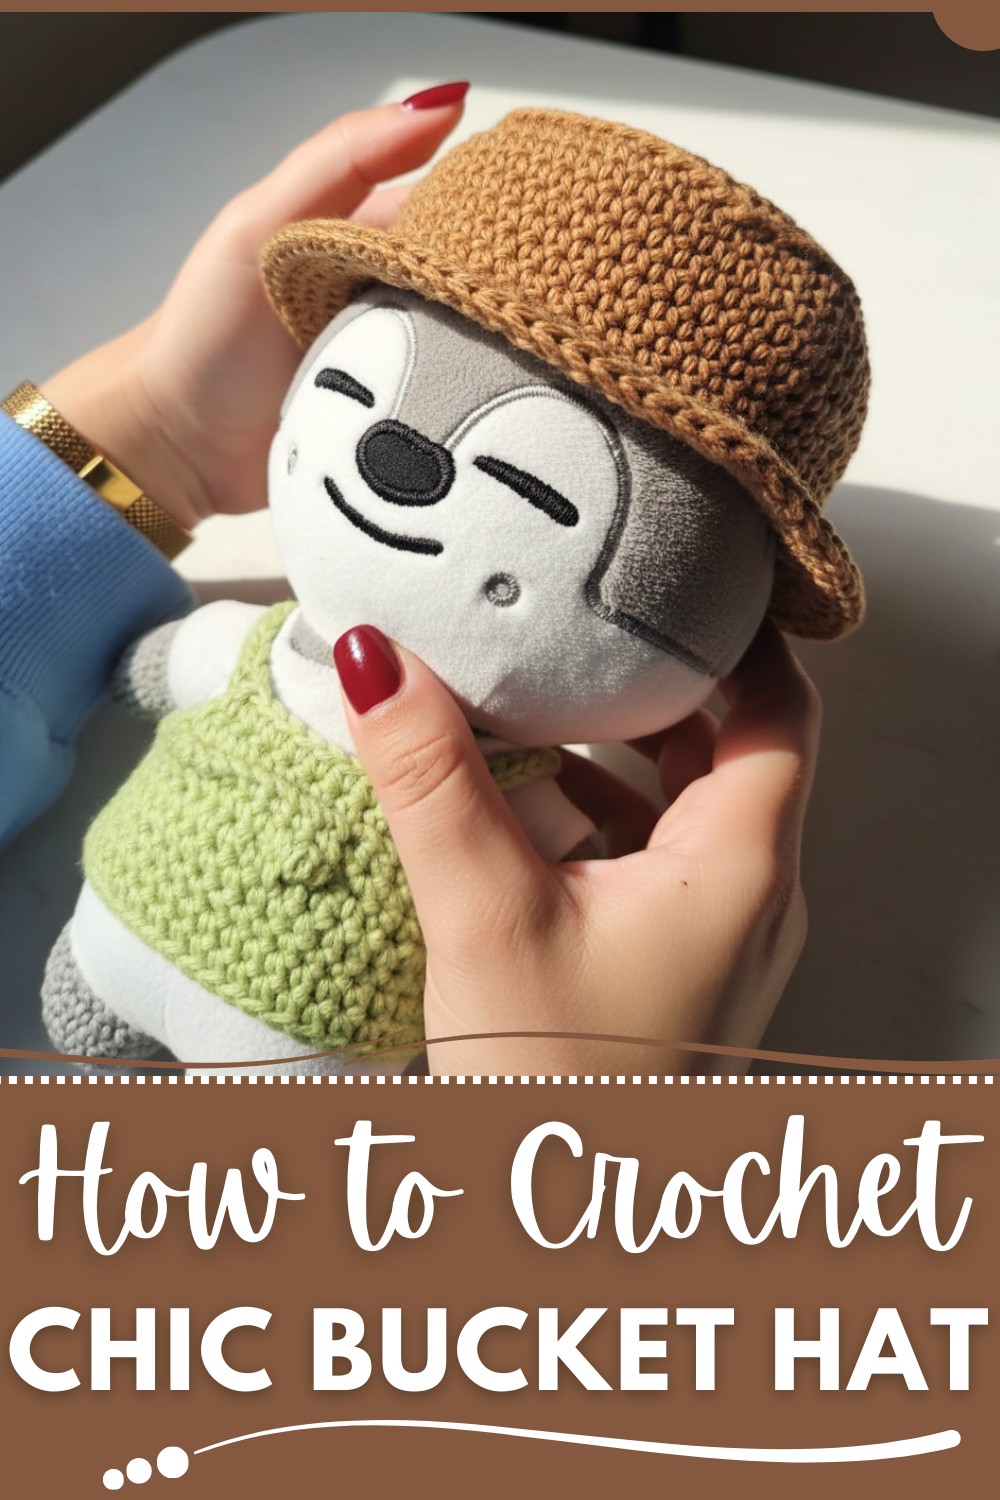
The pattern allows for endless customization, experiment with bold colors, textured stitches, or add unique embellishments for a personal touch. Not only does it provide a fashionable way to stay shaded, but it’s also a durable, reusable alternative to store-bought hats, giving you a handmade accessory that’s uniquely yours.
Cozy Crochet Bucket Hat Pattern for Sun Protection & Style
Materials
- Yarn:
- Use cotton yarn suitable for a 2.5 - 3.5mm hook (color of your choice).
- Hook:
- D3 (3.25mm).
- Notions:
- Stitch markers.
- Tapestry needles (for weaving in ends).
- Scissors.
Crochet Bucket Hat Pattern for Doll
This detailed crochet pattern will guide you through creating an adorable bucket hat for your doll. The pattern highlights two optional brim finishes: a straight rim or a wavy rim. Written with clarity, this pattern ensures a straightforward crocheting experience.
Skill Level
- Intermediate to Advanced:
Requires experience with basic crochet stitches, working in the round, increases, and decreases.
Special Notes
- Magic Ring: This technique starts the hat, forming a neat center.
- Increases: Position increases evenly in the round for uniform shaping.
- Brim Options: Choose between a straight or wavy brim design, depending on your preference.
Pattern Instructions
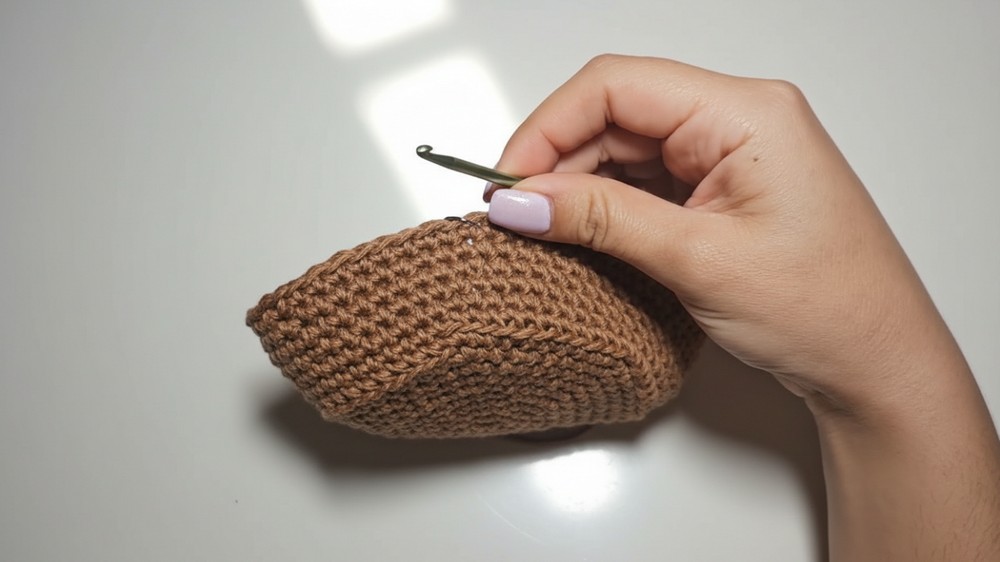
Part 1: Starting with the Crown
Step 1: Starting with the Magic Ring
- Magic Ring: Create a magic ring. Yarn over and pull up the loop.
- Inside the ring, work 6 sc. (6 stitches)
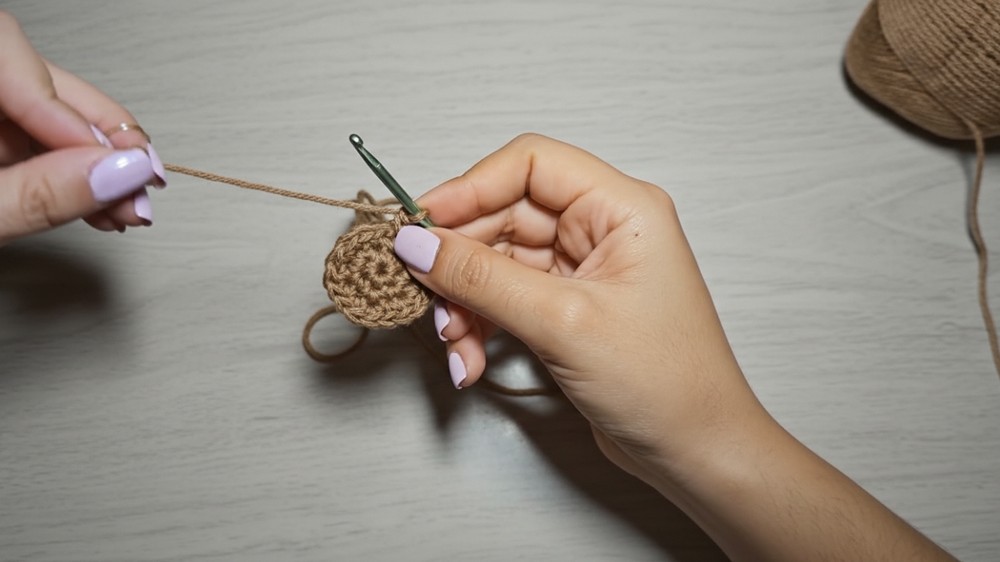
Step 2: Increases for the Crown
- Round 1: Work 2 sc in each stitch around (12 stitches)
- Round 2: Work 1 sc, 1 inc around (18 stitches)
- Round 3: Work 2 sc, 1 inc around (24 stitches)
- Round 4: Work 3 sc, 1 inc around (30 stitches)
Continue this pattern, adding an extra sc between increases each round until you reach the desired crown size for your doll. For this hat, continue up to:
5. Final Crown Round: Work 9 sc, 1 inc around (66 stitches)
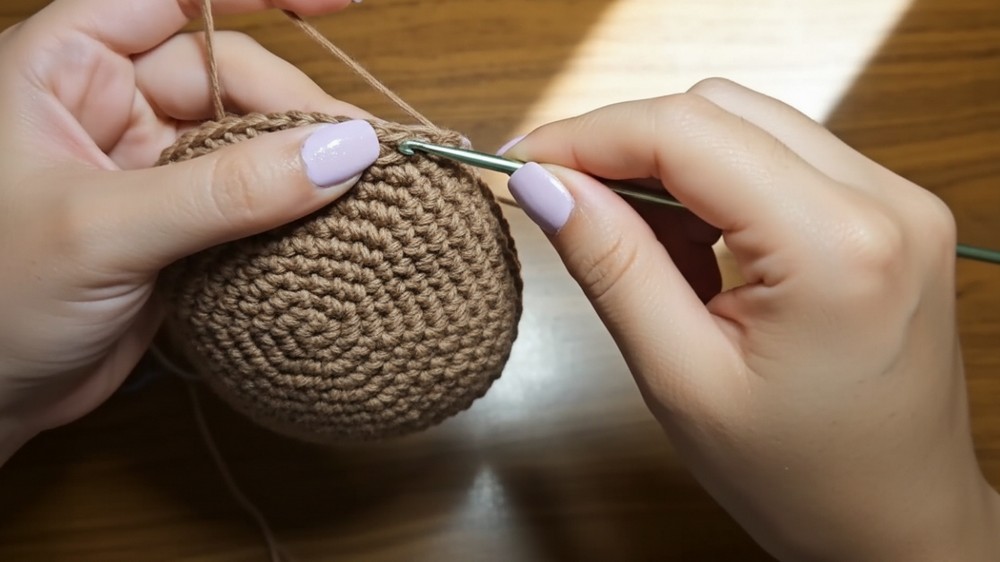
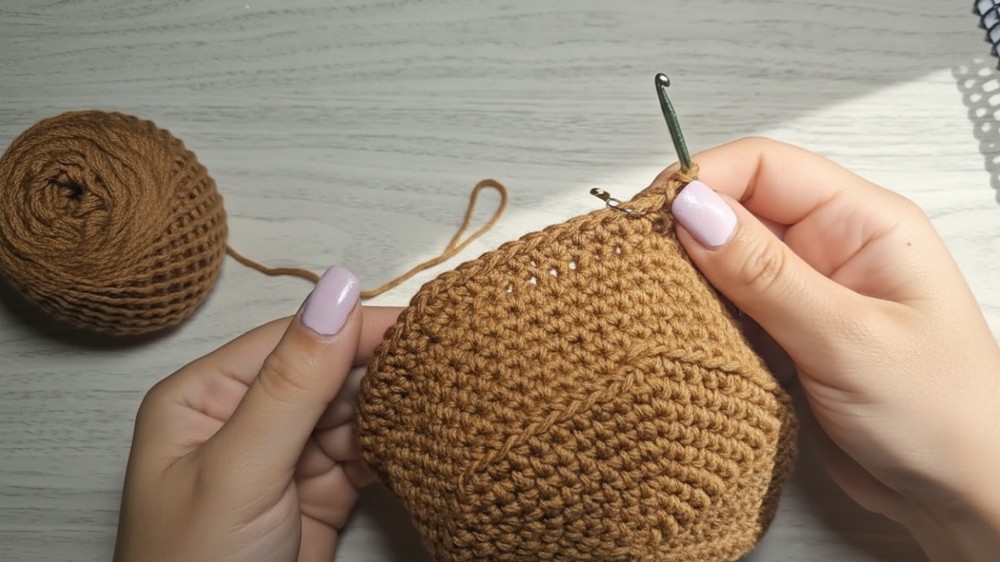
Part 2: Creating the Sides
Step 1: Shaping the Hat’s Sides
- Side Round 1: Work BLO (Back Loop Only) sc around to create a defining line for the sides.
- Side Rounds 2-4: Work sc in each stitch around normally (through both loops).
Step 2: Decreasing for a Tapered Fit
- Decrease Round: Work 21 sc, 1 dec around (63 stitches)
- Side Rounds 5-6: Work sc in each stitch around to maintain structure.
Part 3: Creating the Brim
Option 1: Straight Brim
- Brim Round 1: Work FLO (Front Loop Only) sc around, alternating increases. Work 9 sc, 1 inc around (72 stitches)
- Brim Round 2: Work 10 sc, 1 inc around (78 stitches)
- Brim Round 3: Work 11 sc, 1 inc around (84 stitches)
Option 2: Wavy Brim
- Brim Round 1: Work FLO (Front Loop Only), 2 sc in each stitch around (132 stitches).
- Brim Rounds 2-3: Work sc in each stitch around normally.
Part 4: Finishing the Hat
- Final Round: Work sc to smooth any abrupt edges, joining with sl st to the first sc.
- Fasten Off: Cut the yarn and weave in the ends using a tapestry needle.

Conclusion
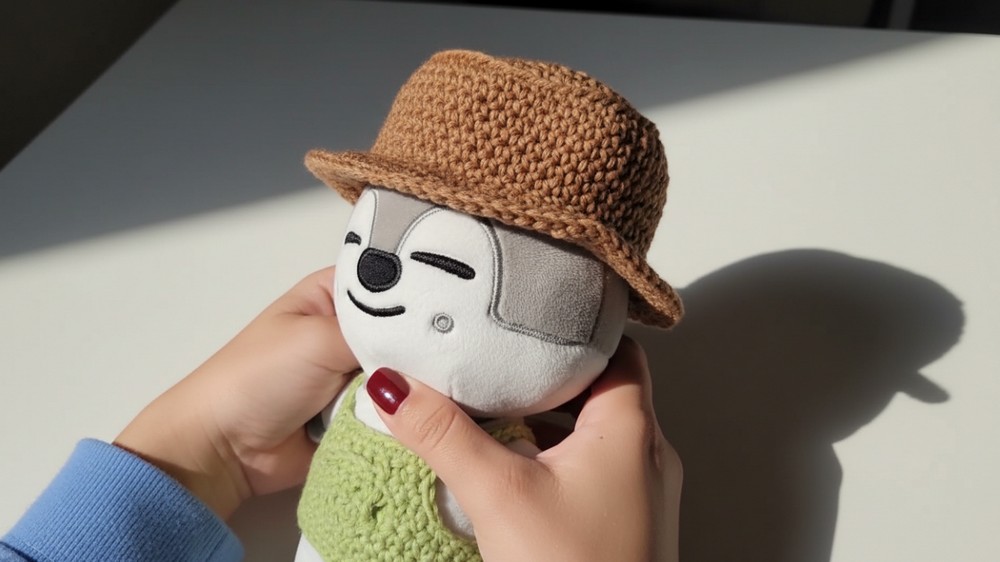
Congratulations! Your finished hat features a lovely brim and fits snugly on your SK suit doll. The design provides a delightful combination of style and practicality, perfect for enhancing your doll’s wardrobe.
Pattern Correction
- Crown Expansion: Ensure the increases are evenly spaced to maintain the hat’s symmetry.
- Side Decreases: Confirm the decrease rounds evenly taper the sides for a snug fit.
Tips
- Customization: Experiment with different yarn colors and textures to match the doll’s outfit.
- Fit Check: During the making, occasionally fit the hat on the doll to fine-tune the size. Adjust rounds as necessary.
- Blocking: Lightly block the hat to shape it perfectly on the doll’s head.


