
Nothing feels better than slipping a soft, handmade hat onto a baby, ensuring comfort and warmth. A Crochet Baby Hat is perfect for keeping little ones cozy during outdoor strolls or adding a sweet touch to their outfits and photos. It can be styled with neutral shades for a subtle look or playful colors to match their cheerful energy.
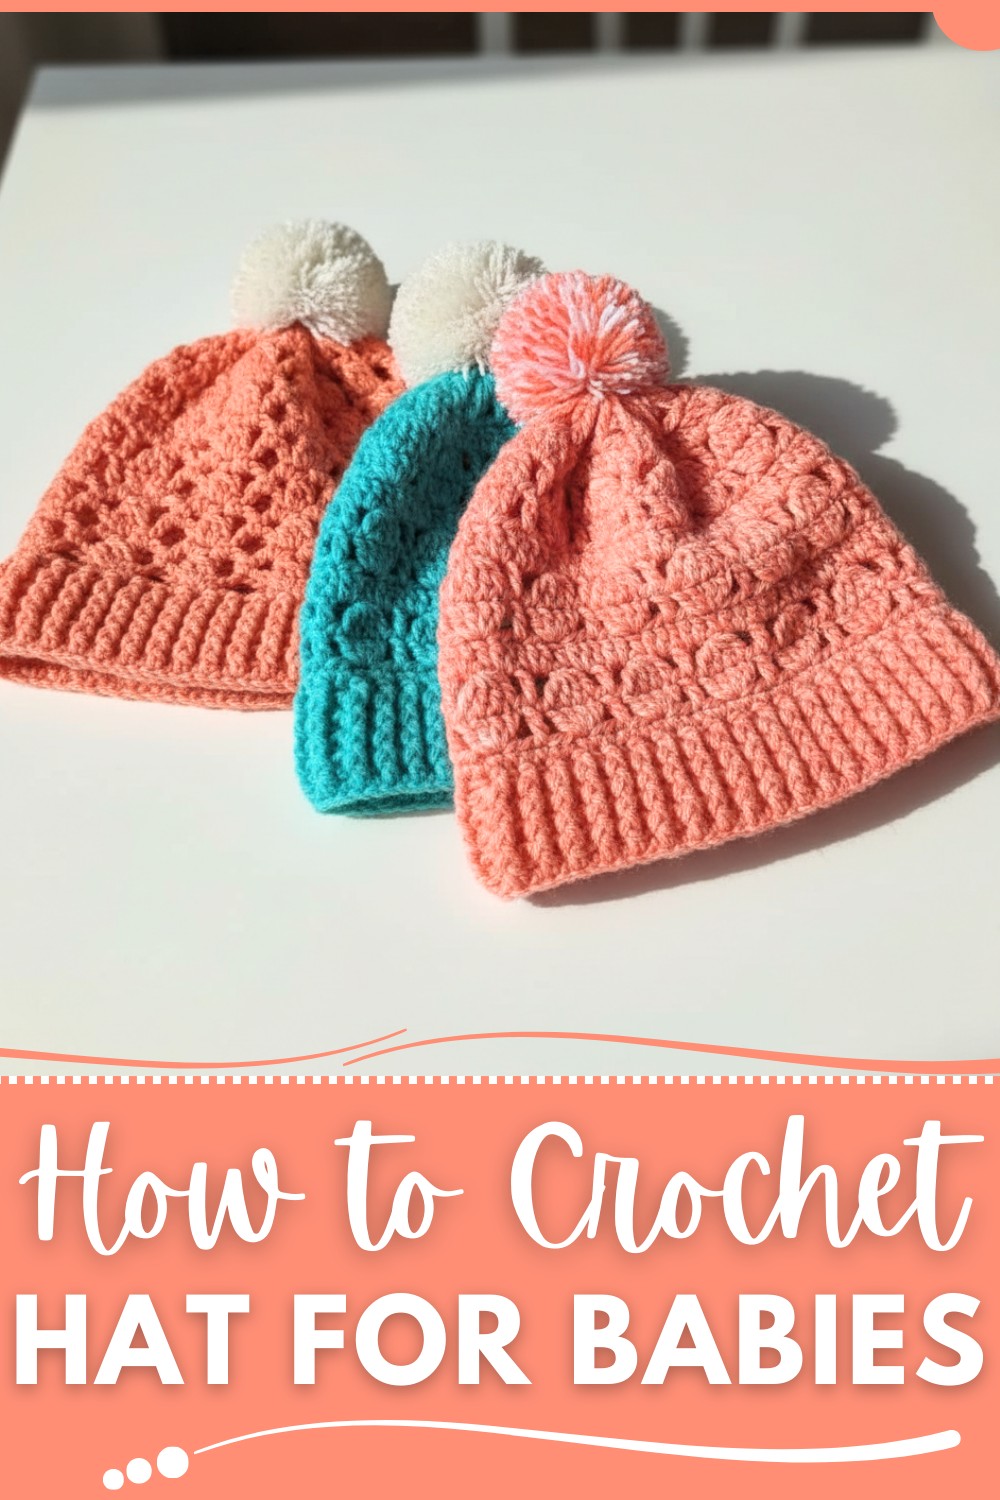
Using lightweight, baby-friendly yarn ensures it’s gentle on sensitive skin while still providing practical warmth. Personalizing the size and texture, like a ribbed or tightly woven style, makes it even more special. Making such hats reduces waste and results in a thoughtful, functional keepsake that’s as meaningful as it is adorable.
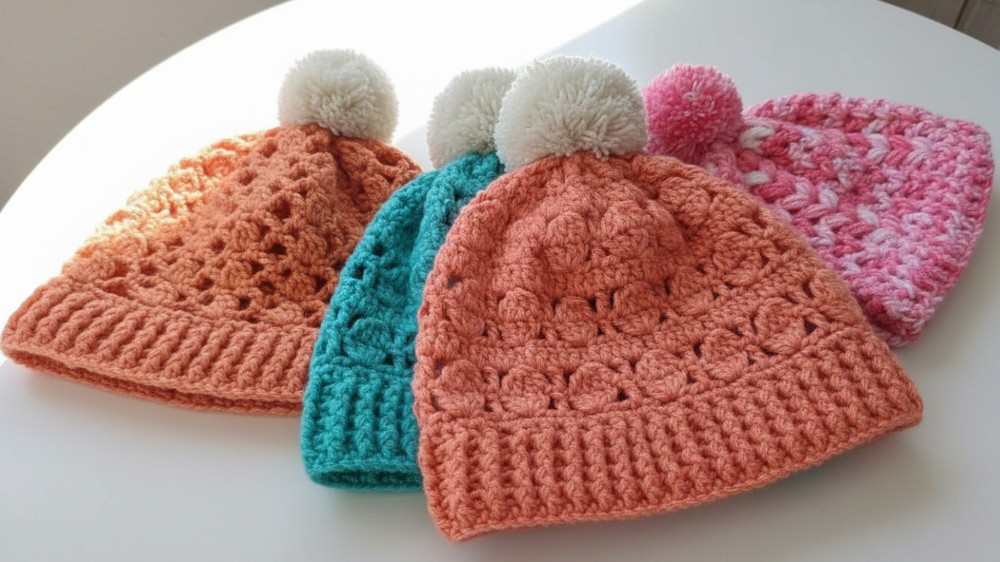
Charming Crochet Baby Hat Patttern for Any Baby
Materials Needed
- Yarn:
- Coral Orange Baby Yarn: Each strand Tex 200 (100% acrylic).
- Use double strands of yarn to create a thicker texture, equivalent to Tex 400.
- You’ll need approximately 70g of yarn.
- Crochet Hook:
- 4mm crochet hook.
- Additional Tools:
- Tapestry needle for finishing.
- Pom-Pom maker (optional).
- Scissors.
Gauge
- When using Tex 400 (double strands) with a 4mm hook:
- 10 stitches x 8 rows = 4 cm x 4 cm.
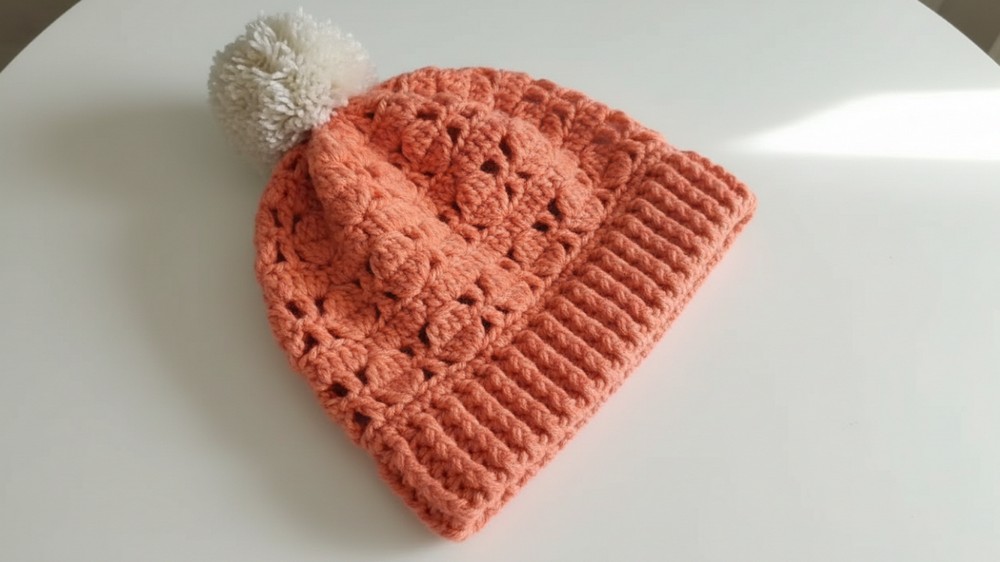
Crochet Beanie with Pom-Pom Pattern
This crochet beanie pattern is designed for warmth, style, and ease of crafting. Whether you're making it for donation, gifting, or personal use, this tutorial will guide you step by step to create a textured and satisfying hat. The design includes a ribbed brim and a beautiful textured stitch, finished with a cute pom-pom.
Finished Size
- Width (circumference): 40 cm (unstretched).
- Height (from brim to top): 18–19 cm before gathering.
- Final height after gathering: Approximately 16 cm.
Special Techniques
- Ribbed Brim (Relief Stitch):
- Front Post Double Crochet (FPDC): Yarn over, insert hook from front to back around the post of the stitch below, pull up a loop, and complete as a double crochet.
- Back Post Double Crochet (BPDC): Yarn over, insert hook from back to front around the post of the stitch below, pull up a loop, and complete as a double crochet.
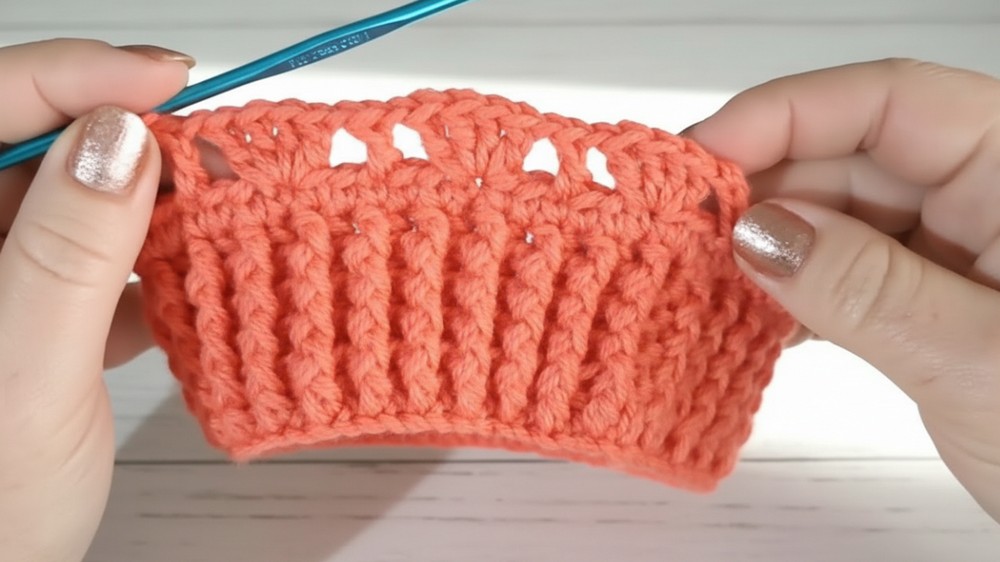
- Clustered Shells and V-Stitches:
- Shell: Four double crochets worked in a single stitch.
- V-Stitch: One double crochet, chain 1, and one double crochet worked in a single stitch.
- Decreasing:
- For proper shaping, decreases are worked in groups of six to evenly reduce the hat’s circumference without ruining the pattern.
Pattern Instructions
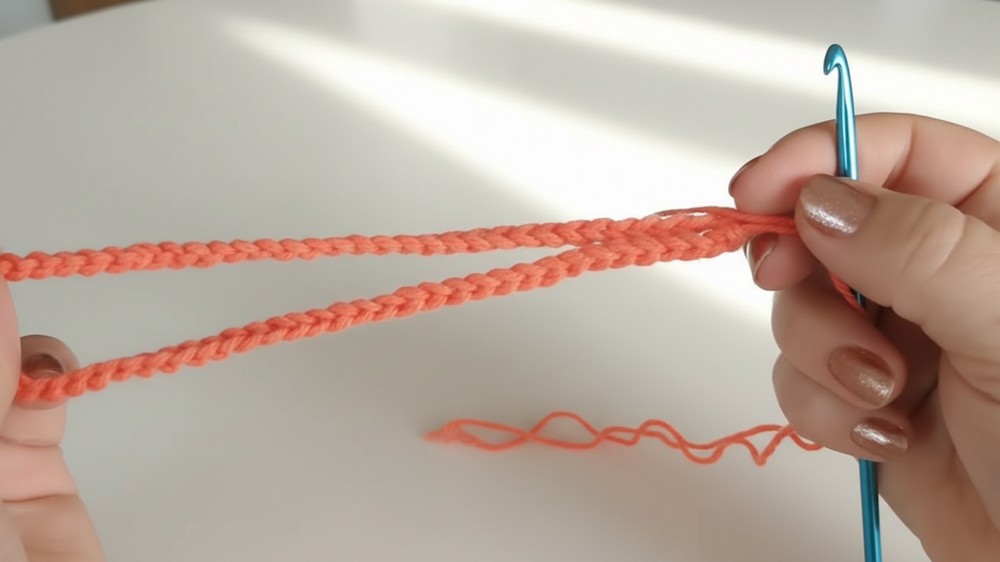
Step 1: Foundation Chain
- Using two strands of yarn and a 4mm hook, create a foundation chain of 80 stitches (or adjust to 40 cm in length).
- Ensure the chain length measures 40 cm (end with an even number).
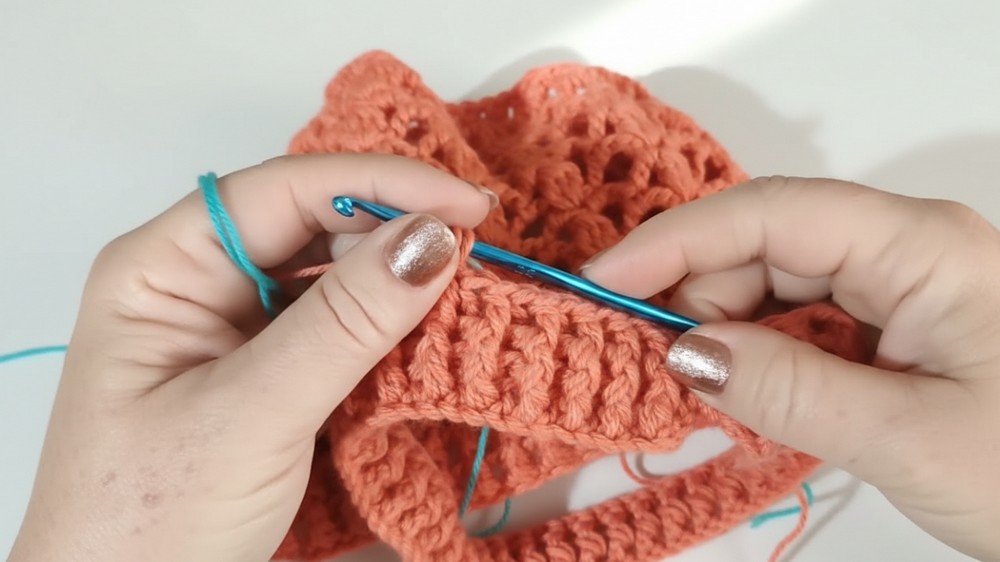
Step 2: Ribbed Brim
- Slip stitch to join the foundation chain into a ring, making sure it isn’t twisted.
- Chain 3 (counts as your first stitch).
- Alternate:
- FPDC in the first post.
- BPDC in the next post.
- Repeat FPDC and BPDC alternately around the ring.
- Slip stitch to the top of the starting chain to close the round.
- Continue working relief stitches for a total of 5 rows (or your desired brim length).
Step 3: Body of the Beanie
Row 1 (Setup Row):
- Chain 4 (counts as 1 double crochet and a chain).
- Skip 2 stitches.
- In the next stitch, work 4 double crochet stitches (shell).
- Chain 1.
- Skip 2 stitches, and in the next, work 1 double crochet stitch.
- Chain 1.
- Repeat the pattern: (4 double crochets in next stitch, chain 1, 1 double crochet in next, chain 1) all the way around.
- Slip stitch to the third chain of the starting chain to join.
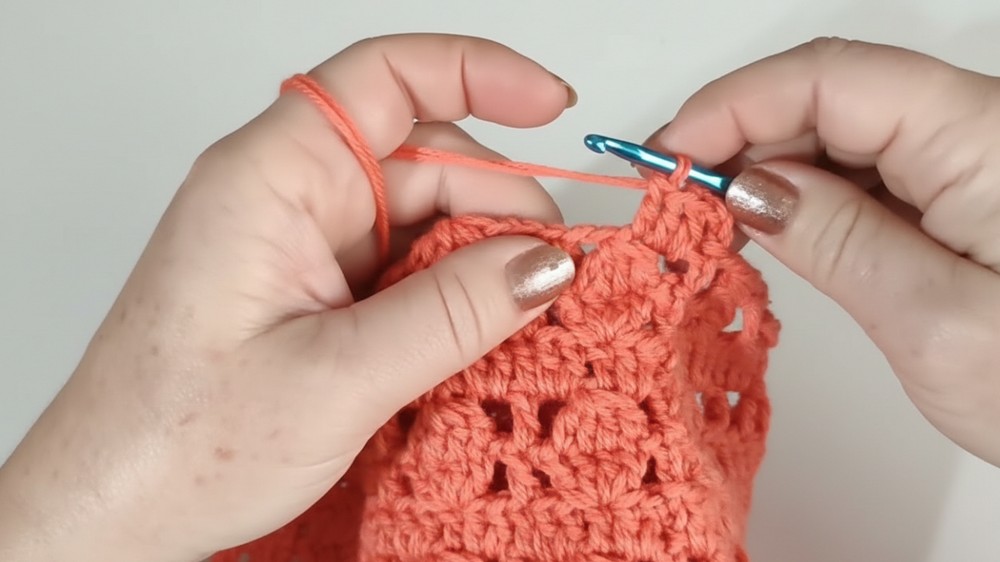
Row 2:
- Chain 5.
- Work a cluster stitch over the 4 double crochets below:
- Insert hook into each of the 4 double crochets, pull up a loop, and finish the cluster by pulling through all loops on the hook. This creates a puff-like look.
- Chain 2.
- Work 1 double crochet in the double crochet below.
- Chain 2.
- Repeat the pattern all the way around: (Cluster stitch over the 4 DCs below, chain 2, 1 DC in next DC, chain 2).
- Slip stitch to join.
Row 3 (Double Crochet Row):
- Chain 3.
- In the first chain space of the shell below, work 2 double crochets.
- Work 1 double crochet into the top of the puff stitch.
- Work 2 double crochets into the next chain space.
- Work 1 double crochet into the double crochet stitch below.
- Repeat the sequence around: (2 double crochets in chain space, 1 DC in cluster top, 2 DCs in next chain space, 1 DC in DC stitch).
- Slip stitch to close.
Rows 4–15:
- Repeat Rows 1–3 for a total of 15 cm (or your desired body height).
- For a pom-pom finish, work an additional 3 cm to allow for the gathering at the top.
Step 4: Decreasing for the Crown
- Decrease every 7 stitches:
- Every 7 stitches, take two stitches together to reduce by 1 stitch (total 12 stitches decreased per decrease row).
- Work the decrease row using single crochet stitches, ensuring the decrease is evenly distributed.
- After the decrease row, continue with the pattern (reducing by 6 stitches per round).
Step 5: Joining the Crown
- Once the beanie reaches approximately 18–19 cm, leave a long tail of yarn.
- Use a tapestry needle to gather the top of the hat:
- Weave the needle in and out of the final row stitches.
- Pull the yarn tightly to close the gap.
- Secure the crown by stitching across the closed top several times.
Step 6: Adding a Pom-Pom
- Use a pom-pom maker or hand-wrap yarn to create a fluffy pom-pom.
- Attach the pom-pom securely to the gathered crown of the hat.
Optional Add-ons & Customization Ideas
- Color Options: Work in stripes or color blocks for a vibrant finish.
- Edging: Add a decorative scalloped or crab stitch edge to the brim.
- Embroidery: Personalize the hat with initials or small motifs using contrasting yarn.
- Pompom Alternatives: Use faux fur pom-poms for a luxurious finish.
Tips for Success
- Tension Matters: Use even tension throughout to avoid irregularities in the pattern.
- Test the Fit: Adjust the crown circumference if making a smaller or larger size.
- Durable Finish: Securely fasten the pom-pom and all loose ends to prevent unraveling.
Conclusion
This stylish and functional beanie is easy to make and customize for different sizes and yarn types. The ribbed brim adds stretch and detail, while the textured body enhances the overall look. Perfect for keeping warm in colder months or gifting, this pattern balances simplicity with creative flair.


