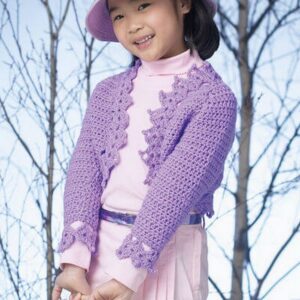
A cool morning walk through a quiet park reveals the need for a versatile layer that offers warmth without sacrificing comfort or style. A soft, open-front cardigan moves effortlessly with each step, providing a cozy embrace against the chill while maintaining a flattering silhouette. The Free Crochet Top Down Cardigan pattern allows yarn to transform into this practical yet elegant garment, perfect for layering over casual outfits, office wear, or relaxed weekend ensembles. Its top-down construction ensures a seamless fit that adjusts naturally to different body shapes, offering both flexibility and ease of wear.
Trendy Crochet Top Down Cardigan for Everyday Wear

The rhythmic stitches offer a calming and rewarding experience for crocheters, making the project suitable for beginners eager to learn new techniques as well as experienced hands seeking a satisfying challenge. Customizable color choices and yarn types allow each cardigan to reflect personal style, from soft neutrals for understated elegance to vibrant hues that make a statement.
Beyond personal wardrobe enhancement, this cardigan serves as a thoughtful handmade gift, combining functionality with subtle charm. Each completed Free Crochet Top Down Cardigan pattern embodies patience, skill, and creativity, turning simple yarn into a stylish, wearable piece. Lightweight yet warm, it enhances daily routines and seasonal outings with effortless comfort and sophistication.
Special Features
- Top-Down Raglan Construction:
- The cardigan is worked top-down, with raglan-style increases at the shoulders for a seamless fit, eliminating the need to sew individual panels together.
- Customizable Fit:
- The cardigan is easily adjustable for different sizes and styles. The creator gives precise breakdowns for adapting the neckline, armholes, and body based on your own measurements.
- Button Closure:
- The design features functional buttons, making it a stylish and practical option for layering over other outfits.
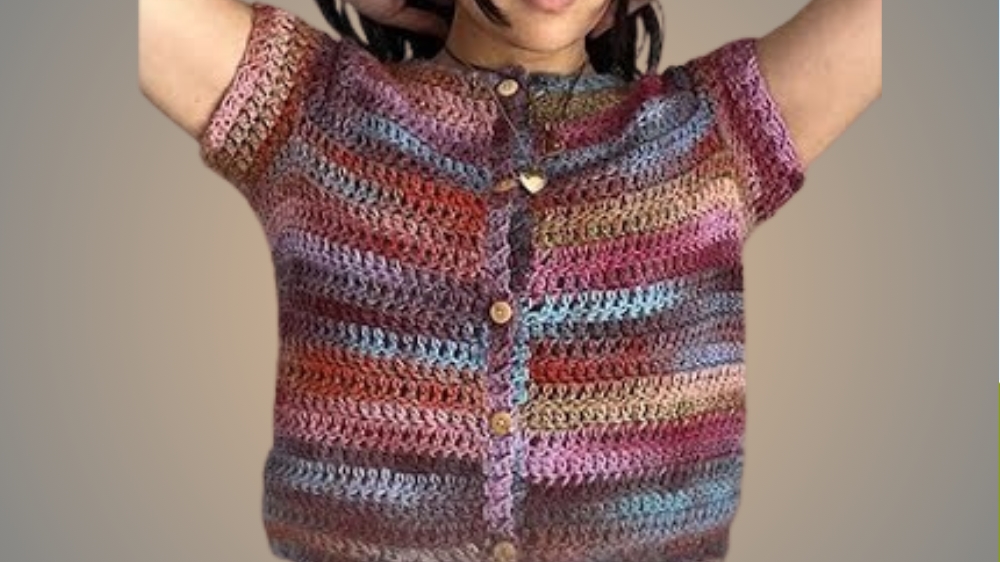
- Variegated Yarn for a Unique Look:
- The variegated yarn used in the tutorial creates a colorful, one-of-a-kind cardigan. However, you can opt for solid-colored yarn to match your personal preference.
- Ribbed Finishing:
- A sleek ribbed pattern is added around the neckline, sleeves, and hem for a polished look.
Level of Difficulty
- Beginner to Intermediate:
- While the project requires basic knowledge of stitches such as chains and double crochets, beginners will need to pay attention to the raglan-style increases and ribbing. Following the step-by-step instructions in the tutorial will help ensure success.
Materials Needed
- Yarn:
- The tutorial uses Jewel Spun yarn by Darn It Anyway, specifically in the colorway Daybreak Delta.
- For a small/medium size, approximately 200g (around 500m or 546 yards) of yarn is needed.
- Crochet Hook:
- A 6mm crochet hook is recommended for a looser, more relaxed fabric.
- Stitch Markers:
- Four stitch markers are required to mark increase points for the raglan sections.
- Scissors:
- Used for cutting yarn after fastening off.
- Darning Needle:
- For weaving in loose ends.
- Buttons:
- Around five buttons for the body closure. Adjust the quantity depending on the length of your cardigan.
- Measuring Tape:
- Needed to ensure a proper fit around your neckline, armpits, and sleeves.
Tutor’s Suggestions
- Determine Your Neckline Fit:
- Use a chain length that fits comfortably around your head and sits well on your shoulders. Wear a t-shirt with a similar neckline to help guide you.
- Customize Arm and Body Fit:
- Adjust the stitch counts for increases to achieve tighter or looser arms and body sections as per your preference.
- Use Variegated Yarn for a Special Effect:
- Variegated yarns create a fun and unique design, but the pattern works just as well with solid-colored or tonal yarns.
- Keep Trying It On as You Go:
- Regularly trying on the cardigan ensures that the armpit corners, button placement, and sleeve length are proportionate to your body.
Step-by-Step Instructions
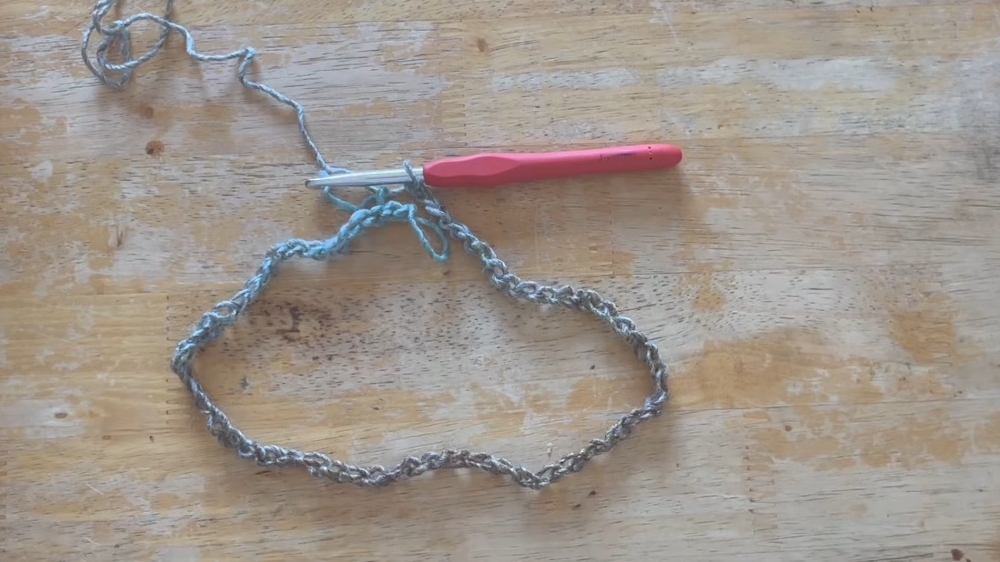
1. Start with the Foundation Chain and Sizing
- Chain the Base:
- For a small/medium size, make a foundation chain of 60 stitches. Adjust the chain count for larger or smaller sizes, ensuring it fits comfortably around your head and sits well on your neckline.
- Mark Increase Points for the Raglan:
- Divide your stitches into percentages:
- 80% of the stitches go to the front and back sections (24 for the back, 12 for each front panel).
- 20% of the stitches go to the shoulders (6 per shoulder).
- Place stitch markers to section off these areas.
- Divide your stitches into percentages:
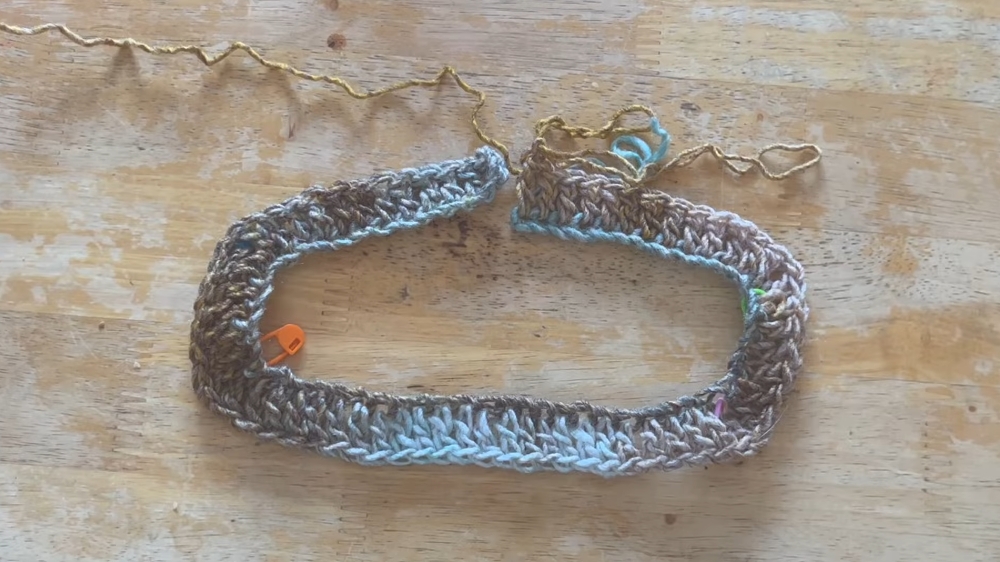
2. Crochet the Yoke (Top Section) with Increases
- Work the First Row:
- Chain 2 and begin working double crochets (DC).
- At each marked stitch (shoulders), add an increase: (DC, chain 1, DC) into the marked stitch.
- Continue Rows with Increases:
- Chain 2 at the start of each row and increase at the chain spaces (shoulder sections) for every row.
- Stop increasing once the corners reach your armpits. This typically takes about 8 rows, depending on your size.
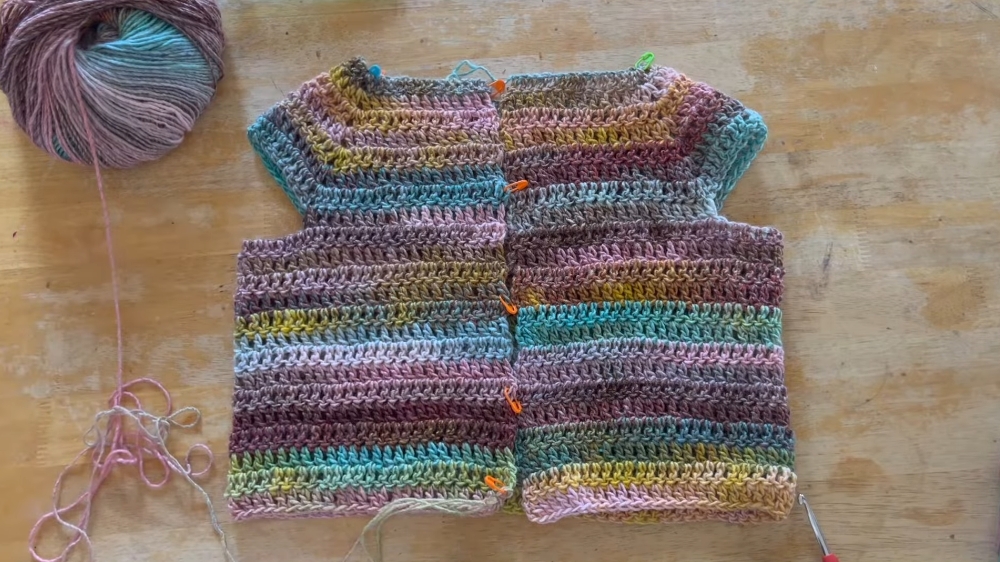
3. Shape the Sleeves
- Join the Sleeves:
- When you reach your armpit, chain stitches (around 12 chains) to connect the front and back panels, skipping the shoulder sections.
- Double Crochet the Body Only:
- Continue working DC rows back and forth on the body portion, leaving the sleeves untouched.
4. Finish the Body
- Decide on Length:
- Continue DC rows until you reach your desired length. A slightly cropped fit is shown in the video, but you can customize it to be longer.
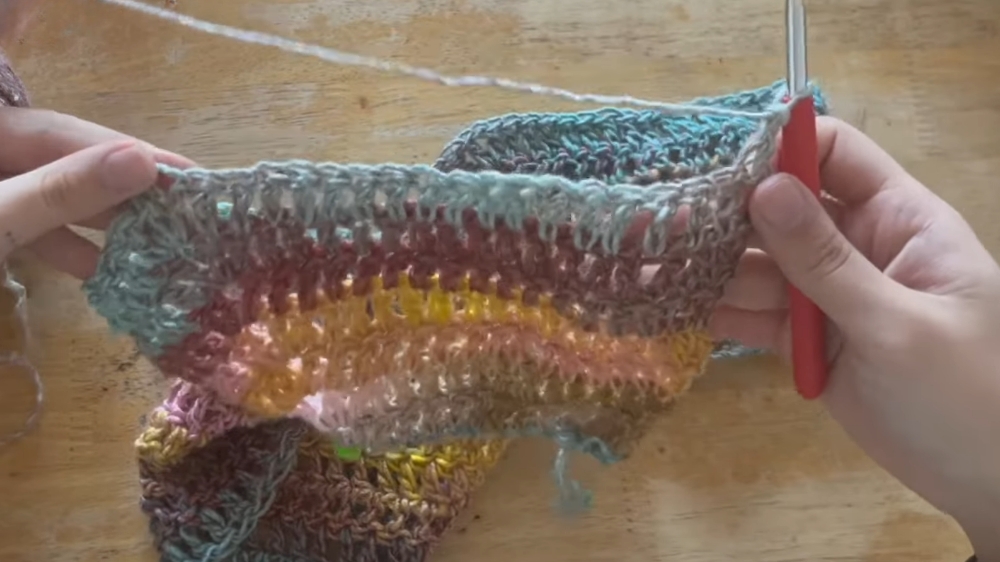
- Add Ribbing:
- Work single crochet (SC) ribbing along the edges of the body:
- Use back-loop-only single crochets to create the ribbed texture.
- Add buttonholes at equal intervals on one side of the cardigan as you crochet the ribbing.
- Work single crochet (SC) ribbing along the edges of the body:
5. Add the Sleeves
- Attach Yarn:
- Reattach yarn to the sleeve opening on the underside of the armpit.
- Work Double Crochets:
- Crochet double crochets in rounds. Add 2–3 rows, or work more rounds for longer sleeves.
- Add Sleeve Ribbing:
- Use single crochet ribbing around the sleeve openings for a clean, finished look.
6. Sew On Buttons
- Mark Button Placement:
- Use stitch markers to precisely align the buttonholes.
- Sew Buttons:
- Using a needle and thread, secure the buttons to the marked areas. Ensure that the buttons fit snugly into the crocheted buttonholes.
Uses of the Cardigan
- Layering Piece:
- Perfect for layering over tank tops, dresses, or t-shirts in cooler weather.
- Customizable for All Seasons:
- Use lightweight yarn for warm weather or thicker yarn for colder months.
- Everyday Wear:
- The casual design makes it ideal for daily wear, whether lounging at home or going out.
- Thoughtful Gift Idea:
- A handmade cardigan is a unique and thoughtful present for loved ones.
Final Tip
Test Your Yarn and Buttons Together:
Before beginning the project, ensure that your yarn and buttonholes complement each other. Buttons should slide easily through the ribbed holes without being too tight or loose.
Conclusion
This crochet top-down raglan cardigan is an incredibly versatile and beginner-friendly project. With its seamless construction, cute button details, and customizable fit, it’s a fantastic choice for crocheters who want a stylish, handmade piece for their wardrobe.