Celebrate the season with Crochet Pumpkin Patch Wrist Warmers, featuring a stylish design made to keep you warm and comfy.
As the chilly breeze of autumn whispers through the air, there’s nothing like a pair of cozy wrist warmers to keep you snug while you sip your favorite drink or enjoy outdoor strolls. Meet the Pumpkin Patch Wrist Warmers, a delightful addition to your wardrobe that adds a touch of comfort and warmth to your hands. These wrist warmers combine a ribbed texture along the cuffs with a soft, elegant body that gently hugs your wrists, ensuring both comfort and mobility. The pattern extends into a thumb hole for extra coverage, making it ideal for cooler weather without restricting movement.
How To Crochet Pumpkin Patch Wrist Warmers

Step by step Pumpkin Patch Wrist Warmers Pattern
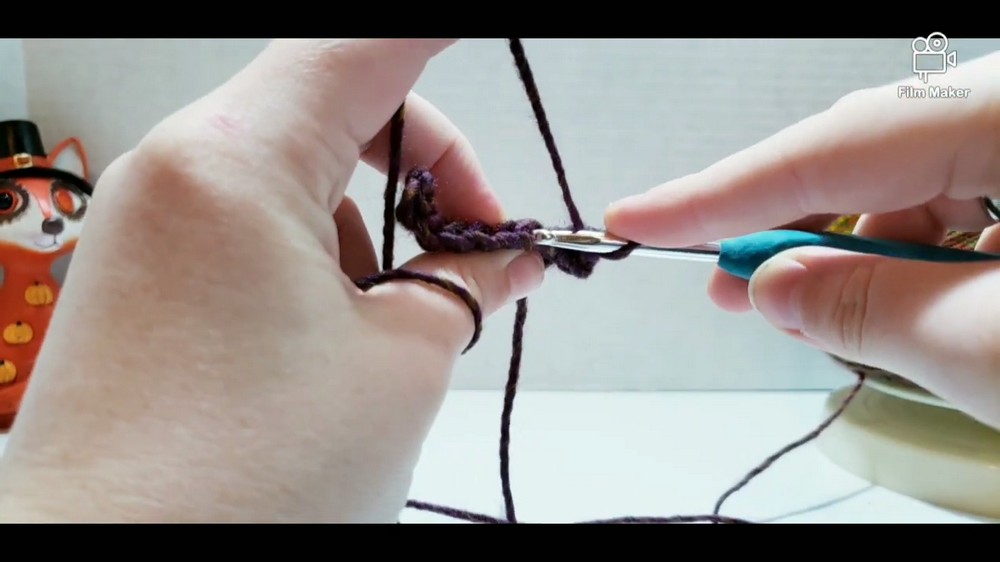
The Pumpkin Patch Wrist Warmers are a cozy and stylish addition to your cold-weather wardrobe. This pattern, described in a tutorial by Needle Clankers on YouTube, combines warmth and texture with a ribbed cuff and a clustered stitch design for the body. It uses simple crochet techniques, making it suitable for advanced beginners who are comfortable with basic stitches and working in rows as well as rounds.
You will need one cake of Red Heart Roll With It Mirage yarn, but you can substitute this with any #4 weight (medium) yarn. These wrist warmers are worked with a G/4.5mm crochet hook, and the instructions will guide you step-by-step through the process of making this fashionable accessory.
Materials
- Yarn: 1 cake of Red Heart Roll With It Mirage yarn (100% acrylic, color: "Curtain Call"). Any worsted weight #4 yarn can be substituted.
- Hook: G/4.5mm crochet hook.
- Other Tools: Scissors, tapestry needle for weaving in ends, optional stitch markers to track rounds.

Abbreviations (U.S. Terminology)
- ch: Chain
- sc: Single Crochet
- dc: Double Crochet
- sl st: Slip Stitch
- st(s): Stitch(es)
- blo: Back Loop Only
Pattern Instructions
1. Ribbed Cuff
- Chain 9.
- Single crochet in the second chain from the hook and in each remaining chain across (8 sc total).
Tip: Work into the back bumps of the chain for a clean edge. - Chain 1, turn. Work in blo for each row to create the ribbing:
- Single crochet in the blo of each stitch across (8 sc).
- Repeat the ribbing pattern (Step 3) until you have 32 rows. The cuff should be long enough to fit around the wrist snugly.
Tip: Count the rows by counting the ridges on the ribbing (each ridge = 2 rows). - Join the cuff: Fold the cuff in half, aligning the first and last rows. Using a sl st, sew the edges together:
- Insert your hook into the blo of the first edge and both loops of the opposite edge, then sl st. Continue across all stitches.

2. Base of the Wrist Warmer
- Foundation Round:
- Chain 1. Work a single crochet evenly into the edge of each row around the cuff. You will have 32 sc (1 single crochet per row of ribbing).
- Start Body Stitches (Rounds 2-15):
- Chain 1, begin cluster stitches:
- In the first sc, work 1 sc and 2 dc (this creates your cluster).
- Skip 2 stitches, then repeat the cluster stitch (1 sc + 2 dc) in the next stitch.
- Continue with this cluster pattern (skip 2 sts, 1 sc and 2 dc into the next stitch) around the row.
- At the end of each round, join the round with a sl st into the first sc.
- Chain 1, begin cluster stitches:
- Repeat this cluster pattern for Rounds 2-15 (14 additional rounds after the foundation).

3. Thumb Hole
- Work as in previous rounds (cluster pattern), but when you get to the thumb hole:
- Chain 3, skip 5 stitches (including clusters), and continue with the next cluster in the following stitch.
Note: The 5 skipped stitches and chain space create the hole for the thumb.
- Chain 3, skip 5 stitches (including clusters), and continue with the next cluster in the following stitch.
- Finish this round of clusters as usual, and sl st to join.
4. Build the Thumb Section
- Continue with the cluster pattern as in Round 2:
- Chain 1, cluster into the first stitch, and work around (making sure to work a cluster into the chains above the thumbhole).
- Repeat this pattern for Rounds 16-17 or until the thumb is complete. Sl st to finish.

5. Top Ribbing
- Setup Round: Work one round of single crochets in every stitch around the top edge of your wrist warmer.
- Chain 1, sc into each stitch (32 sc). Sl st to join.
- Ribbing Rows:
- Chain 7 for the ribbing edge.
- Single crochet in the second chain from the hook and in each chain across (6 sc).
- Sl st into the next 2 stitches along the edge of the wrist warmer to secure the ribbing row.
- Chain 1, turn, skip the slip stitches, and sc blo (6 sc back).
- Chain 1, turn, sc blo across. Sl st into the next 2 stitches on the main wrist warmer edge.
- Repeat this ribbing process until you work around the entire top edge of the warmer.
- Join the Ribbing: When the ribbing meets back at the starting point, sl st the first row of ribbing to the last. Cut yarn and weave in ends.

Notes
- Make sure that both wrist warmers are identical by following the same steps for your second warmer.
- For a fun variation, try starting one warmer from the center of the cake and the other from the outside for unique color transitions.
Conclusion
Congratulations! You've completed your Pumpkin Patch Wrist Warmers. This stylish and practical accessory is perfect for chilly days and makes a great gift. If you enjoyed this pattern, share it with your fellow crochet enthusiasts, and don’t forget to subscribe to Needle Clankers for more tutorials.