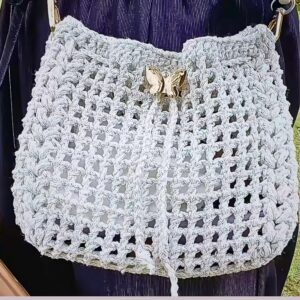
Carry your small treasures in a Crochet Granny Squares Drawstring Bag, blending handmade artistry with functionality in the loveliest way.
Small gifts sometimes carry the greatest sentimental value, especially when they’re handmade with care. Crochet Granny Square Drawstring Bags are delightful creations that make both practical and charming accessories. They feature traditional granny squares stitched together to form a compact pouch, making them versatile for carrying small items like jewelry, coins, or keepsakes. With an adjustable drawstring, these bags provide secure closure while maintaining their visually appealing ruffled edges, making them perfect for gifting or personal use throughout the seasons.
Crochet Granny Squares Drawstring Bag
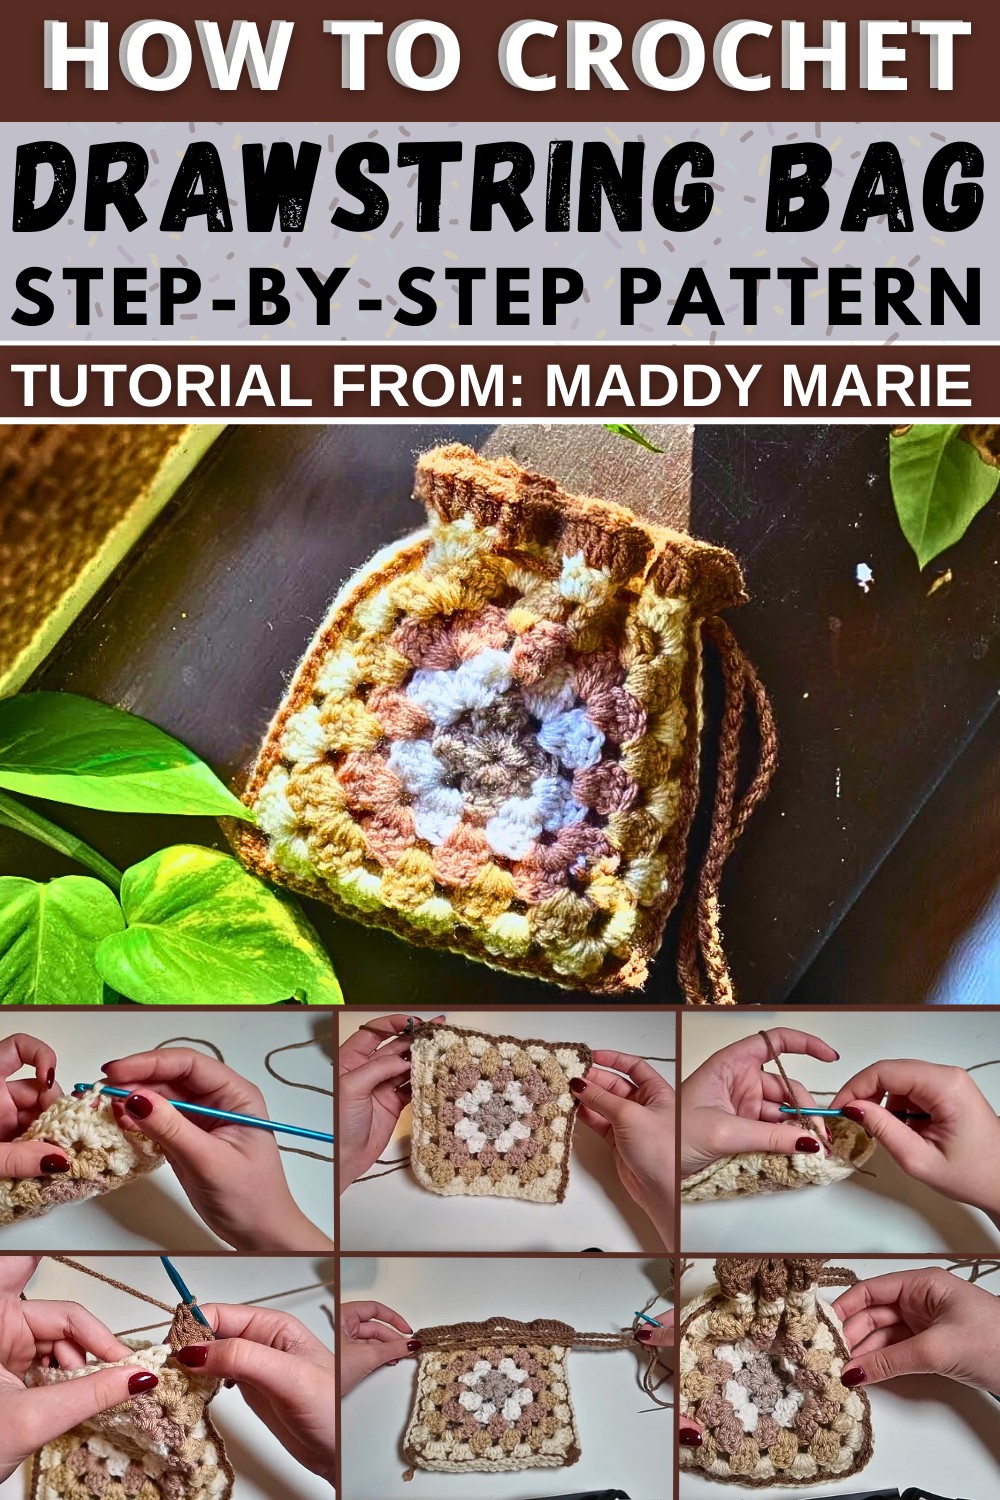
Crochet Pattern: Granny Square Drawstring Bag
This charming and functional granny square drawstring bag is an easy and quick project. Designed for crocheters of all levels, you can make it using leftover granny squares or create squares specifically for this piece. Ideal as a thoughtful handmade gift or a stash-busting project, this bag works perfectly for storing small items. In this pattern, we will walk you through each simple step from materials gathering to making the finished product.
Materials Needed
- Yarn:
- Granny squares can be made with any worsted weight yarn or yarn scraps in your choice of colors.
- Additional yarn (approximately 20-30g) for slip stitching and making the drawstring.
- Suggested yarn color for stitching: contrast or complementary color for decorative purposes.
- Crochet Hook:
- Appropriate size for the yarn recommended; typically, a 4.0 - 5.0mm (G-6 to H-8).
- Other Supplies:
- Scissors
- Tapestry needle for weaving in ends
Abbreviations for Stitches
(All abbreviations use U.S. terminology)
- ch – Chain
- sl st – Slip Stitch
- sc – Single Crochet
- dc – Double Crochet
- yo – Yarn Over
Step-by-Step Pattern
Step 1: Prepare Your Granny Squares
- Create two granny squares of the same size. The video uses classic granny squares with 5 rows, but you can use any design, such as flower granny squares or solid squares.
- If you're new to granny squares, you can find tutorials online. Change colors between rows if desired for a unique look.
Note: Ensure both squares are the same size for accurate assembly.

Step 2: Assemble the Squares with Slip Stitches
- Align the two granny squares right sides out, stacking them evenly.
- Thread your yarn for assembly. Use a contrasting or complementary color for added decoration.
- Begin stitching at one corner:
- Insert the crochet hook through the corner stitch of both pieces.
- Pull through the working yarn and tie a secure knot.
- Work slip stitches along one side:
- Insert the hook through the next stitch in the front square and the corresponding stitch in the back square.
- Yarn over and pull the loop through both stitches, then through the loop on the hook.
- Repeat until you reach the corner.
- Corners:
- Secure the corners with three sc stitches to ensure durability before continuing down the next side.
- Repeat the slip stitch process down the remaining three sides, with three sc in each corner, until three edges of the bag are closed. Leave one side open for the bag opening.

Step 3: Create the Top Ruffle
- After finishing the slip stitching, chain 3 ch (counts as 1 double crochet).
- Work 3 dc into the open corner space of the granny square at the top.
- Transition to the edges:
- Work 2 dc into each stitch or space along the edge.
- For chain spaces, insert 1 dc per space, as needed for the pattern.
- As you progress, this will create a ruffled effect across the top of the bag.

Corners of the Top Row:
- Place 3 dc into each corner to maintain the shape of the top row.
- Once you’ve completed the circuit of the top edge, join with a sl st to the top of the beginning ch-3.
- Fasten off and weave in the ends.
Step 4: Create the Drawstring
- Use your chosen yarn color and make a slip knot to start.
- Chain a length long enough to wrap around the bag’s top twice comfortably, leaving some extra slack for tying. For example, you might make a chain of 60-80 stitches depending on your bag's size.
- Fasten off and pull tight.

Step 5: Weave the Drawstring
- Begin threading the chain through the top of the bag:
- Insert the chain into one corner space.
- Weave in and out of the spaces created by the ruffle, alternating over and under around the bag's top.
- Adjust the placement of the drawstring chain so that both ends are on the same side of the bag.
- Tie both ends together with a knot, trim excess yarn (leave enough yarn for a decorative tassel if desired).

Step 6: Finishing Touches
- Weave in any remaining ends securely using a tapestry needle.
- Test the drawstring’s functionality by tightening the bag and ensuring the top gathers evenly.

Conclusion
You’ve just completed your adorable granny square drawstring bag! This project is a fantastic way to use up leftover granny squares and yarn, and the final result is perfect for gifting or personal use. The bag is fun, functional, and can be customized with different granny square designs and yarn colors. Happy crocheting!