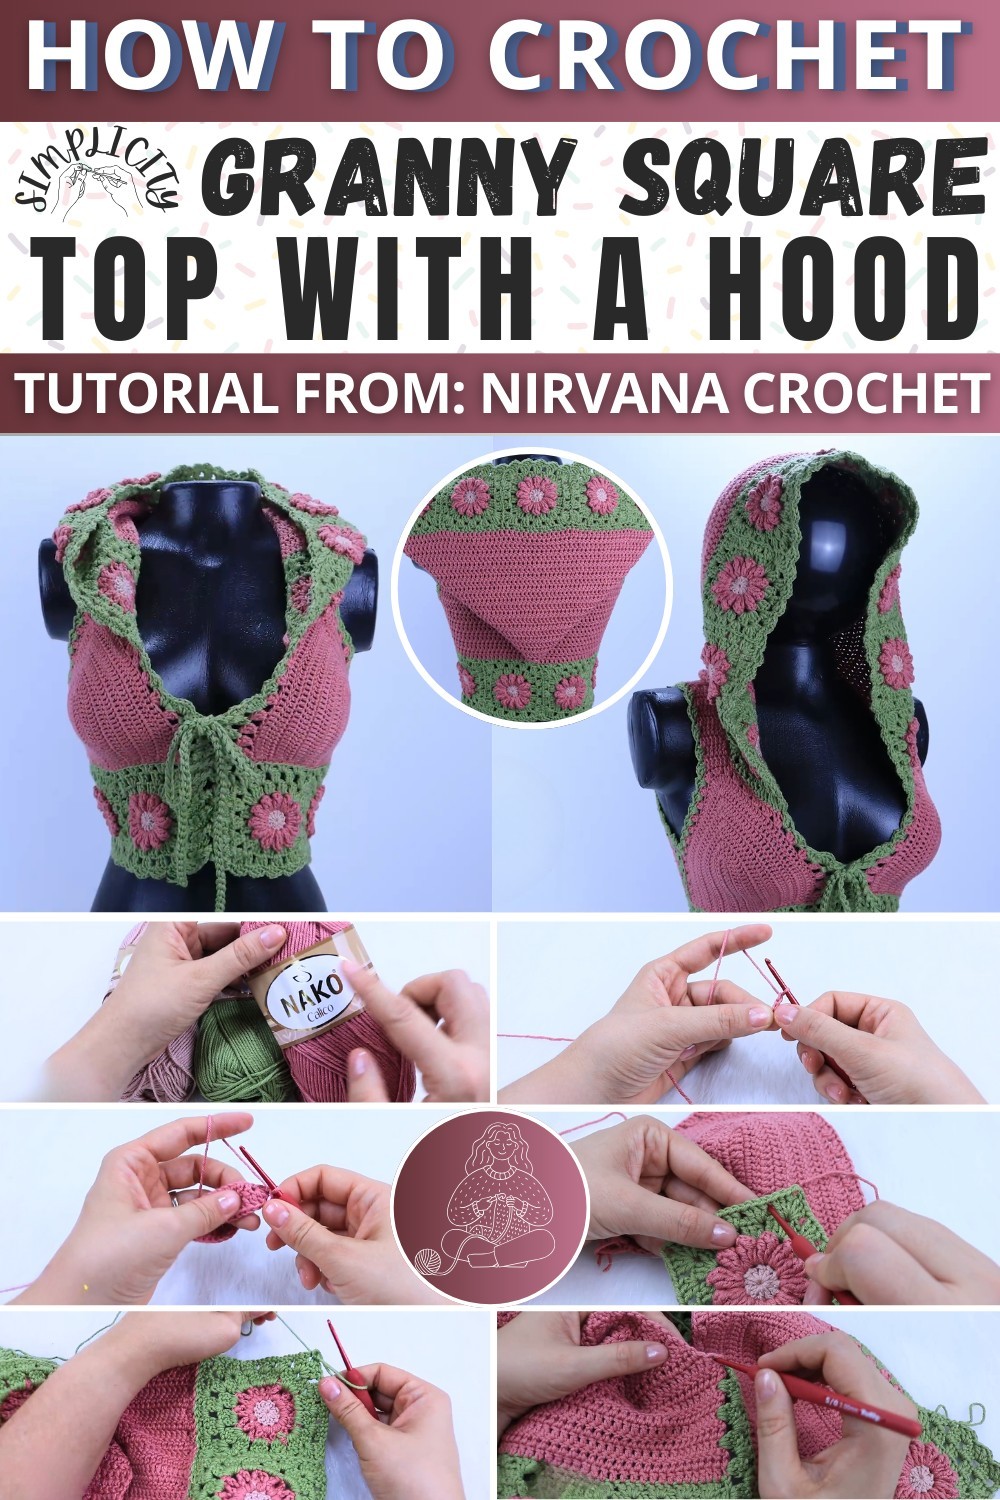
Creating crochet top is easy and fun, perfect for anyone who loves to crochet. The top we are presenting today features eight Granny Squares in the bust and four in the back, ensuring a snug yet comfortable fit.
The cups are made with double crochet rows, increasing by five stitches at the center for a rounded shape. Add a hood, and you’ve got a versatile, cozy top! The finished piece looks intricate but is achievable even for beginners, perfect for casual outings or a cozy day in. Lets start crocheting with us!
Granny Square Crochet Top With Hood All Sizes
Making The Granny Square Crochet Top
Materials Needed
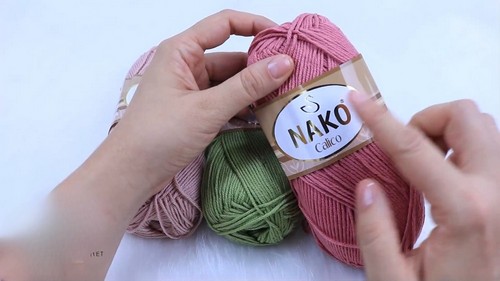
- Yarn of any style and color (composition used in video is 50% cotton and 50% premium acrylic)
- 3-mm crochet hook
- Tape measure
- Yarn needle
- Measurement of the bust contour
- Measurement from shoulder to desired top length
- Measurement from shoulder to bust length
Instructions
Determine Number of Granny Squares
- Create a sample granny square.
- Measure the width of your granny square. In the video, the square measures 9.5 cm slightly stretched.
- Measure the bust contour (e.g., 90 cm).
- Subtract 10 cm from bust measurement for buttonholes and final edges (e.g., 80 cm).
- Calculate the number of granny squares needed:
[ 80 \div 9.5 \approx 8.42 ] - Round 8.42 to 8 or 9. In the video, 8 granny squares were chosen (8 × 9.5 cm = 76 cm), adding 4 cm later when doing the back.
Knit the Granny Squares and Join Them
- Knit 8 granny squares for the bust area.
- For the hood, knit 9 granny squares (9 Granny squares is approximately 89.55 cm).
Knit the Cups
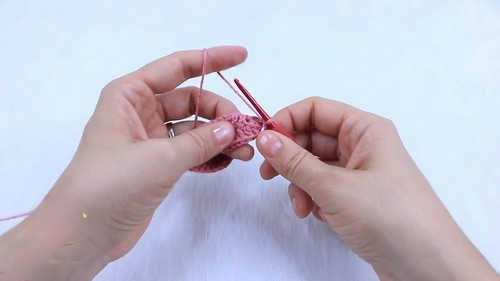
- Make a slip knot and chain to a width of 7.5 cm depending on size.
- Knit a double crochet (dc) in the third chain from the hook and each chain after.
Increase for the Cups
- Turn and chain 2, start double crochet without yarn over in each stitch.
- For each side of the increase section, make 5 dc in one chain space, placing a marker at the 3rd dc.
- Repeat until the desired cup height and width are achieved (e.g., 8 rows for M cup size).
Knit the Borders and Straps
- Determine the right side of the cup.
- Add Granny stitch trim on the right side to the top edges of the cup.

Cupe and Cup JOINING with Granny square bodice
- Determine width for top, granny squares should measure the same as the cup width.
- Add additional rows if necessary.
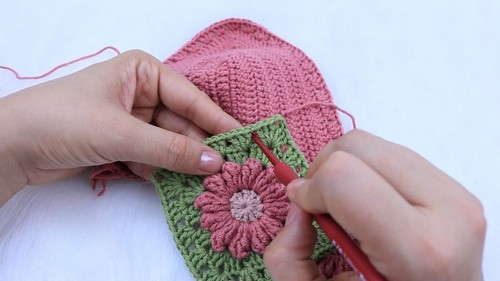
- Join granny squares from the back and cups using invisible/sewing stitch.
Knit the Back Panel
- Join granny squares for the back.
- Knit in double crochet for 8 rows, then 1 row single crochet for top border.
- For side edges, add 2 cm worth of rows to each side of the back panel (4 rows total).
Finish the Top
- Join back panel to the front cups with side seams.
- Add finishing double crochets and single crochets for even edges.
- Seam shoulder area with seam of back to top of cups.

Knit the Hood
- Knit 23 rows of double crochet for a width of 31 cm for the hood.
- Sew seam of hood to back neckline and join sides to the top.
Knit the Buttonholes
- Position and mark where buttonholes go on the front granny square panels.
- Knit ch1, sc (single crochet) around edges uniformly.

Final Finishes
- Knit a rope chain with approx. 12m of yarn, 150 cm long to lace up.
- Weave in ends and braids.
- Add buttons to secure back opening.

Once complete, your top should look similar to the one made in the video.
Enjoy your new top!