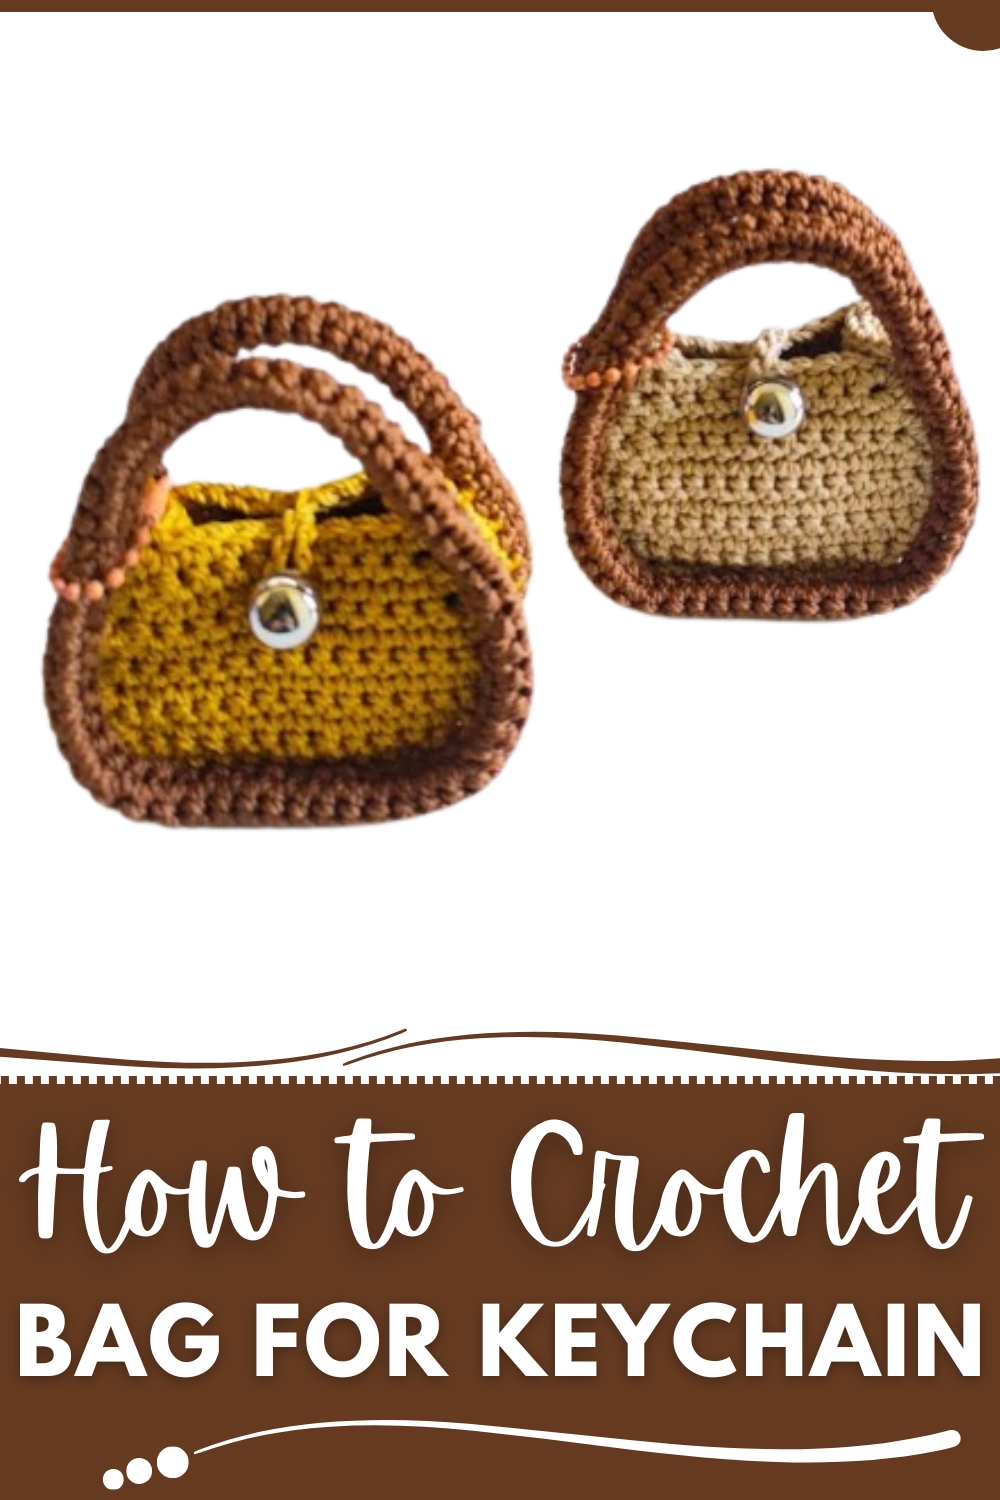
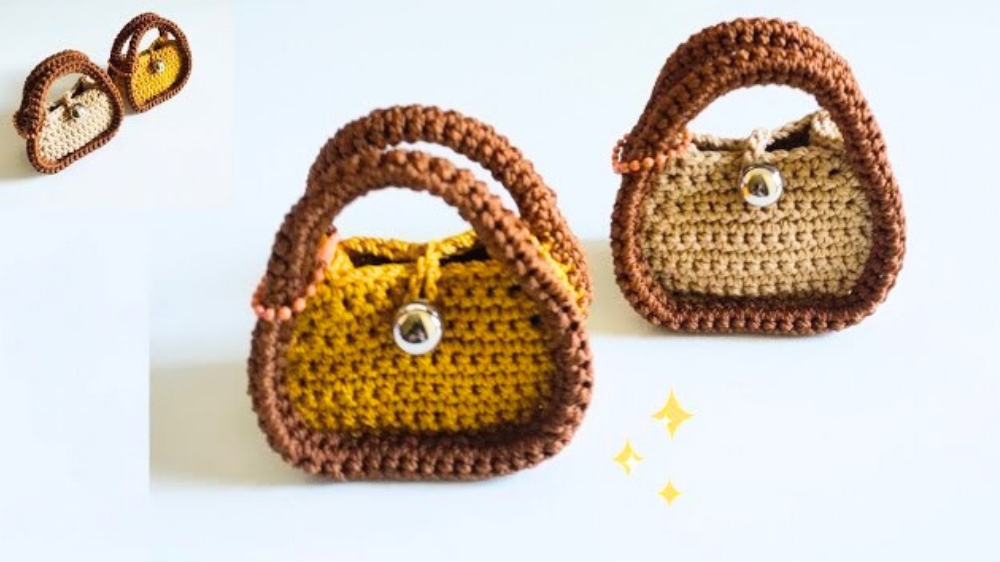
Accessorize with tiny style using this Free Crochet Mini Bag Keychain Pattern, a cute and practical piece perfect for gifts or everyday charm.
Small treasures deserve a charming place of their own, and a tiny bag keychain offers just that with an appealing mix of style and usefulness. This delightful accessory slips easily onto keys, backpacks, or handbags, giving a playful accent while serving a practical purpose. The Free Crochet Mini Bag Keychain pattern provides a clever way to keep coins, earbuds, or other little necessities within reach, turning ordinary moments into chances for organized elegance. Lightweight yet sturdy, it stands out as a thoughtful handmade gift or a personal treat that expresses individuality through color and texture.
Breeze Crochet Mini Bag Keychain to Carry Tiny Treasures
Its compact size invites endless variations, allowing each piece to reflect seasonal moods or favorite shades, while its soft structure adds a cozy touch to everyday carry items. Whether paired with casual outfits or a more polished look, this miniature bag adds personality without overwhelming.
Beyond its charm, it helps reduce clutter by offering a secure spot for those small essentials that so often disappear in larger totes. The Free Crochet Mini Bag Keychain pattern offers both function and flair, making it a standout accessory that brightens daily routines and delivers a gentle reminder that even the smallest details can carry beauty and purpose.
Special Features
- It is designed as a mini bag in the shape of an envelope, making it both decorative and functional.
- Uses only basic crochet stitches, making it beginner-friendly.
- Includes a small handle, a button closure, and a compact design for convenience.
- It’s crafted with a sturdy yarn (Onitsuga polycherry yarn) and features neat finishing techniques.
Materials Needed
- Yarn: Onitsuga polycherry yarn (or any sturdy yarn).
- Crochet Hook: 4/0 crochet hook (Tulip brand recommended).
- Button: A small button for closure.
- Needle and Thread: For attaching the button.
- Lighter: For securing the thread ends neatly.
- Scissors: For cutting the thread and yarn.
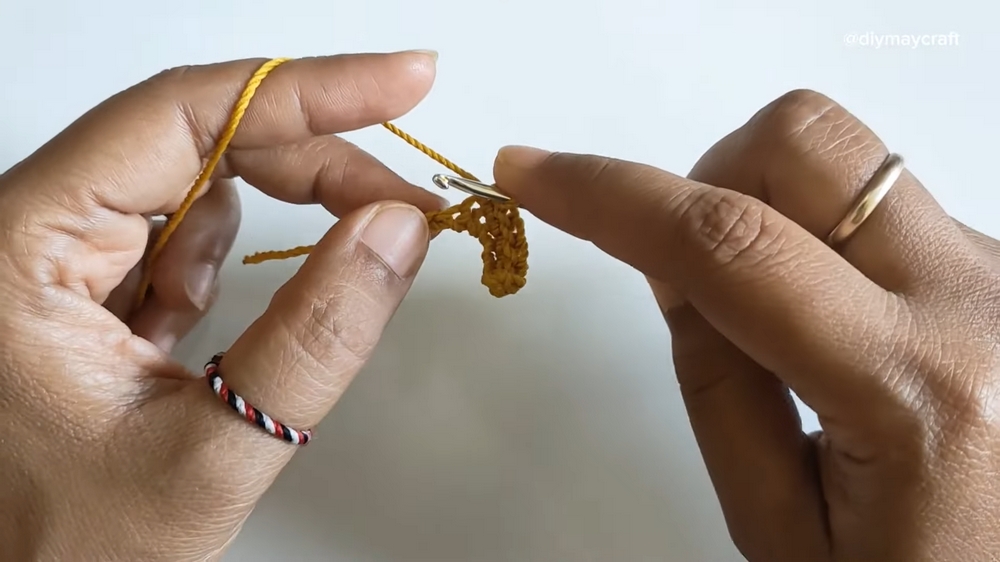
Step-by-Step Instructions
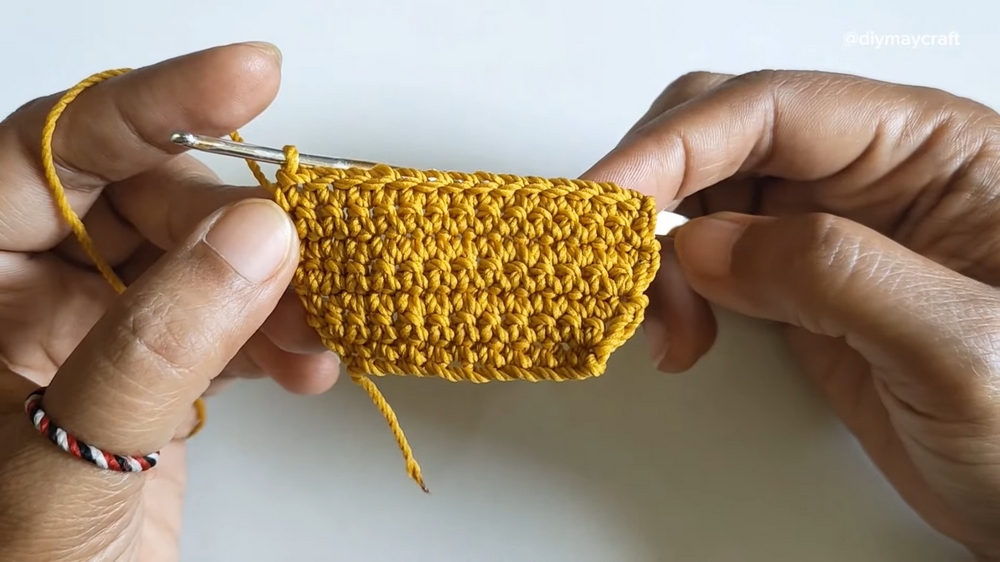
Base Structure:
- Foundation Chains: Start with a slip knot, then make 11 chains.
- First Row: Crochet 10 single crochets into the chains.
- Second Row: Chain 1 and turn your work. Add a single crochet increase in the first and last stitches, with 8 single crochets in between. (Total: 12 stitches).
- Third & Fourth Rows: Continue with 12 stitches, increasing the first and last stitches in the fourth row for a total of 14 stitches.
- Rows 5 to 7: Maintain 14 single crochets in each row, chaining 1 and turning at the end of each row.
- Row 8: Begin decreasing. Chain 1, make a single crochet decrease at both the start and end of the row, with 10 regular single crochets in the middle. (Total: 12 stitches).
- Rows 9 to 11: Repeat the process, decreasing stitches in the 10th row to reach 10 stitches by the end. Fasten off with a lighter.
Second Piece:
- Repeat the exact steps above to create an identical second piece for the opposite side of the bag.
Side Panel:
- Foundation Chains: Slip knot and make 6 chains.
- Rows 1 to 34: Work 5 single crochets across each row for 34 rows. This forms the long side panel.

Assembly:
- Align the two base pieces and side panel.
- Use single crochets to join the edges, ensuring a neat and even finish. Add 2 single crochet increases at the corners for a smooth curve.
- Finish with slip stitches at the end and trim the excess yarn neatly.
Button Closure:
- Create a loop for the button closure by making 12 chains (or more, depending on button size).
- Attach it with slip stitches to the designated spot, ensuring symmetry.
- Sew the button to align with the loop using a needle and thread.
Handle:
- Attach the yarn at one end of the bag and make 20 chains.
- Connect the chain to the opposite side with a slip stitch.
- Add single crochets to the handle for durability and repeat rows to make it stronger.
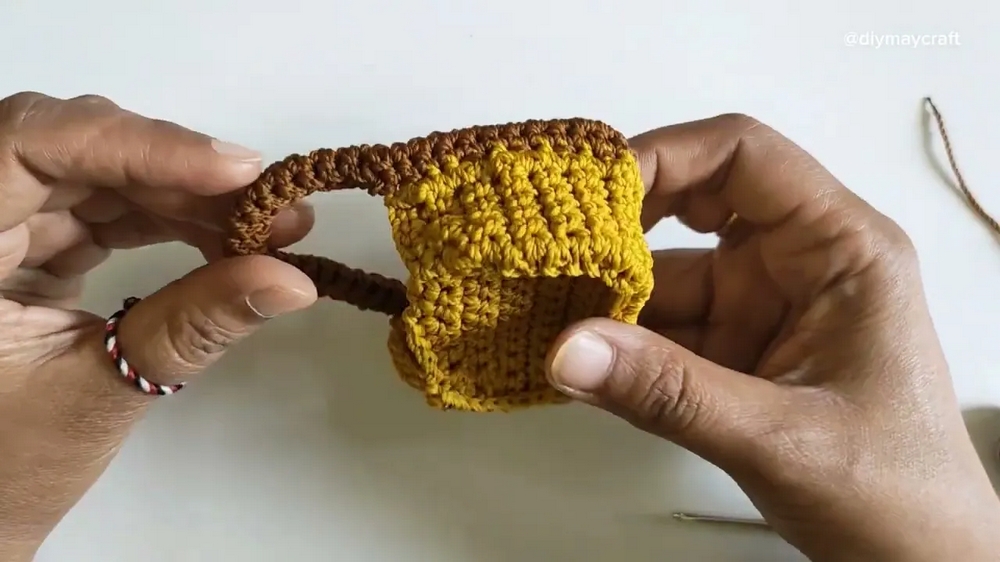
Finishing:
- Fold down the handle and secure it by sewing the stitches for a neat loop.
- Clean up loose ends with a lighter for a tidy finish.
Tutor’s Suggestions
- Work slowly to ensure the stitches remain even and symmetrical.
- Use sturdy yarn to provide durability to the keychain.
- For beginners, marking the beginning and end of rows can help avoid mistakes.
Level of Difficulty
- Skill Level: Beginners to intermediate. The stitches are simple, but precision is required during assembly.
Uses
- A cute and functional keychain.
- As a small coin or trinket pouch.
- A handmade gift that is practical and unique.
Tip
When working on the edges and uniting the pieces, ensure tight single crochet stitches to avoid gaps or looseness, giving the finished bag a clean and professional look.
Conclusion
The Crochet Mini Bag Keychain is a delightful project that combines simplicity with utility. By following the pattern tutorial meticulously, you’ll achieve a practical and stylish handmade accessory.