
Create adorable baby headwear with our Free Crochet Turban Hat Pattern for Babies – perfect for stylish, cozy, and trendy homemade gifts. Start crafting now!
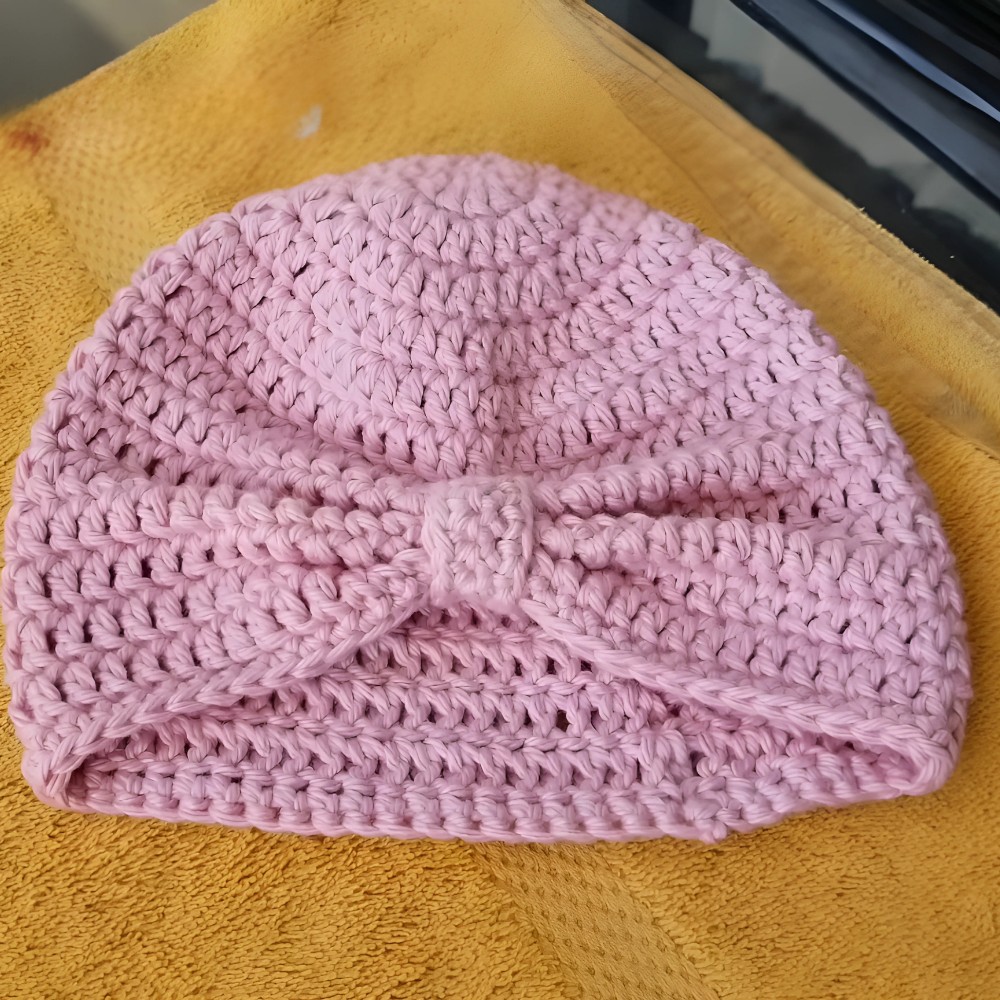
It is a delightful blend of style and comfort, offering a fashionable way to stay cozy during cooler seasons. This adorable Crochet Turban Hat creates a stylish turban hat that not only keeps your baby’s head warm but also adds a touch of elegance to their outfit. The design features a cute knot at the front and a comfortable, stretchy band that fits snugly without being too tight. Perfect as a handmade gift, this pattern is easy to follow and suitable for beginners.
How To Crochet Turban Hat For Baby

Looking for a charming and practical crochet project? Our Free Crochet Turban Hat Pattern for Babies is perfect for you! Ideal for both beginners and seasoned crocheters, the pattern's simplicity ensures that anyone can crochet this versatile accessory. The hat is crocheted using soft, baby-friendly yarn that ensures comfort and warmth. Its unique style is ideal for both everyday wear and special occasions, making your little one the center of attention. With this pattern, you can create a special accessory that combines practicality with fashion. Start crafting now and make something truly special for the baby in your life!
Tip:
Use a lightweight yarn for a more comfortable fit and to ensure the turban retains its shape longer.
Step-by-Step Guide to Crochet a Baby Beanie Turban
Introduction:
In this project you will learn how to create a stylish baby beanie turban. Here's a comprehensive step-by-step guide based on this video.
Materials Needed:
- Pink cotton yarn
- Size 4 crochet hook
- Needle
- Scissors
- Stitch marker


Step 1: Create a Magic Ring
- Start by making a magic ring.
- Inside the magic ring, crochet 11 double crochets.
- Slip stitch to the top of the initial chain 3 to close the round.
Step 2: Increase Stitches
- Chain 3, then double crochet in the same stitch.
- Make 2 double crochets in each stitch around the circle.
- Slip stitch to close the round.
Step 3: Continue Increasing
- Chain 3, then make 2 double crochets in the same stitch.
- Alternate between 1 double crochet in the next stitch and 2 double crochets in the following stitch.
- Continue this pattern around the circle.
- Slip stitch to close the round.
Step 4: Further Increase Stitches
- Chain 3, then make 1 double crochet in the next stitch, and 2 double crochets in the following stitch.
- Repeat the pattern: 1 double crochet, 1 double crochet, 2 double crochets.
- Slip stitch to close the round.
Step 5: Establish the Beanie's Height
- Chain 3, then double crochet in each stitch around the circle without any increases.
- Slip stitch to close the round.
- Repeat this step until the beanie reaches 5-6 inches in height.
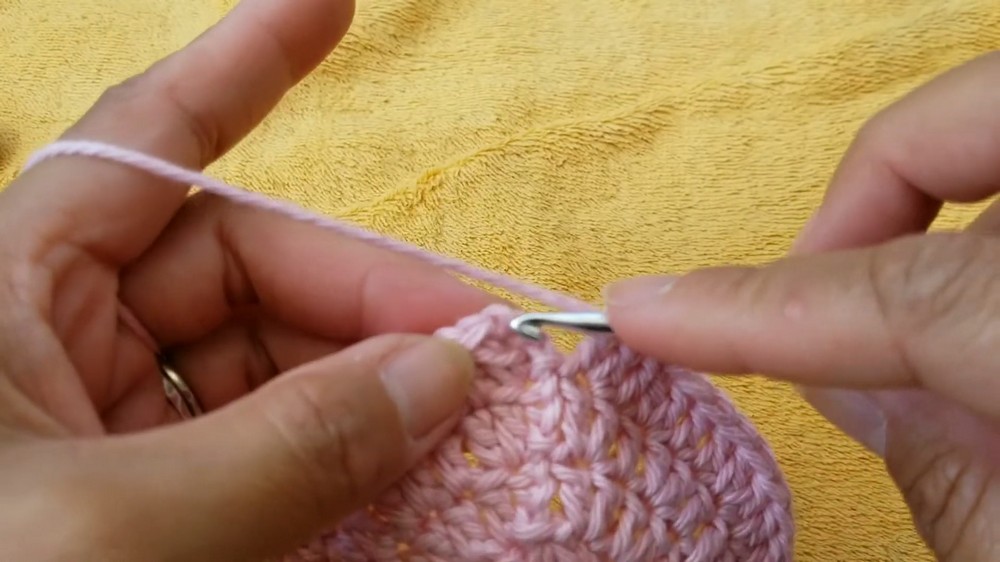
Step 6: Create the Front Opening
- Identify the center back of your beanie.
- Skip 3 stitches at the front center and place a stitch marker.
- Chain 3, then double crochet until you reach the marker.
- Chain 3 to bridge the gap, then continue double crocheting to complete the round.
- Repeat double crochet rows, incorporating the stitches in the chain 3 gap, until the beanie reaches the desired height.
Step 7: Finish the Edges
- Chain 1, then single crochet around the beanie's edges.
- Slip stitch to close and fasten off the yarn.
Step 8: Make the Turban Knot
- Chain 10 (or 15 depending on the beanie size) to create the knot band.
- Single crochet into the back loop of the chains.
- Chain 1, turn, and single crochet across the row. Repeat for 3 rows.
- Leave a long enough tail to sew the band.
Step 9: Assemble the Turban
- Fold the beanie to identify the center front.
- Pinch and fold the front to create a ribbon-like effect.
- Sew the knot band over the folded section securely with the long tail.
Conclusion:
You have now created a beautiful baby beanie turban. This simple yet stylish accessory not only keeps your baby warm but also adds a fashionable touch. Thank you for following along with this guide.


