
Brighten your day with this free, fun crochet pattern for a baby girl flower hat, adding a cute and cozy touch to your little one's wardrobe.
This captivating pattern is designed to bring out the charm in every baby girl’s wardrobe, combining both elegance and comfort. Perfect for crocheters of all skill levels, this pattern guides you through crafting a beautiful BABY hat adorned with delightful flower embellishments. Its features include detailed instructions, step-by-step photos, and recommendations for the best yarn types to ensure the hat is soft and cozy on sensitive baby skin.
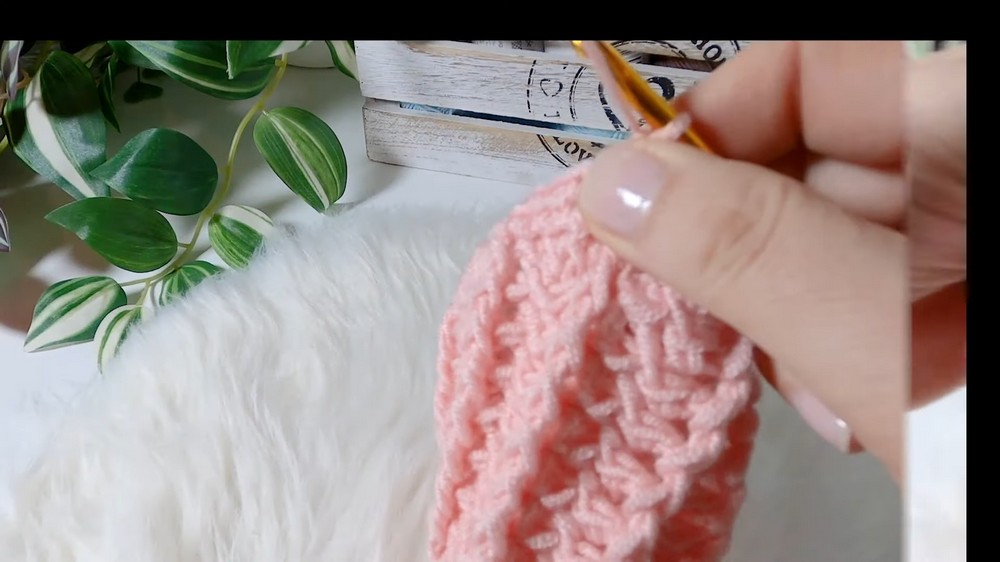
Easy & Quick Crochet Baby Girl Flower Hat 0-3 Months

The finished product is not only a stunning visual piece but also provides warmth, making it suitable for all seasons. It’s an ideal gift for baby showers, birthdays, or just to show love and care.

Crochet Pattern for Baby Girl Flower Hat
Materials Needed
Before beginning the project, gather the following supplies:
- Yarn: Acrylic and bamboo blend or any soft yarn suitable for babies.
- Weight: Light worsted or DK yarn.
- Hook Size: 4.5mm crochet hook.
- Accessories:
- Scissors.
- Yarn needle (for weaving in ends).
Suggested Yarn Length: Approximately 100–150 meters of yarn for size 0–3 months.
Special Techniques
The following crochet techniques are used in this pattern:
- Slip Knot (sl knot): Creating the foundation of your yarn.
- Chain (ch): Basic foundational stitches to start each round/row.
- Slip Stitch (sl st): Used to join rounds effortlessly.
- Double Crochet (dc): Primary stitch used for the hat body.
- **Front Post Double Crochet (fpdc): Used for textured ribbing.
- Back Post Double Crochet (bpdc): Creates depth and texture alongside fpdc.
- Single Crochet (sc): Creates the finishing border with tight stitching.
Skill Level: Beginner-friendly with textured stitch techniques introduced.
Steps to Crochet the Baby Hat
Foundation and Round 1: Base Circle
- Start with a slip knot.
- Chain 4 (ch4) and join with a sl st to form a circle.
- Chain 2 (ch2) (does not count as a stitch).
- Work 12 double crochets (dc) into the center of the circle.
- Join with a sl st to the top of the first dc.


Round 2: First Increase
- Chain 2 (ch2).
- Work 2 double crochets (2dc) into each stitch from the first round.
- Total stitches at the end of the round: 24 double crochets (dc).
- Join with sl st to the top of the first dc.
Round 3: Second Increase
- Chain 2 (ch2).
- Work 1 double crochet (dc) in the first stitch, followed by 2 double crochets (2dc) in the next stitch. Repeat this pattern (1dc, then 2dc) around the entire round.
- Total stitches: 36 double crochets (dc).
- Join with sl st to close the round.

Round 4: Third Increase
- Chain 2 (ch2).
- Work 1 double crochet (dc) into the first two stitches, followed by 2 double crochets (2dc) in the next stitch. Repeat this pattern (2dc, then 2dc) until the end of the round.
- Total stitches: 48 double crochets (dc).
- Join with sl st.
Round 5: Maintaining Size
- Chain 2 (ch2). Do not increase this round.
- Work 1 double crochet (dc) into every stitch around.
- Total stitches: 48 double crochets (dc) (unchanged).
- Join with sl st to close the round.

Round 6: Ribbing with Front and Back Post Double Crochets
- Chain 2 (ch2).
- Begin with 1 front post double crochet (fpdc) around the first dc stitch.
- Skip 1 stitch, then work 3 back post double crochets (bpdc) in the next stitch.
- Repeat the pattern:
- 1 fpdc (around stitch), skip 1, then 3 bpdc (starting in skipped stitch).
- This pattern creates textured ribbing.
- At the end of the round, join with a sl st to the first fpdc.
Rounds 7–8: Maintain Ribbing
Repeat the textured ribbing pattern exactly as described in Round 6:
- 1 fpdc on previous round's fpdc.
- 3 bpdc in the middle stitch of the previous round’s 3 bpdc cluster.
Continue until the end of the round.
Rounds 9–12: Finishing with a Border
- Round 9:
- Chain 1 (ch1).
- Work 1 single crochet (sc) into every stitch in a continuous round.
- Round 10:
- Chain 1 (ch1).
- Alternate stitches:
- Work 1 sc into the next stitch.
- Work 1 sc in back loop only into the next stitch.
- Repeat throughout the round.
- Rounds 11–12: Repeat Round 10.
- After completing the rounds, join with a sl st to close the hat border.

Finishing the Hat
- Weave in all ends securely using a yarn needle. Cut excess yarn neatly with scissors.
- Flatten the hat and confirm stitch symmetry.
Optional Add-Ons and Customization
- Flower Embellishment: Add a crocheted flower to one side. Refer to the provided description link for patterns.
- Color Blocking: Use two contrasting colors for ribbing and border sections to create visual interest.
- Personalization: Add initials or appliqués for a unique touch.
Tips for Maintaining the Pattern
- Count Stitches Regularly: Ensure correct stitch count (e.g., 12 dc in the first round, increasing properly in subsequent rounds).
- Use Markers: Place stitch markers to identify post stitches for ribbing.
- Adjust Sizes Properly: Follow the increase formula to make hats for larger or smaller sizes.
- Block the Hat: Use blocking techniques for smoother finish and even stitching.
Conclusion
Your baby hat is now complete, beautifully textured with ribbing for visual appeal and a soft border for comfort. This lightweight project is perfect as a gift for newborns, showcasing both style and practicality.
Final Thoughts
Thank you for following this detailed tutorial! Crocheting for babies is a delightful experience, and this hat is perfect for both beginners and seasoned makers. Customize it further to make it one-of-a-kind.


