
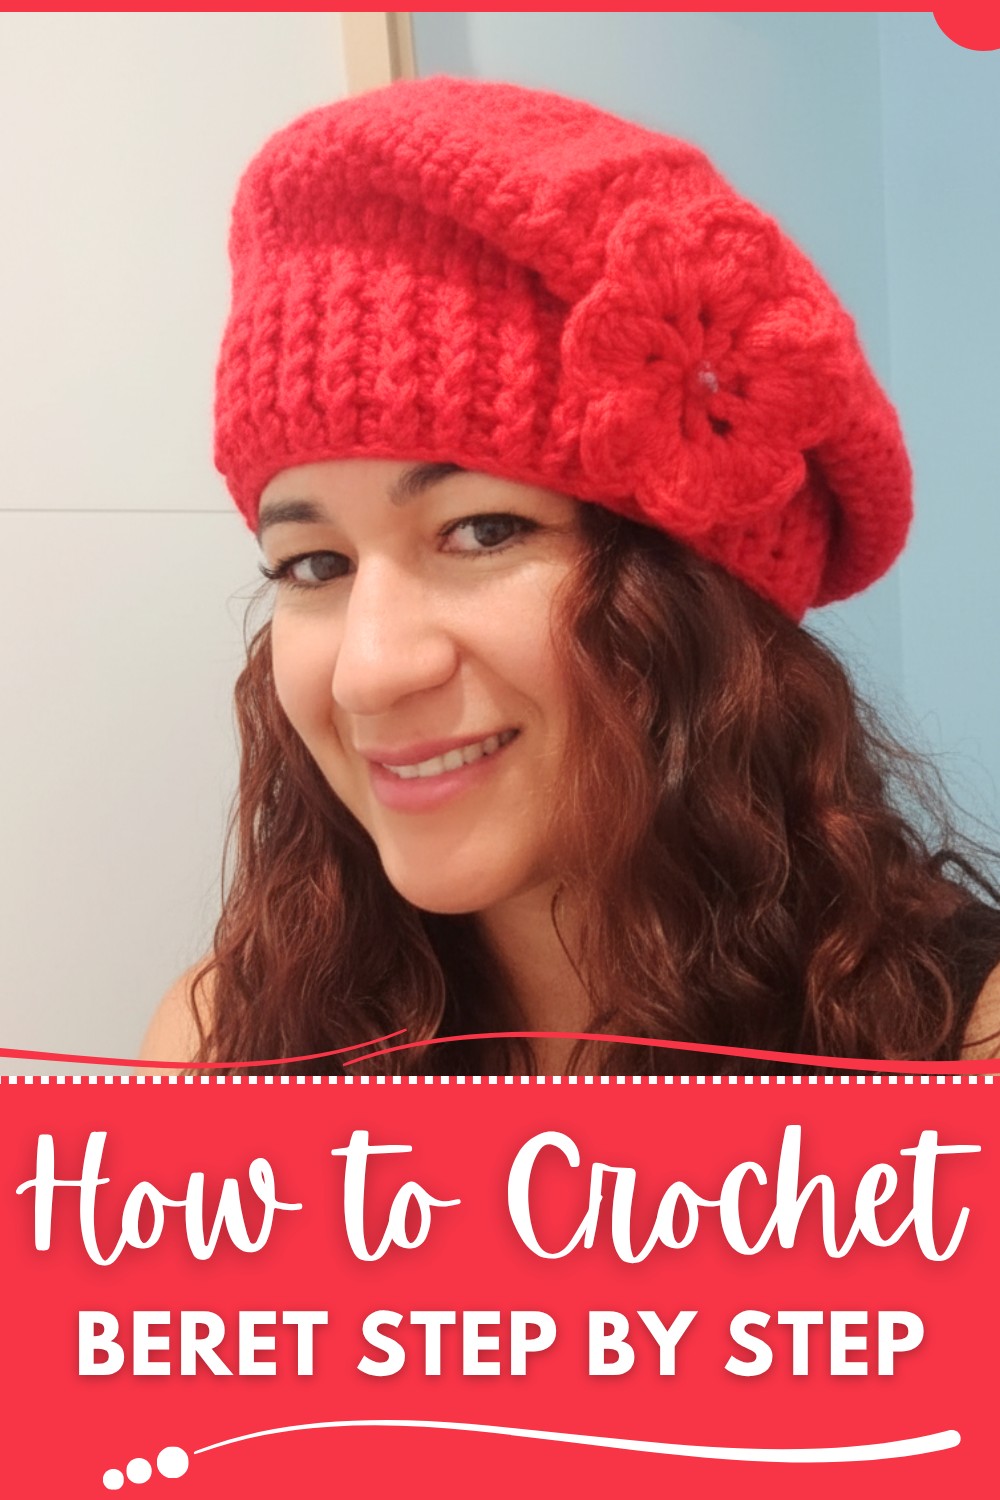
Style your look with a fun crochet beret that's cozy, trendy, and bursting with personality, making it the ultimate accessory for any season or outfit.
Who says fashion can’t meet coziness? A crochet beret is the ultimate blend of style and comfort, turning a classic accessory into a handmade masterpiece. This charming headwear isn’t just about keeping warm, it’s a creative way to jazz up any outfit, whether you’re aiming for Parisian chic or playful street style.
Free Crochet Beret Pattern for a Trendy Winter Look
The beauty of a crochet beret lies in its versatility; it can be made with bold colors for a statement piece, soft neutrals for an everyday look, or textured yarns to really make it pop. Perfect for beginners and seasoned crocheters alike, this project offers just the right balance of challenge and fun. Add embellishments like buttons, bows, or even pom-poms for a unique touch.

Step-by-Step Crochet Beret Pattern
Materials
- Yarn:
- Type: Círculo Mais Bebê 100% acrylic yarn.
- Skein Weight: 100 grams.
- Suggested Colors: Red (or any preferred color).
- Crochet Hook:
- Size: 4.5 mm (US 7) (if working with three strands of yarn).
- Alternative Hook Size: 4.0 mm (US G/6) (if working with fewer strands).
- Additional Tools:
- Scissors.
- Yarn needle for weaving ends.
- Optional: Nylon for beading if adding embellishments (like pearls).
Skill Level
Intermediate: Includes relief stitches, magic ring technique, structured increases, and decreases.
Key Abbreviations
| Abbreviation | Meaning |
|---|---|
| ch | Chain |
| sl st | Slip Stitch |
| sc | Single Crochet |
| hdc | Half Double Crochet |
| dc | Double Crochet |
| tr | Treble Crochet |
| yo | Yarn Over |
| st(s) | Stitch(es) |
Special Notes
- Multi-Strands: If using multiple strands of yarn, ensure consistent tension. Use two threads from one skein and one thread from another skein to work with three strands.
- Contrast Yarn: Add accents with pearl beads or alternate color threads for embellishments like flowers.
Pattern Instructions
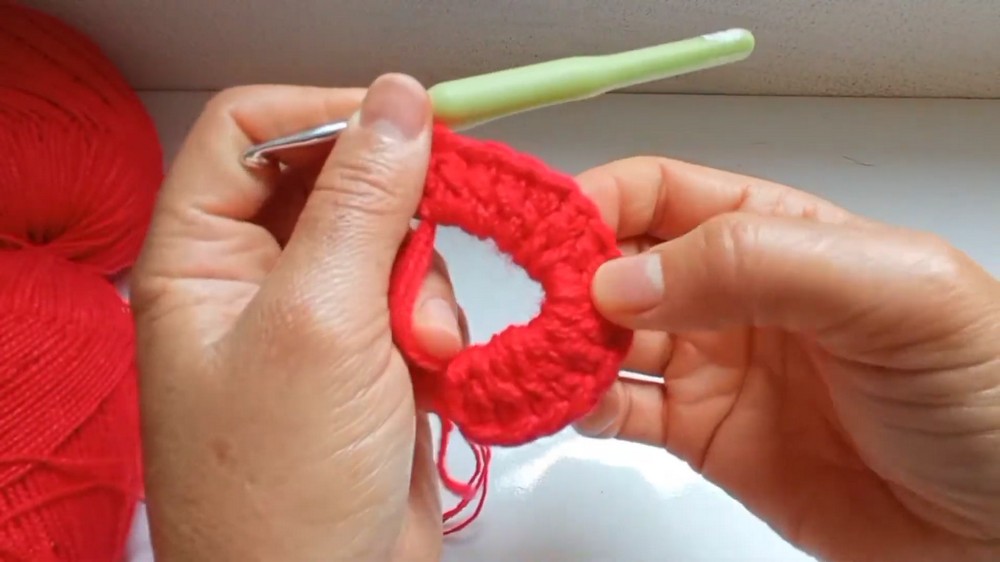
Part 1: Crown of the Beret
- Magic Ring (Foundation Round):
- Make a magic ring by looping yarn around your fingers.
- Ch 2: Counts as the first dc.
- Work 15 dc into the ring (including the ch 2). This will total 16 dc for the round.
- Pull the tail of the ring tight to close the circle.
- Join the round with a sl st into the top of the ch 2.
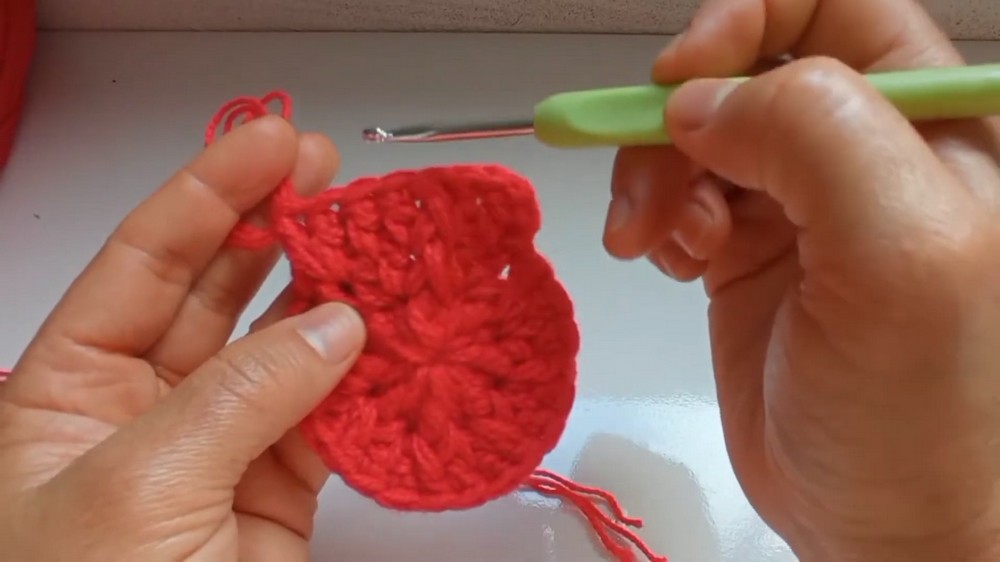
- Round 2:
- Ch 2 (counts as the first dc).
- Work 2 dc into each stitch around.
- Total: 32 dc (16 stitches doubled).
- Join with sl st into the top of the ch 2.

- Round 3 (Relief Stitch):
- Ch 2 (counts as the first dc).
- Work 1 dc at the same spot as the ch 2.
- Alternate pattern:
- Relief Dc: Yarn over, insert the hook around the post of the next stitch (working the stitch in front relief instead of into the top loops), yo, pull through, yo, complete as dc.
- Normal Dc: Insert hook into the top loops, work as usual.
- Continue alternating between Relief Dc and Normal Dc stitches.
- Join with sl st into the top of the ch 2.
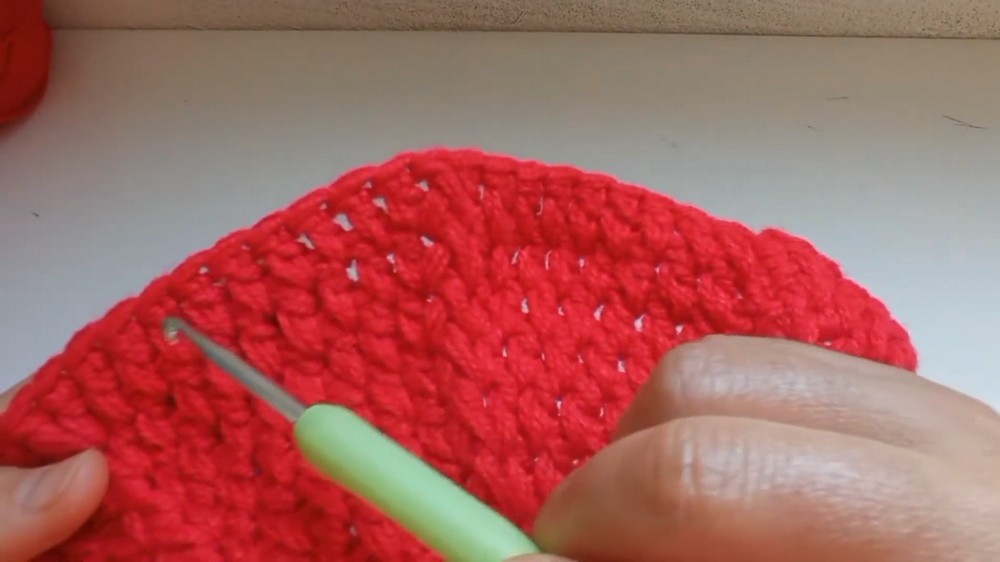
Part 2: Expanding the Crown of the Beret
- Rounds 4–10:
- For each new round, add 1 more dc stitch between relief stitches to expand. The pattern alternates between relief and standard stitches. For example:
- Round 4: Relief Dc → 2 dc → Relief Dc → 2 dc... (48 total stitches).
- Round 5: Relief Dc → 3 dc → Relief Dc → 3 dc... (60 total stitches).
- Round 6 onwards: Increase the count of stitches between relief stitches (e.g., 4 dc, 5 dc, etc.) as you go.
- After completing 10 rounds, the crown of the beret should measure approximately 10 inches in diameter, depending on yarn weight and tension.
- For each new round, add 1 more dc stitch between relief stitches to expand. The pattern alternates between relief and standard stitches. For example:
Part 3: Starting the Band with Reductions
- Reduction Round:
- Ch 2 (counts as the first dc).
- Skip 1 stitch, work 1 dc in the next stitch.
- At every relief stitch, continue working standard relief dc without skipping.
- This creates a slight reduction that begins shaping the band.
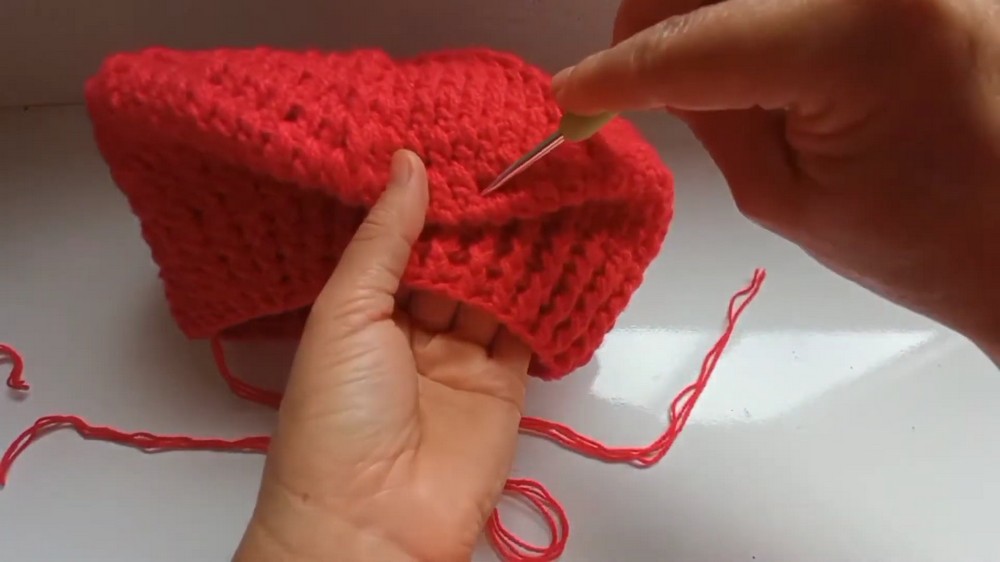
- Accordion-Style Band:
- Ch 2 (counts as first dc).
- Work alternating front-post double crochet (FpDc) and back-post double crochet (BpDc):
- FpDc: Yarn over, insert hook around the post of a stitch from front to back, yo, pull through, complete dc stitch.
- BpDc: Yarn over, insert hook around the post of a stitch from back to front, yo, pull through, complete dc stitch.
- Repeat FpDc and BpDc around the band.
- Work 4–5 rows of this pattern, ensuring a snug fit.
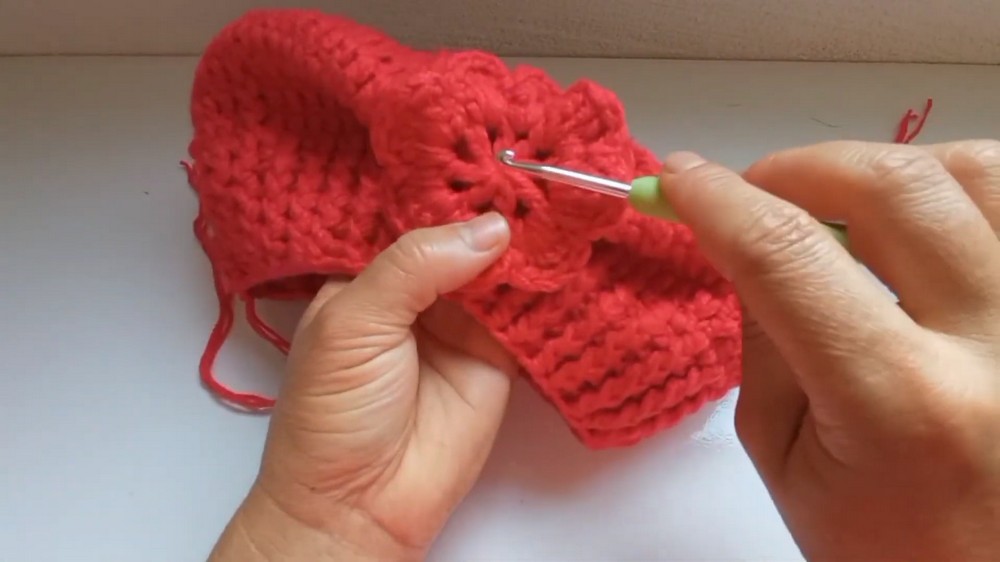
Part 4: Decorative Flower (Optional)
- Flower Decoration:
- Create a magic ring:
- Ch 1, work 8 hdc separated by ch 1.
- Close the ring tightly, join with sl st, and bind off.
- For each petal:
- Join yarn to any ch-1 space.
- Ch 3, Work 6 dc into the same space.
- Sl st into the next ch-1 space.
- Continue this pattern for 8 petals.
- Create a magic ring:
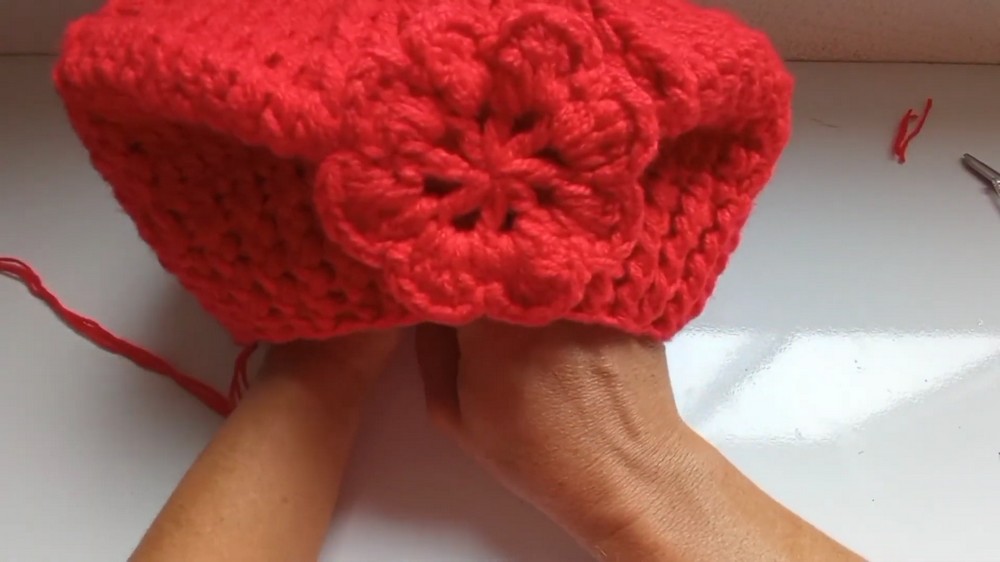
- Attach Flower to Beret:
- Position the flower at the desired spot.
- Use a thread or silk cord to sew securely to the beret.
Part 5: Finishing Touches
- Final Round and Seam:
- Sew in all loose ends using a yarn needle.
- Block finished beret by gently steaming or dampening and shaping it on a round object (like a bowl).
- Add embellishments like beads or pearls for extra elegance.
Customization Ideas
- Size Adjustments:
- Add or subtract rounds in the crown to increase or decrease the diameter.
- Perform additional or fewer reduction rounds in the band as needed for a snug fit.
- Color Variations: Use contrasting colors for the relief stitches or decorations.
- Embellishments:
- Sew pearls or beads in the center of the decorative flower.
- Add silk cords or ribbons for a trendy finish.
Conclusion
Congratulations on completing your beautiful crochet beret! This versatile pattern allows for elegant personalization and practical warmth, making it perfect for winter wear or gifting. With its textured relief stitches and accordion-style band, the beret is both cozy and stylish.

Pattern Corrections & Tips
- Correction: If the beret starts to curl, increase evenly to ensure the stitches lay flat.
- Tip: Consistent tension is crucial for smooth transitions in relief sections.


