Style your hair with a trendy twist by making a unique accessory from this Free Crochet Scrunchie Pattern that balances function and flair.
Free Scrunchie Pattern for Everyday Hair Styling
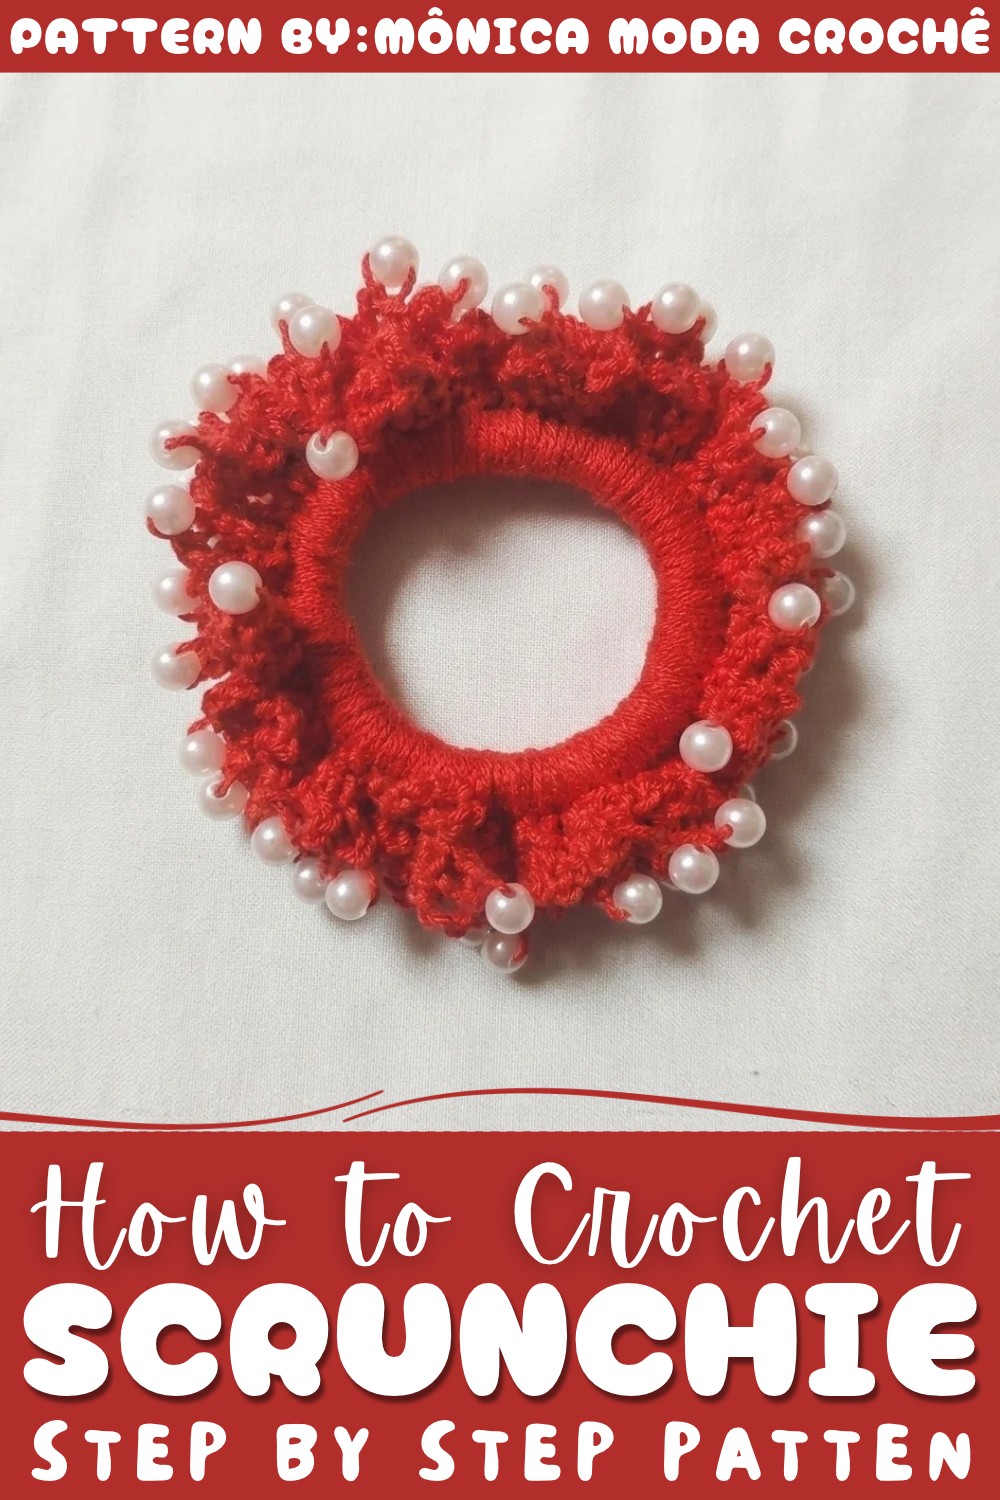
This versatile accessory works wonderfully for school, work, or weekend outings. It also makes a fantastic handmade gift for friends who love unique fashion details.
Crochet Scrunchie with Pearls – Detailed Step-by-Step Pattern
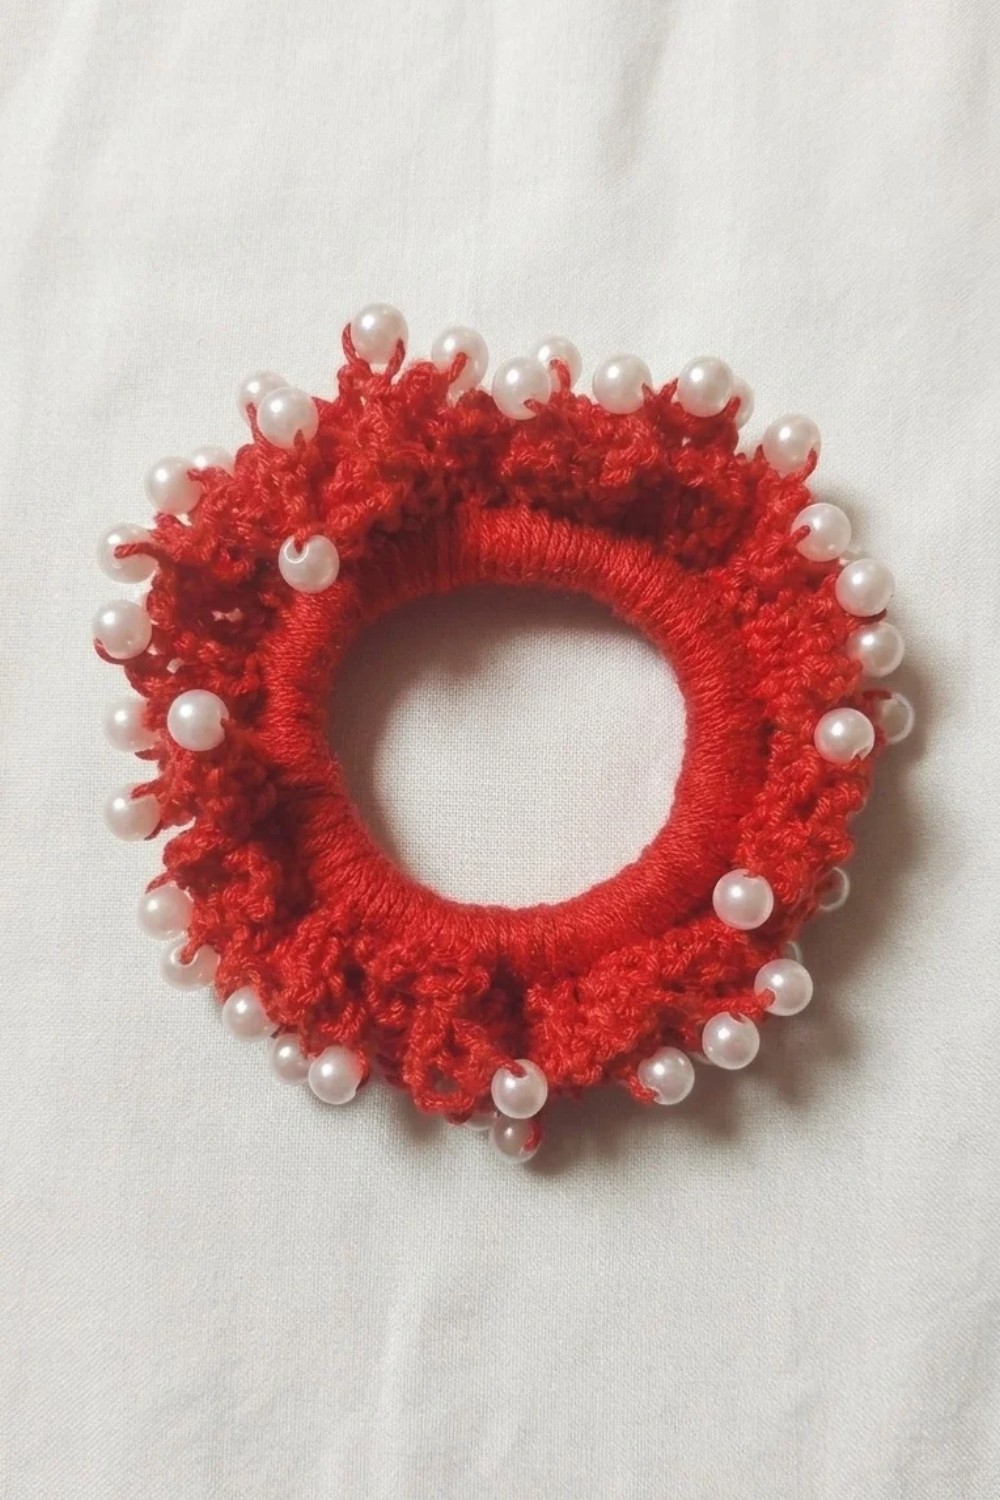
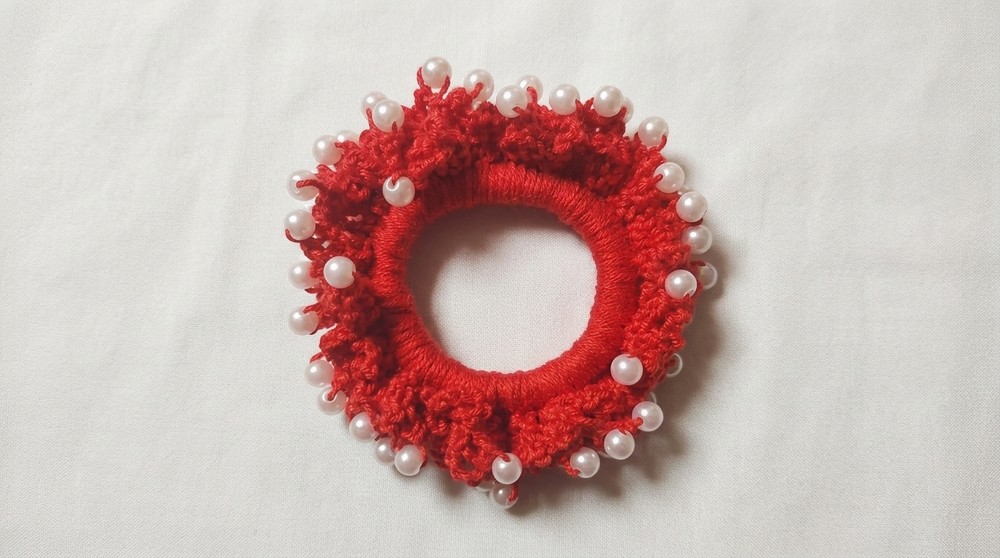
This pattern presents a lovely project to create a delicate crochet-covered hair scrunchie adorned with elegant pearls. Using fine yarn and a simple crochet stitch, you will cover a basic elastic hair scrunchie and embellish it with a distinctive pearl edging. The result is a beautiful accessory combining softness and sparkle—ideal for gifting or personal use. This scrunchie offers a satisfying blend of crochet and beadwork suitable for crocheters looking to try a slightly decorative project.
Pattern Highlights
- Covers a standard hair scrunchie completely with elongated single crochet stitches for a neat fabric finish.
- Incorporates beaded detailing by stringing pearls on the yarn before crocheting, integrating them smoothly in the edging.
- Uses simple stitch sequences and easy crochet techniques for an elegant yet accessible look.
- Features two main rounds: one for coverage and one for pearl-edged decoration.
- Requires only basic tools with the addition of a sewing needle for threading pearls.
Notes
- Pearls should be threaded onto the yarn in advance; prepare approximately 55 pearls for the full edging.
- Elongated single crochet stitches create a slightly taller, textured fabric that conforms snugly around the scrunchie.
- To work pearls into the crochet, bring the pearl up to the hook and yarn over, locking it securely into place.
- Maintain consistent tension to ensure the fabric is neat and the pearls lay evenly spaced.
- Cutting and securing the yarn should be done carefully at the end to prevent unraveling.
Skill Level
- Suitable for beginner to intermediate crocheters with experience in:
- Chain (ch), slip stitch (sl st), single crochet (sc).
- Managing beads or pearls on yarn while crocheting.
- Attaching yarn starts and working in rounds.
Materials
- Yarn: Cléa Duplo thread, color “cherry” or “cereja”.
- Crochet Hook: Size 4 nickel-plated hook recommended for smooth handling and precision.
- Accessories: One basic elastic hair scrunchie; approximately 55–60 small decorative pearls.
- Tools: Sewing needle to pre-string pearls onto the yarn.
Measurements / Sizing
- The covered scrunchie’s dimensions correspond to the size of the base elastic scrunchie used, generally around 10 cm in diameter.
- The finished pearl edging extends slightly beyond the scrunchie circumference, creating a delicate protruding effect.
- Adjustable by choosing scrunchie sizes or altering stitch tightness.
Gauge and Stitch Pattern
- Gauge specifics are flexible due to the nature of the project—emphasis is on coverage and even spacing instead of exact dimensions.
- Elongated single crochet: slightly taller than normal single crochet, lending a delicate stretch to the covering fabric.
- Pearl spacing is achieved by alternating chain spaces and single crochets, integrating the beads smoothly into the edging.
Stitch Abbreviations
| Abbreviation | Meaning |
|---|---|
| ch | Chain |
| sc | Single crochet |
| sl st | Slip stitch |
Special Stitches
Elongated Single Crochet
- Yarn over (if desired), insert hook into stitch, yarn over and pull up a loop—taller than regular sc.
- Yarn over and pull through both loops on hook normally.
- Creates an elongated stitch with more height for fabric.
Adding Pearls in Crochet
- Pearls are pre-strung on yarn. When required, slide one pearl up near the hook.
- Yarn over and pull through the pearl, locking it between yarn and hook as you crochet.
- This integrates the pearl securely into your work.
The Crochet Pattern
Preparation: Pearl Stringing
- Using the sewing needle, thread approximately 55 pearls onto your yarn carefully before beginning your crochet work.
- Ensure beads slide easily but are secure to prevent tangling.
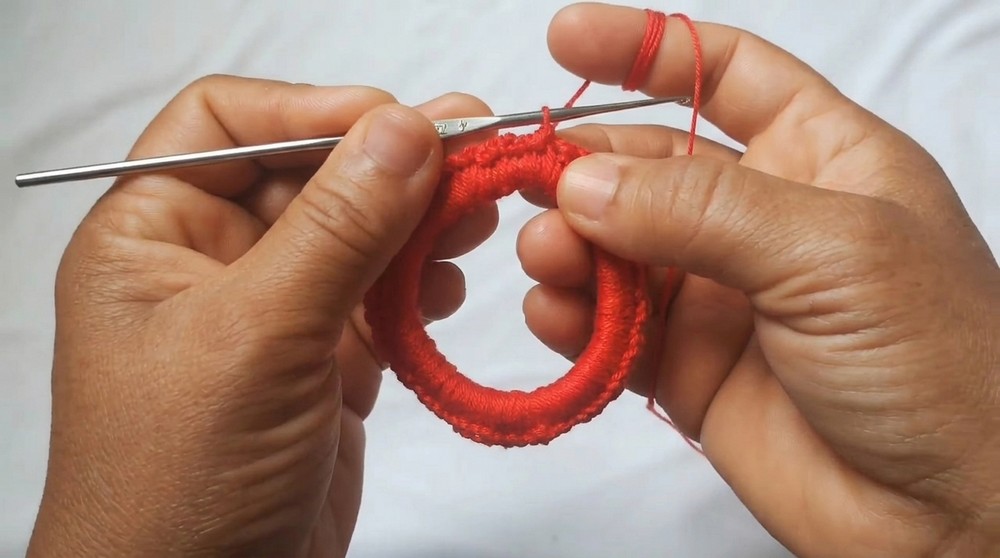
Round 1: Covering the Scrunchie with Elongated Single Crochet
- Attach your yarn to the hair scrunchie by making a slip knot around the scrunchie’s elastic band close to the starting point.
- Work elongated single crochet (elongated sc) stitches evenly around the entire circumference of the scrunchie.
- Keep the stitches close together so the scrunchie is completely covered with no gaps.
- The elongated nature of the stitch creates a neat yet textured fabric that fits well around the elastic base.
- Continue crocheting elongated sc until the scrunchie is fully wrapped.
- Join to the first stitch of the round with a slip stitch (sl st) to close the round cleanly.
Round 2: Creating the Pearl Edging
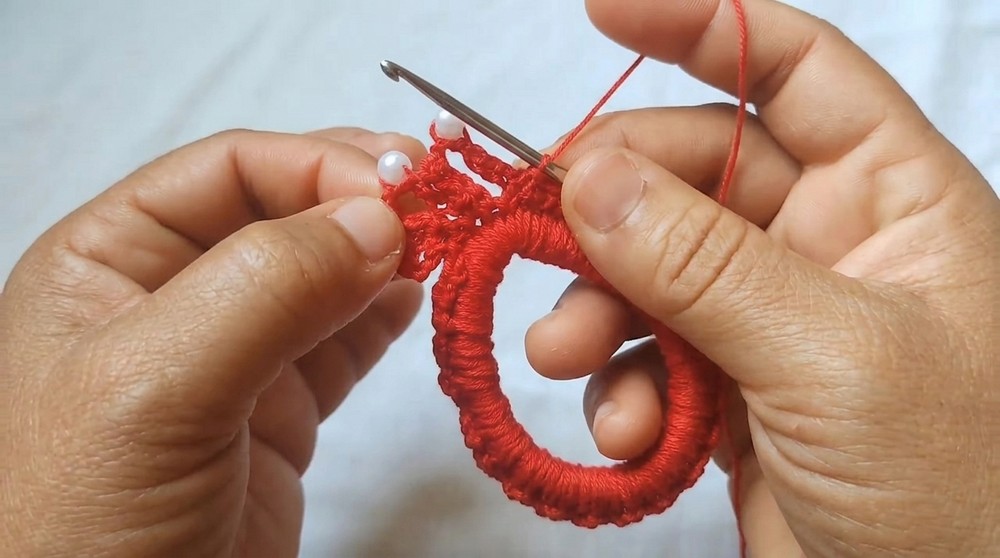
- Chain 7 to start the edging loops.
- Work 1 single crochet (sc) into the next stitch of the base round.
- Begin the pearl insertion sequence: chain 4, then slide one pearl up close to the hook.
- Yarn over and pull through the pearl, securing it in place, then chain 3 to complete the loop.
- Join into the next base stitch with 1 single crochet (sc).
- Repeat this entire sequence around the scrunchie:
- Chain 7,
- Single crochet in next base stitch,
- Chain 4,
- Add a pearl secured by yarn over,
- Chain 3,
- Single crochet in next base stitch.
- Carefully space the pearls evenly by maintaining consistent chain lengths and tension.
- Once you have completed working around the scrunchie, join with a slip stitch into the last stitch of the row.
- Chain 1 to secure the finish, then cut the yarn.
Assembly & Finished Size
- Secure all yarn ends by weaving them neatly with a yarn needle into the scrunchie fabric to prevent unraveling.
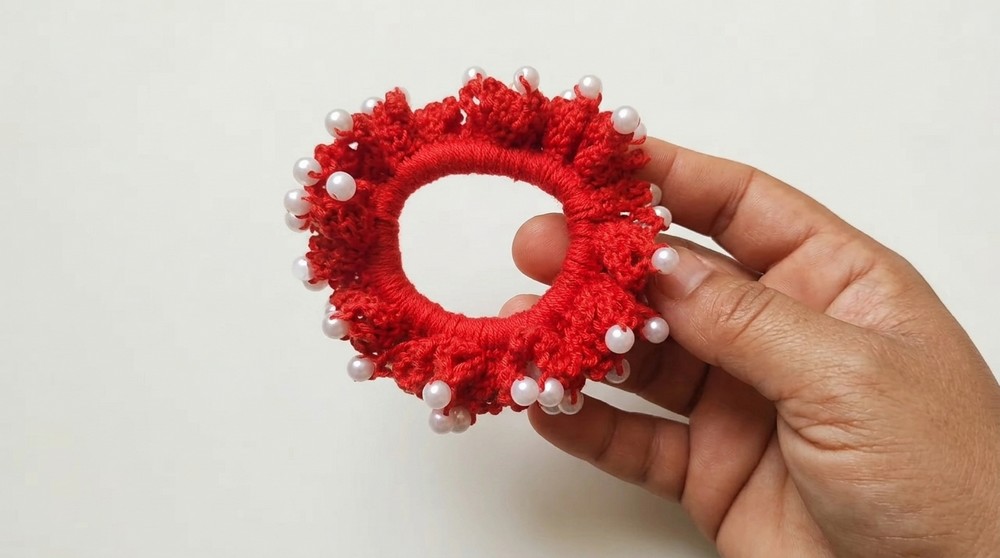
- The scrunchie comfortably fits a standard ponytail size, while the pearl edging adds a charming outward decoration.
- The elaborate pearl loops protrude delicately from the base, giving a refined aesthetic suitable for daily wear or special occasions.
- Finished scrunchie diameter is approximately the size of the base elastic, with a slightly increased circumference due to the pearl loops.
Conclusion
By combining simple crochet techniques with the elegant integration of pearls, this pattern creates a beautiful and functional hair scrunchie that stands out. The initial coverage round ensures a snug, attractive fit over the elastic base, while the pearl-edged border adds sparkle and sophistication. This project provides an excellent opportunity to practice working with beads in crochet and mastering tension control to achieve a delicate finish. Whether as a gift or for personal adornment, this scrunchie offers a stylish accessory made with care and creativity.