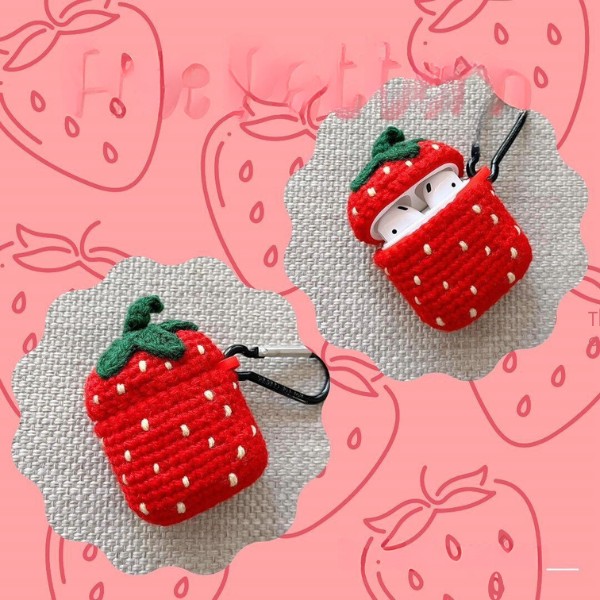
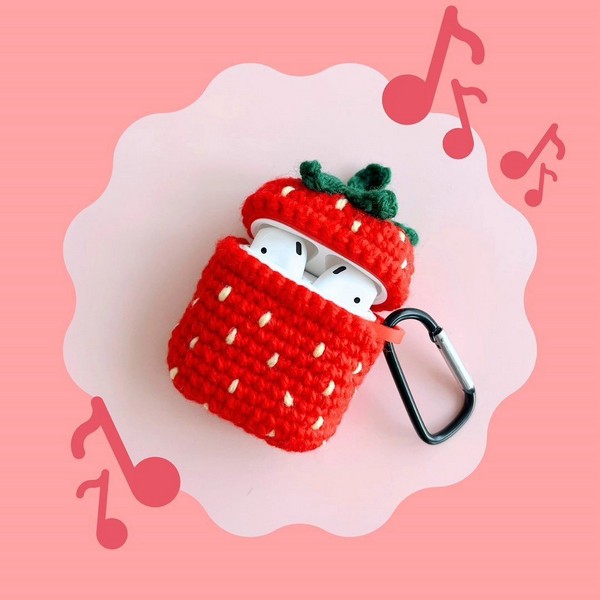
Today, we're bringing you something super fun and cute! We have a simple pattern to make your Crochet Strawberry AirPods Case. It's a great way to keep your AirPods safe. Plus, it will look super cool in its soft pastel colors. The case is super soft, just like a real strawberry! Isn't that great? You'll be amazed by how much you're going to love it and surely making it is really fun. We have made it easy for you with our clear guide, so even if you're new to crochet, you can make your adorable Strawberry AirPods Case.
Crochet Strawberry Airpods Case Pattern
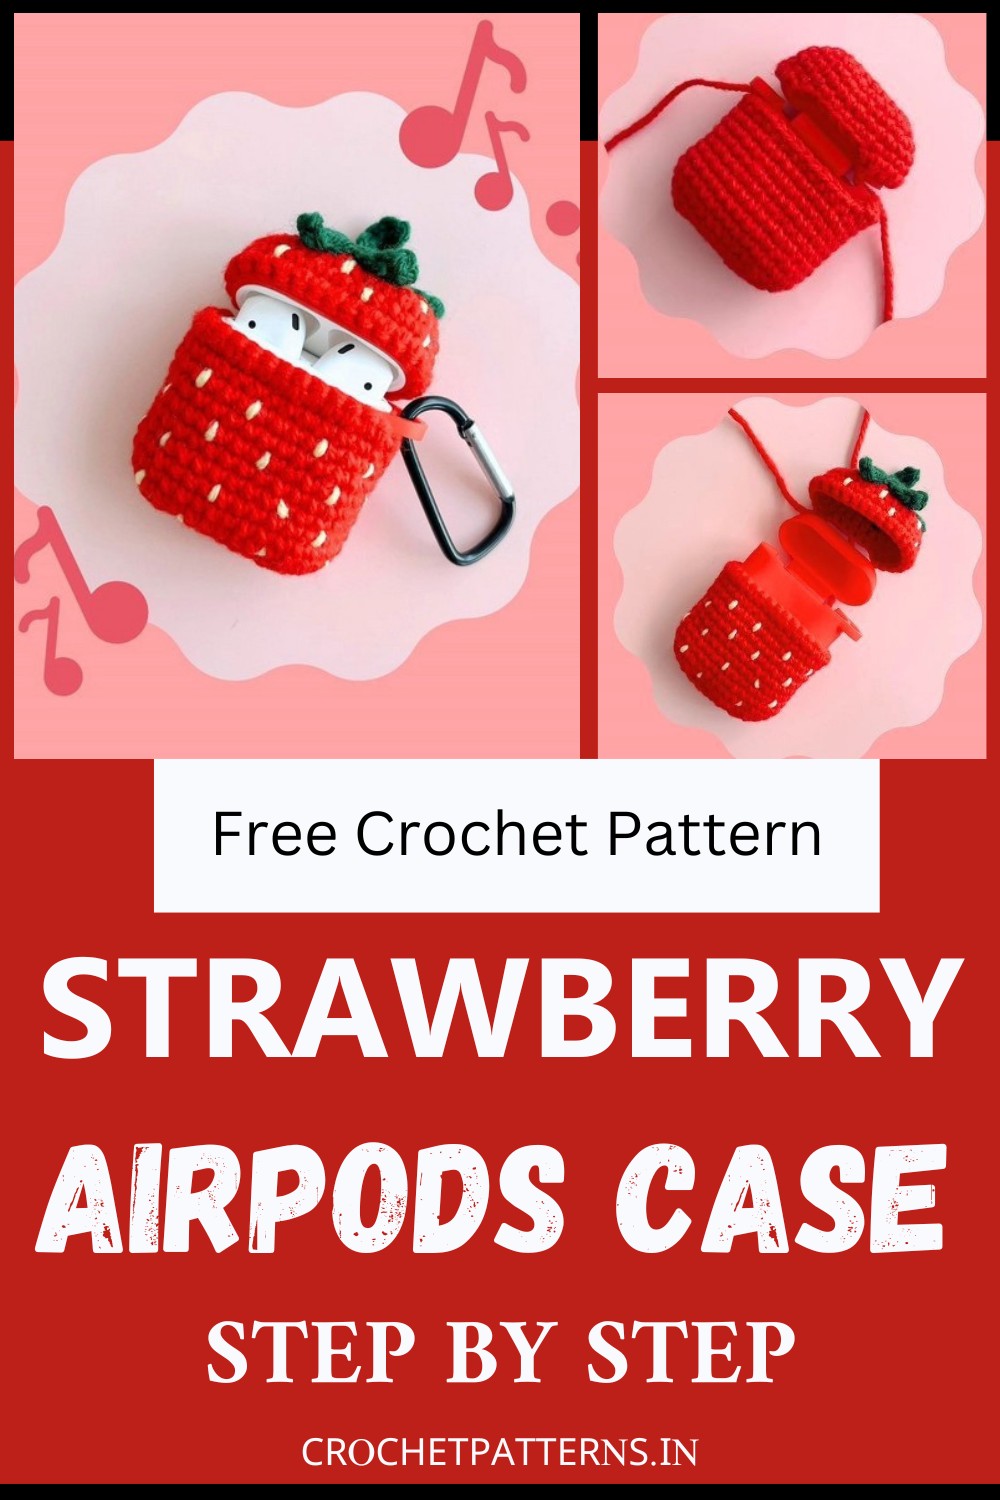
Free crochet pattern by @kokomakes
Abbreviations
- CH- Chain Stitch
- SC-Single Crochet
- HDC-Half Double Crochet
- DC-Double Crochet
- SLST - Slip Stitch
- MR-Magic Ring
- INC - Increase
- DEC - Decrease
- FO- Fasten Off
This pattern is made with a soft silicone AirPods case as lining.
Materials
- Yarn: Marvel 8 Ply acrylic yarn in bright red, dark green and pale yellow
- Crochet Hook: 3MM
- Stitch Markers
- Sewing Needle and Thread Scissors
Bottom half
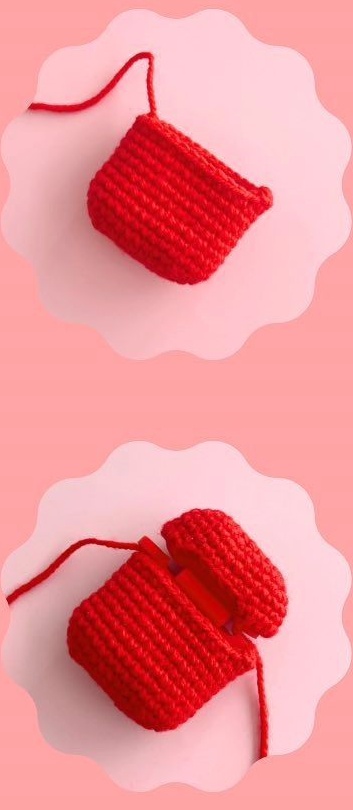
- R1: 10CH, Skip a stitch and work 3SC in next stitch, 2SC, 3CH, Skip 3 stitches, 2SC, 3SC in next stitch, 7SC. (20)
- R2: 3INC, 7SC, 3INC, SLST and make the next stitch the start of R3.
- R3: 7SC, (INC, SC)x3, 7SC, (SC, INC)x3 (32)
- R4-R12: 32SC (32)
- R13: Reverse and crochet 17SC, SLST, FO
Top half
- R1: 9CH, Skip a stitch, followed by 7SC, 3SC in the next stitch, 6SC, INC (18)
- R2: INC, 6SC, 3INC, 6SC, 2INC (24)
- R3: INC, 8SC, INC, 2SC, INC, 8SC, INC, 2SC (28)
- R4-R5: 28SC (28)
- R6: 5SC, reverse and work 23SC, FO
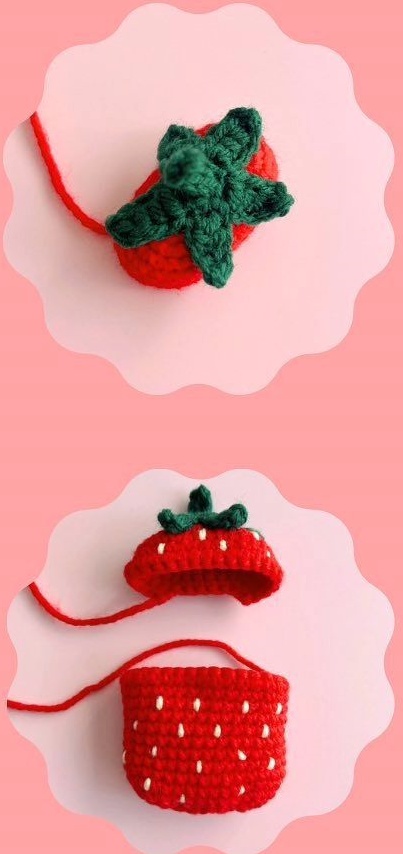
Leaf
- R1: 5SC in MR (5)
- R2: 5CH, skip a stitch, 1SC, 2HDC, 1DC, SLST in the next stitch, repeat this 5 times, FO
Stem 6CH, skip a stitch and crochet 5SC, FO. Attach the stem to the center of the leaf. Attach leaf/stem to top half of strawberry. Next, stitch on the seeds how you'd like it. I normally start from the bottom, left to right and work my way upwards, and I finish by tying a knot on the back.
Assembly
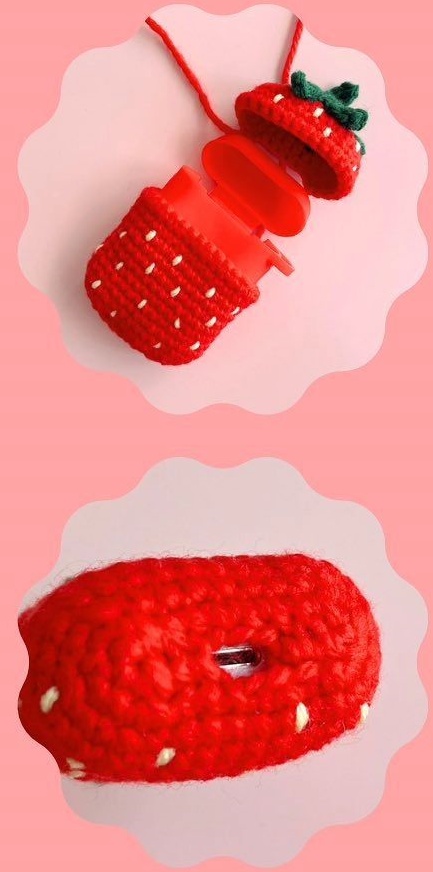
Insert the readily available silicone case into the crochet piece make sure they are well aligned before sewing along the top edge to join the two pieces together. Weave in ends. Repeat the same for the lid.
