Enjoy the beauty of the Willow Granny Square pattern, transforming simple crochet rounds into stylish squares perfect for diverse creative endeavors.
Crochet The Willow Granny Square

How To Crochet Willow Granny Square
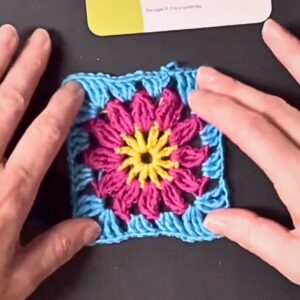
The Willow Granny Square is a striking crochet design perfect for adding a touch of elegance and creativity to projects such as bags, blankets, or decorations. In this tutorial, we explore an easy-to-follow pattern that uses only eight rounds to complete. This square can be made using multicolor yarn for vibrant effects or solid colors for a classic look. While the end result looks intricate, the process is surprisingly simple, making it accessible for beginner to intermediate crocheters.
Materials Needed
To complete the Willow Granny Square, you’ll need the following:
- Yarn: Medium-weight yarn (such as I Love This Yarn from Hobby Lobby). A multicolor yarn or solid color can be used.
- Crochet Hook: 5.25 mm (H-8) crochet hook.
- Scissors
- Tapestry Needle: For weaving in the yarn tail and attaching the square to other projects.
Abbreviations (US Terminology)
Here are the stitch abbreviations used in this pattern:
- ch: Chain
- sc: Single Crochet
- dc: Double Crochet
- hdc: Half Double Crochet
- sl st: Slip Stitch
- sp: Space
- st(s): Stitch(es)
- mc: Magic Circle (or Adjustable Loop)
Willow Granny Square Instructions
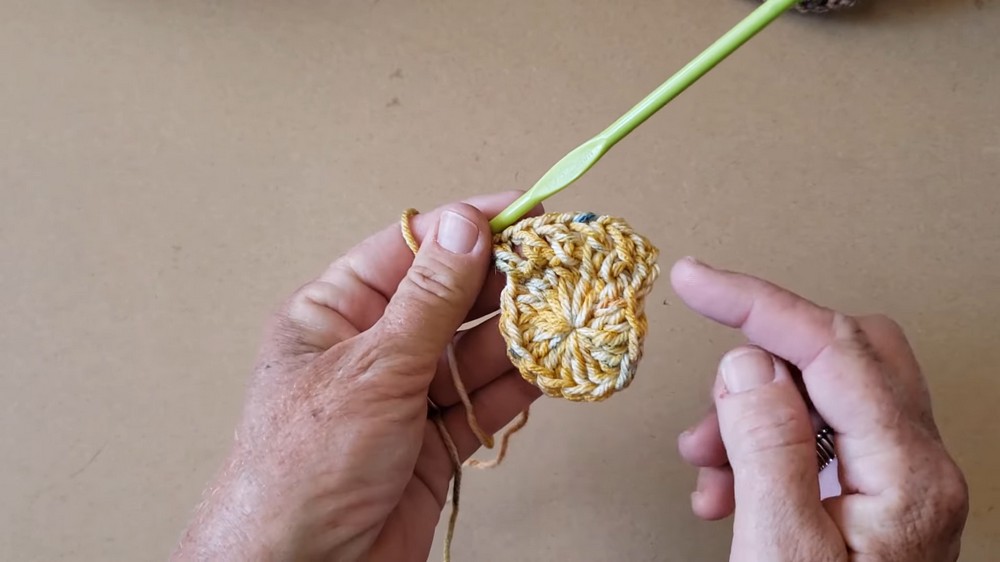
ROUND 1: Magic Circle with Double Crochets (Foundation Round)
- Start with a Magic Circle (or chain 4, slip stitch to form a ring).
- Chain 3 (counts as first dc).
- Make 15 additional dc into the circle (16 dc total for Round 1).
- Pull the tail to close the magic circle tightly.
- Slip stitch to the top of the chain-3 to join the round.Total Stitches: 16 dc

ROUND 2: Double Crochets and Chain Spaces
- Chain 4 (counts as 1 dc + chain 1).
- (1 dc in the next stitch, chain 1); repeat from * to complete the round.
- Slip stitch to the 3rd chain (of the first chain-4) to join.Total Stitches: 16 dc with 16 chain-1 spaces
ROUND 3: Expanding the Round
- Chain 3 (counts as first dc).
- Make 2 dc in the first chain-1 space from the previous round.
- (1 dc in the next dc, 2 dc in the next chain-1 space); repeat from * around.
- Slip stitch to the 3rd chain (of the first chain-3) to join.Total Stitches: 48 dc
ROUND 4: Establishing Corners
- Chain 1.
- Make 1 sc in the same stitch where you joined.
- (Chain 5, skip 2 stitches, 1 sc in the 3rd stitch); repeat twice more to create a straight edge.
- Chain 5 to create a corner.
- (Chain 3, skip 2 stitches, 1 sc in the 3rd stitch); repeat three more times to create a straight edge, followed by another chain-5 corner.
- Repeat the procedure around the circle: straight sides with chain-3, corners with chain-5 spaces.Tip: Each corner comprises chain-5 spaces, while each straight edge comprises chain-3 spaces with single crochets in between.
- Slip stitch to the first sc to join.
ROUND 5: Defining the Structure
- Slip stitch into the first chain-5 corner space.
- Chain 3 (counts as first dc), then make 4 more dc in the same corner space.
- Chain 3 (to form the corner), then make 5 more dc in the same corner space.
- (1 sc in the next chain-3 space, 5 dc in the next chain-3 space, 1 sc in the next chain-3 space) to complete the straight edge.
- Repeat step 3 to form the next corners.
- Continue working around, joining with a slip stitch at the top of the chain-3 when the round is complete.

ROUND 6: Building Shape
- Slip stitch over to the first corner space.
- Chain 3 (counts as first dc) and make 5 additional dc in the corner space.
- (Chain 5, 1 dc in the single crochet from the previous round, chain 3, make 1 sc in the middle stitch of the cluster from the previous round) across the straight edge.
- Chain 5, move to the next corner, and repeat the corner cluster and pattern for straight edges.
- Complete the round with a slip stitch to join.

ROUND 7: Final Double Crochets
- Slip stitch to move into the first corner space.
- Chain 3 (counts as first dc) and make 2 more dc in the corner space.
- Chain 3, then make 3 more dc in the same corner space.
- (5 dc in the chain-5 spaces, 3 dc in each chain-3 space from the previous round) along the straight edges.
- At each corner, repeat the corner cluster (3 dc, chain 3, 3 dc).
- Complete the round with a slip stitch to join.Tip: By this round, your project will begin resembling a defined square.

ROUND 8: Smooth the Edges
- Slip stitch to move to the first corner.
- Chain 2 (counts as a hdc), then make 2 more hdc in the corner space.
- Chain 3, make 3 more hdc in the same space.
- Make 1 hdc in each stitch along the edges.
- In each corner, repeat the corner cluster (3 hdc, chain 3, 3 hdc).
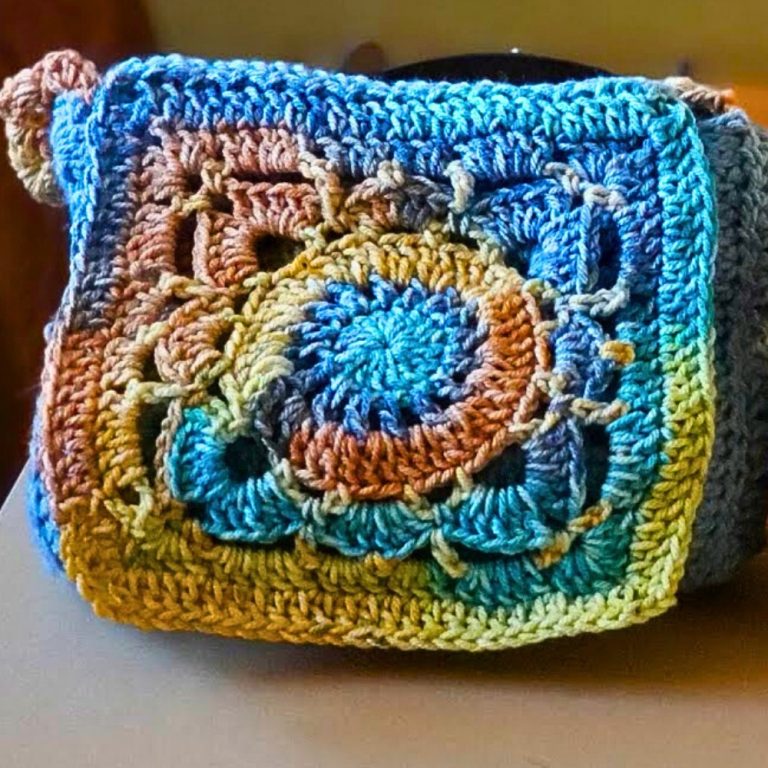
- Complete the round with a slip stitch to join.Your Willow Granny Square is complete!
Conclusion
Congratulations—you’ve completed the Willow Granny Square! This project combines simplicity with visual appeal, making it perfect for assembling into larger pieces or using as a standalone accent. Experiment with different yarn colors and combinations to create a unique look. Whether you turn your squares into a purse, blanket, or another creative project, this pattern is sure to shine.