
Weaving a gentle hug into every loop and stitch, creating a cozy, airy romper perfect for baby's summer adventures. This crochet summer baby romper is like a soft breeze wrapped around your little one, keeping them comfortable and cute under the golden sun. Using lightweight yarn, each step you crochet brings to life a charming outfit that promises laughter and play.
Crochet Summer Baby Romper
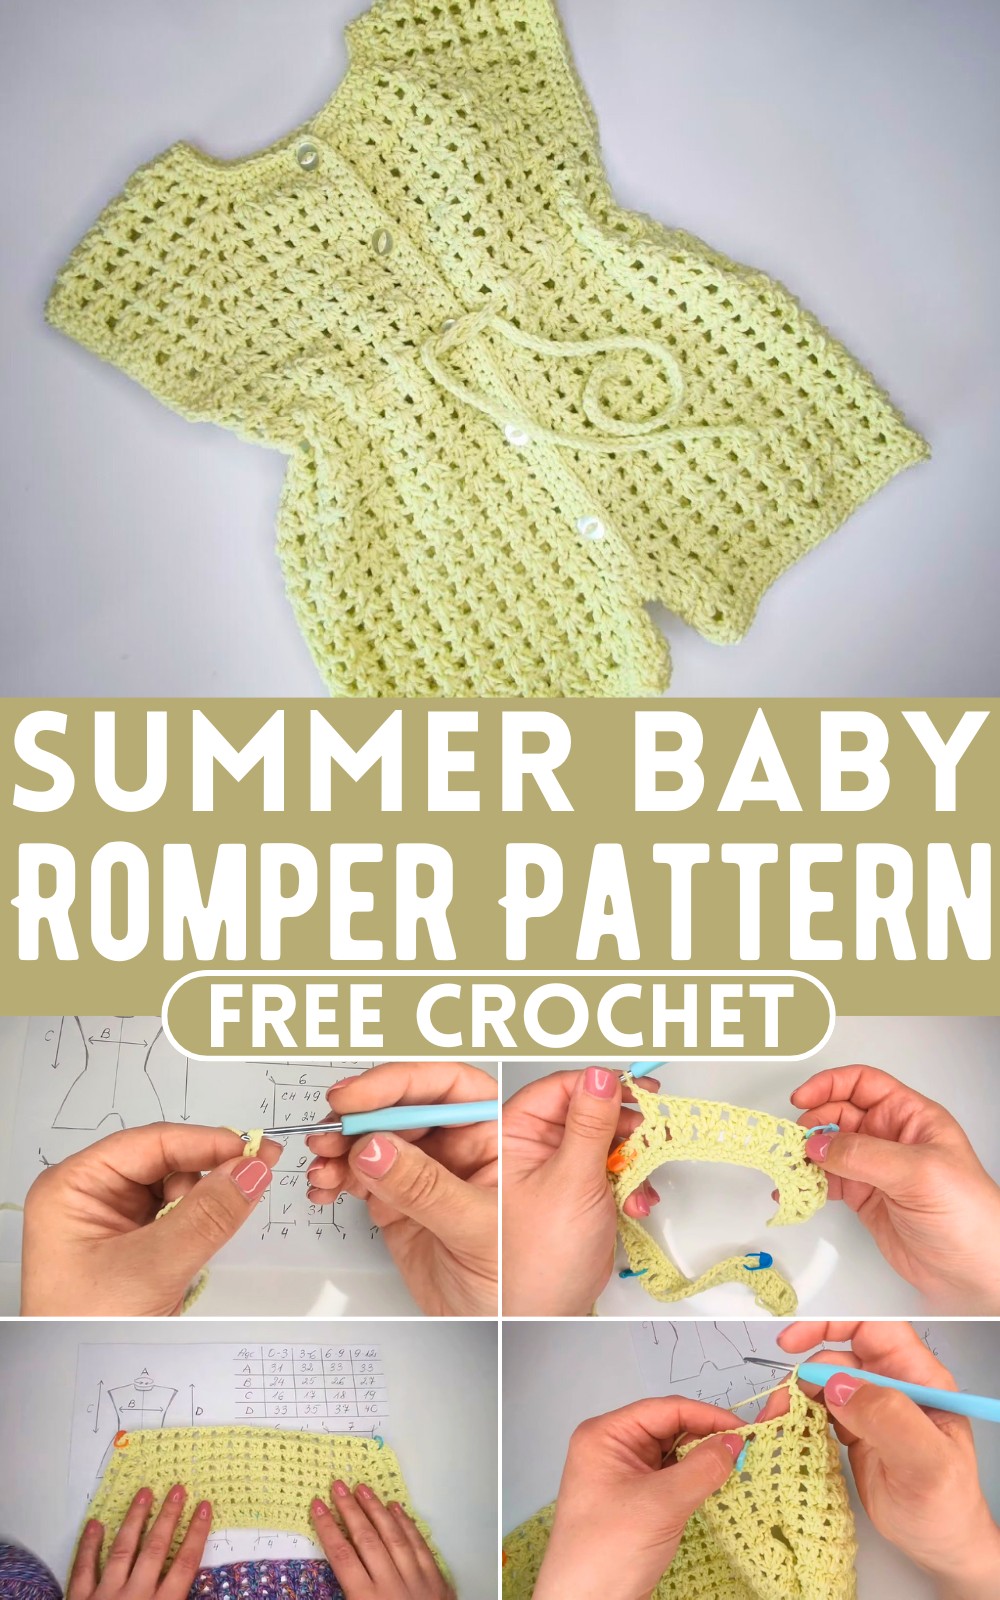
Make tiny toes wiggling freely and happy gurgles, as your baby explores the world in this handmade treasure. It's not just a piece of clothing but a weave of love, perfect for picnics in the park, sunny beach days, or just cuddling up together.
Materials Needed:
- Scissors
- Needle (for hiding tails)
- Measuring tape in centimeters
- Stitch markers
- Buttons (12-15 mm, smaller for thin yarn)
- Crochet hooks in two sizes (e.g., 3.5 mm and 3 mm hooks)
- Yarn of your choice (150 grams of fine or DK weight yarn; adjust hook size accordingly)
Yarn Examples:
- Ice Yarns Allora: 50% cotton, 50% acrylic, 140 meters in 50 grams, fine weight (#3).
- Lorena Colorful: 55% cotton, 45% acrylic, 160 meters in 50 grams.
- Aura Baby Summer: 60% cotton, 40% acrylic, 160 meters in 50 grams.
Step-by-Step Pattern:

Starting the Project:
Preparation: Gather all materials and decide on the yarn and buttons.
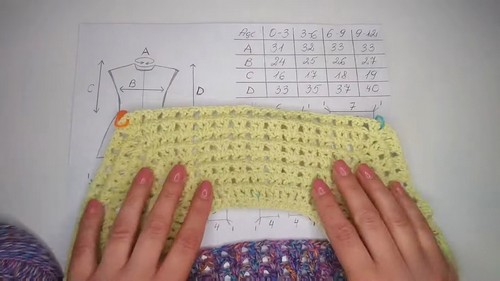
Initial Measurements and Chain Start:
- Check the size chart mentioned in the video for starting chain length for your chosen baby size (e.g., 31 cm for size 0-3 months).
- Crochet a chain slightly longer than necessary, as you can adjust later. Measure the chain and adjust the number of stitches until you get the required length.
Body of the Romper:
Foundation Row:
- Single crochet along the entire chain to create the foundation row.
Creating the Texture:
- Start the next row by chaining 2, turning your work, then skip the first stitch.
- In the second stitch, make two double crochets, chain one, skip a stitch, and repeat across the row.
- End the row with a double crochet in the last stitch (instead of a chain).
Increasing for Shape:
- Continue with the pattern, adding stitch markers at specified intervals to mark increases that will shape the romper (consult the video for exact placement).
- Use 'V' stitch increases at marked points in subsequent rows to accommodate the baby’s body shape.
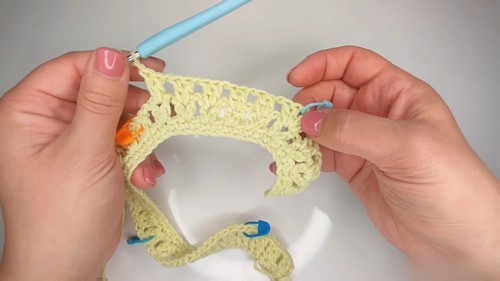
Split for Legs and Sleeves:
Separating for Legs:
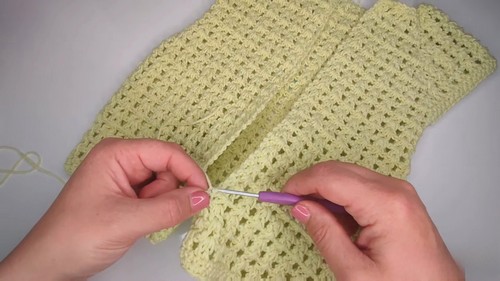
- As per the video tutorial, you work up to the underarms and then create chain spaces to start forming the sleeves and the separate legs region. Continue crocheting in pattern, leaving spaces where the arms would be and connecting the front and back pieces at the crotch with double crochet stitches.
Adding Sleeves and Leg Cuffs:
Sleeves:
- Crochet around the arm openings, using a smaller hook for a tighter edge if preferred.
Leg Cuffs:
- Similarly, switch to smaller hooks if necessary to create leg cuffs, ensuring a snug fit around the baby’s legs.
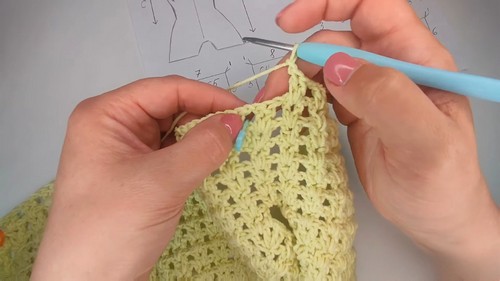
Finishing Touches:
Edging and Buttonholes:
- Single crochet around all edges for a neat finish. Create buttonholes on one side of the back opening.
Sewing Buttons:
- Sew buttons opposite the buttonholes.
Final Measurements:
- Measure the completed romper to ensure it matches the expected dimensions for the size you chose (depending on baby size, check length from shoulder to crotch as described in your tutorial).


