Add personality and depth with the Crochet Spring Flower Stitch Pattern, a floral-inspired design that elevates your crochet artistry.
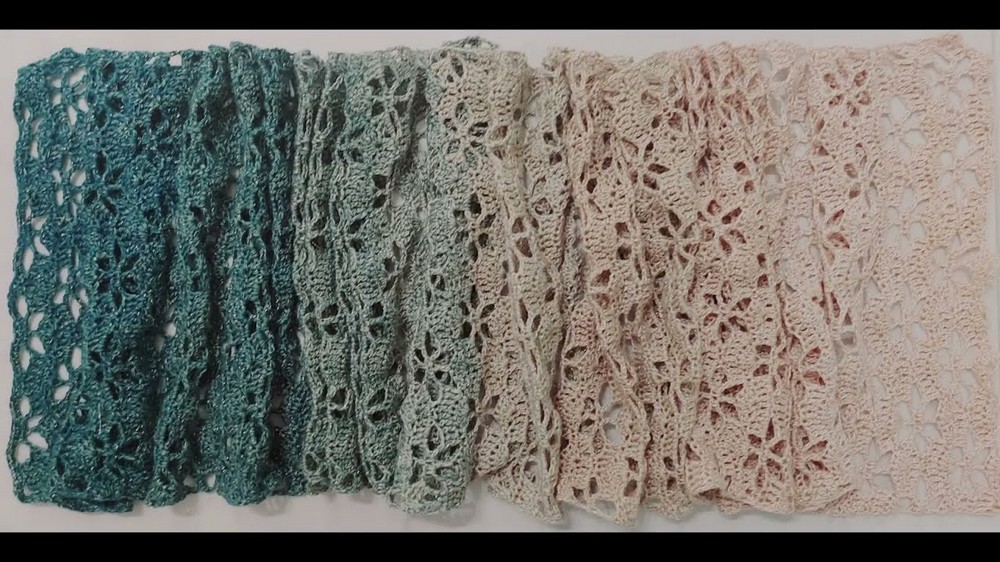
Spring’s vibrant charm finds its way into your hands with the delightful crochet stitch that reproduces blooming flowers in every loop. Inspired by seasonal blossoms, this intricate design captures the essence of nature’s beauty and turns it into a tangible masterpiece. Perfect for light home décor accents, versatile accessories, or thoughtful handmade gifts, the Spring Flower Stitch Pattern carries the delicate and refreshing spirit of renewal. Its textured appearance adds depth and elegance to any piece, whether you are embellishing a scarf, wrap, blanket, or even a tablecloth.
Crochet Spring Flower Stitch Tutorial
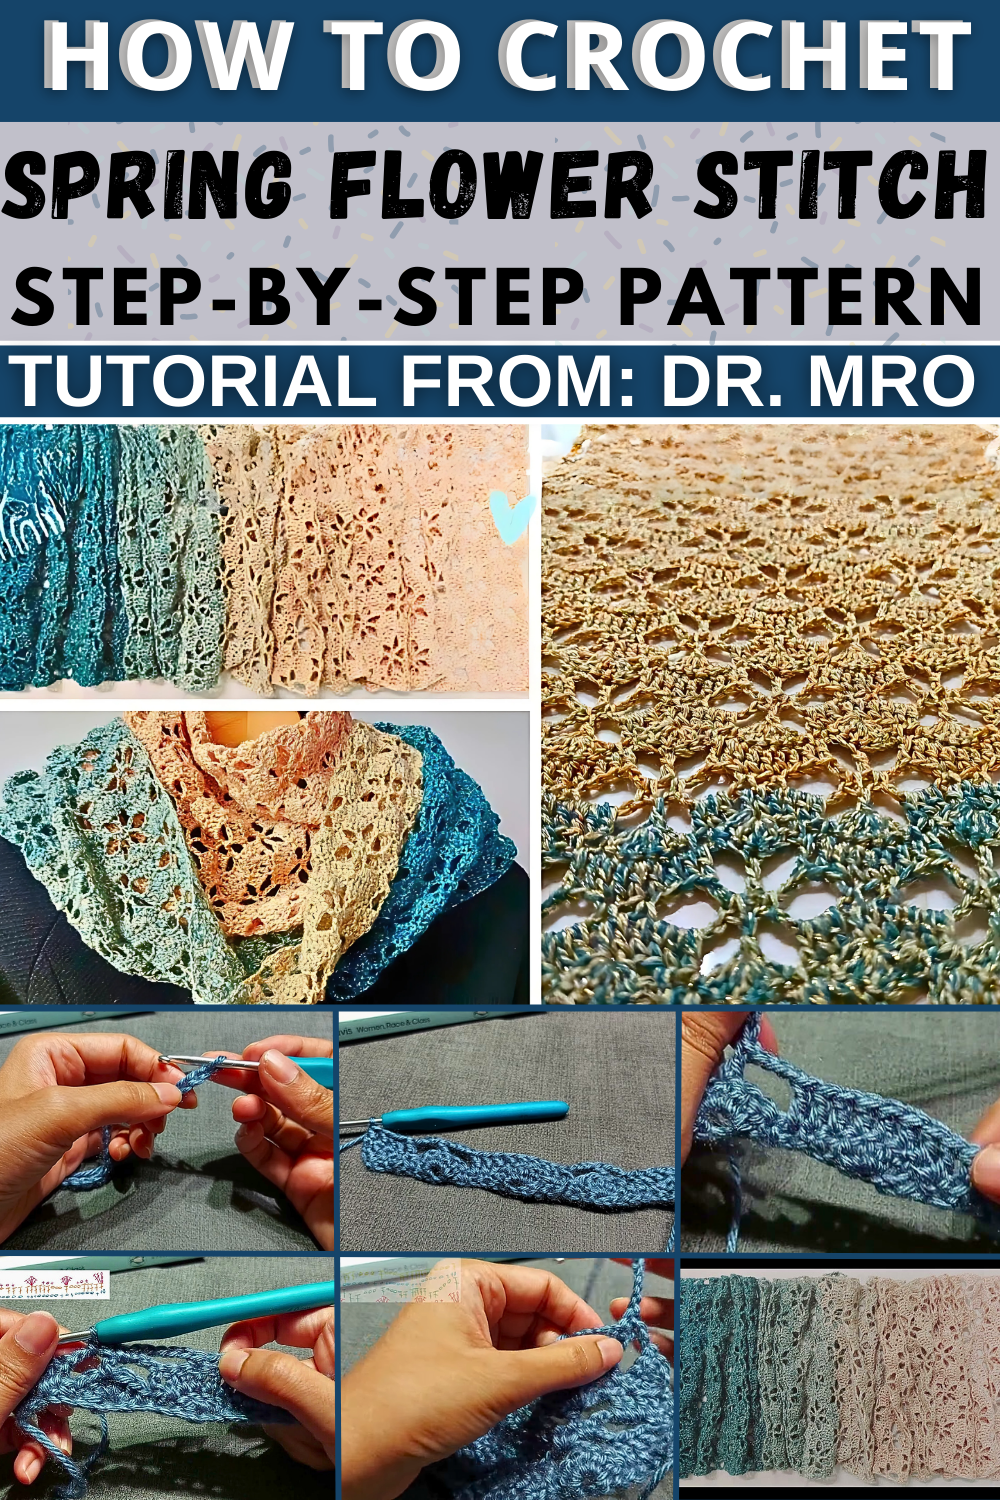
Crochet Flower Pattern Tutorial: Detailed Step-By-Step Instructions
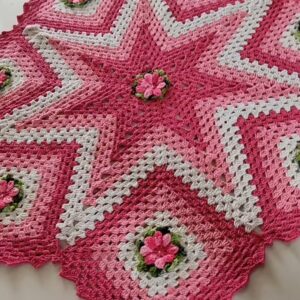
This crochet flower pattern creates stunning designs for blankets, wraps, scarves, tablecloths, or even decorative pieces. With alternating rows, the pattern forms flower-like motifs that bring texture and beauty to your projects. It is suited for intermediate crocheters who are familiar with basic stitches. In this guide, you'll find all the necessary details, materials, abbreviations, and step-by-step instructions.
Materials Needed
- Yarn of choice (recommended: medium-weight yarn for clear stitch definition)
- Crochet hook (size appropriate for the yarn – check yarn label for recommendations)
- Scissors
- Darning needle (for weaving in ends)
Abbreviations
Here are the crochet abbreviations used in this pattern:
- ch: chain
- dc: double crochet
- sc: single crochet
- sl st: slip stitch
- sp: space
- st(s): stitch(es)
General Pattern Notes
- The foundation chain is created in multiples of 16 with an additional +4 chains at the end. This ensures that the pattern works seamlessly for any project size.
- Multiple rows are repeated to form the alternating motifs of flowers.
- Keep turning your work after each completed row.
- The pattern alternates between 8 rows. Once finished, simply repeat these rows for your desired size.
Step-by-Step Instructions
Foundation Chain
- Create a foundation chain using multiples of 16 plus 4 additional chains for the starting row.
Example: For a wrap, chain 80 (16 × 5) + 4 = 84 chains.
Row 1: Base Row
- Start: Double crochet (dc) twice into the third chain from the hook.
- Pattern:
- Skip 2 chains, then in the third chain:
- Create 1 sc, then ch 1, skip the next chain, and create another sc.
- Skip 2 chains, and into the next chain: Create 5 dc (all in the same chain).
- Repeat the following:
- Skip 2 chains, do 1 sc, ch 1, and sc.
- Skip 2, then do 5 dc into the next chain.
- Skip 2 chains, then in the third chain:
- To end Row 1: Three dc into the last chain.


Row 2: Creating Structure
- Start: Ch 3 (counts as dc). Turn your work.
- Pattern:
- Skip the first st, and into the next 4 st, do 1 dc each (total: 5 dc at the start).
- Ch 3, then in the middle stitch of the 5-dc shell from Row 1, do 1 dc.
- Ch 3, then locate the next 5-dc shell from Row 1. Into the two stitches before and after this shell, do 1 dc each. Do 1 dc in each of the 5-dc shell stitches as well (total: 9 dc).
- Continue alternating Ch 3 into the middle dc and creating 9 dc clusters along the row.
- To end Row 2: Do 5 dc into the edge stitches (similar to Row 1).

Row 3: Chain Spaces
- Start: Ch 1, turn your work.
- Pattern:
- Into the first two stitches, do 1 sc each.
- Ch 5, then skip the first 3 dc of the next group. Into the fourth stitch, do:
- 1 sc, ch 1, skip the next stitch, and do 1 sc.
- Repeat: Ch 5, then sc into chain spaces or between groups as described above.
- To end Row 3: Finish with two sc into the final stitches.
Row 4: Expanding Motifs
- Start: Ch 3, turn your work.
- Pattern:
- Into the next space, do 3 dc.
- Locate the single crochet-chain space-single crochet group from Row 3. Into the chain space: Do 1 dc.
- Continue alternating 3 dc into chain spaces and single dc into chain spaces.
- For groups of 9-dc clusters, do 3 dc into each relevant chain space at edges and between groups.
- To end Row 4: Finish with 3 dc at the start and end as described.

Row 5: Fan Shell Repeats
- Start: Ch 3, turn your work.
- Into the first stitch, do 2 dc (total: 3 dc).
- Pattern:
- Skip 2 stitches, then in the third stitch: Do 1 sc, ch 1, 1 sc.
- Skip 2, then do 5 dc into the next stitch.
- Continue alternating shells (5 dc), single crochet-chain spaces, and finish with edge stitches.
Row 6: Layering Chains
- Start: Ch 6 (3 for dc and 3 for chain). Turn your work.
- Pattern:
- Locate the next 9-dc group from Row 5. Begin 2 dc always before and after the 5-dc shell cluster.
- Chain 3 across motifs as needed.
Row 7: Final Flower Base
- Repeat Row 3, ensuring chain-5 placement across flower motifs.

Row 8: Alternating Flowers
- Repeat Row 4, continuing the pattern of creating alternating flower motifs.
Conclusion
To create larger projects, repeat Rows 1–8 as needed. For optimal results, consider blocking your work to bring out the flower motifs more prominently. This versatile pattern is perfect for both gifts and self-care projects. Take time for yourself and enjoy the joy of crafting beautiful, delicate flower designs.