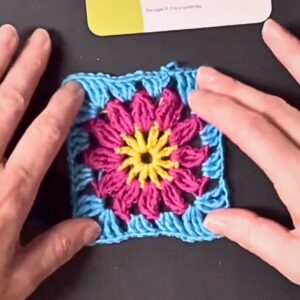
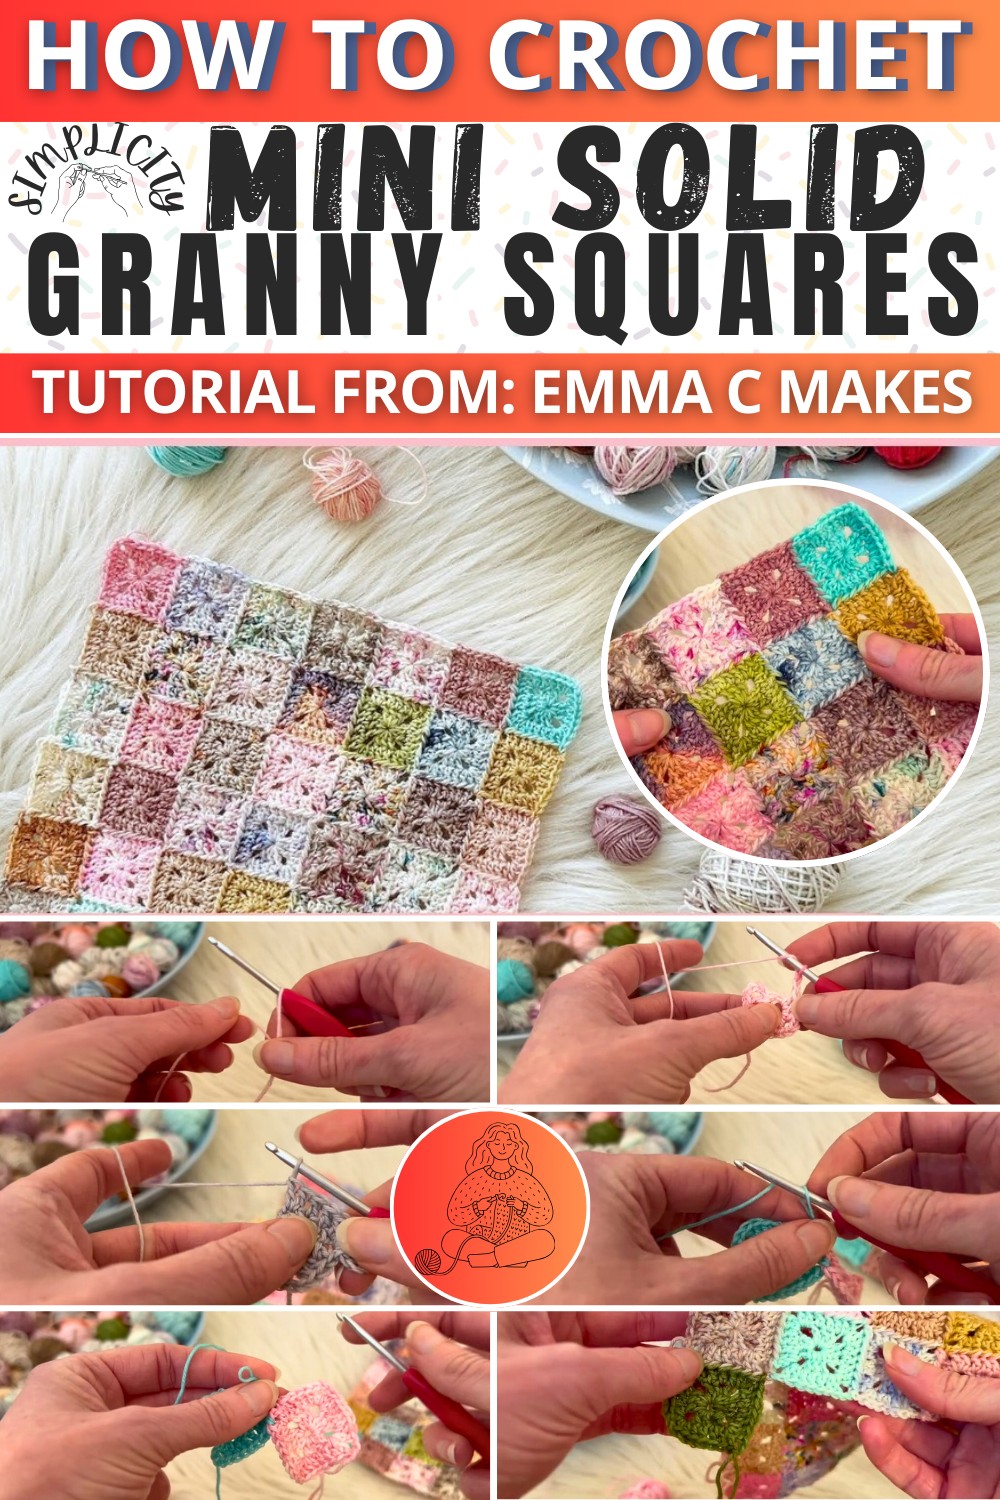
Add simplicity and charm to your next crochet project with this easy-to-follow Mini Solid Granny Squares pattern, perfect for personalized handmade items.
Mini granny squares have long been cherished for their charm and versatility in handmade projects. These compact, solid squares transcend traditional designs with their neat and polished appearance, making them ideal for assembling larger creations like throws or blankets. The snug and uniform design ensures durability and ease in pairing pieces together, while the intricate corners and smooth edges bring a touch of elegance to any project. Perfect for utilizing scrap yarn, this pattern transforms leftover fibers into beautiful accents for your space or gifts for your loved ones.
How to Crochet Mini Solid Granny Squares
The beauty lies in its simplicity: the pattern builds upon itself round by round, effortlessly expanding into larger creations. Whether preferred in bold or subtle hues, the squares adapt to any aesthetic, showcasing your yarn selection beautifully. Perfect for beginners or experienced enthusiasts, this pattern is more than just a crafting method—it’s a delightful way to combine functionality with artistry, enriching your handmade items with timeless appeal and comfort.
Mini Solid Granny Square with Join-As-You-Go
Welcome to this step-by-step crochet guide for creating mini solid granny squares and learning the "join-as-you-go" technique to join them into projects like blankets, throws, or anything else! This pattern is perfect for using scrap yarn and creating beautiful projects with precision.
Materials Needed
- Yarn: Leftover 4-ply yarn works great, but this pattern can be adjusted for any yarn weight.
- Crochet Hook: A 3.5mm hook (adjust hook size based on yarn weight).
- Scissors: To cut the yarn.
- Darning Needle: For weaving in ends.
Abbreviations
This pattern uses UK crochet terminology. US equivalents are also provided:
- ch: Chain
- ss: Slip Stitch
- tr: Treble Crochet (US Double Crochet)
Introduction to the Pattern
In this pattern:
- You'll create mini solid granny squares starting with a simple foundation.
- These squares can be joined "as-you-go" to create larger projects like blankets or throws.
- We're working with a UK treble stitch (US: Double Crochet) and following an easy join technique to secure squares together seamlessly.
Note for beginners: This tutorial assumes a basic understanding of crochet terminology and stitches.
Step-by-Step Instructions: Mini Solid Granny Square
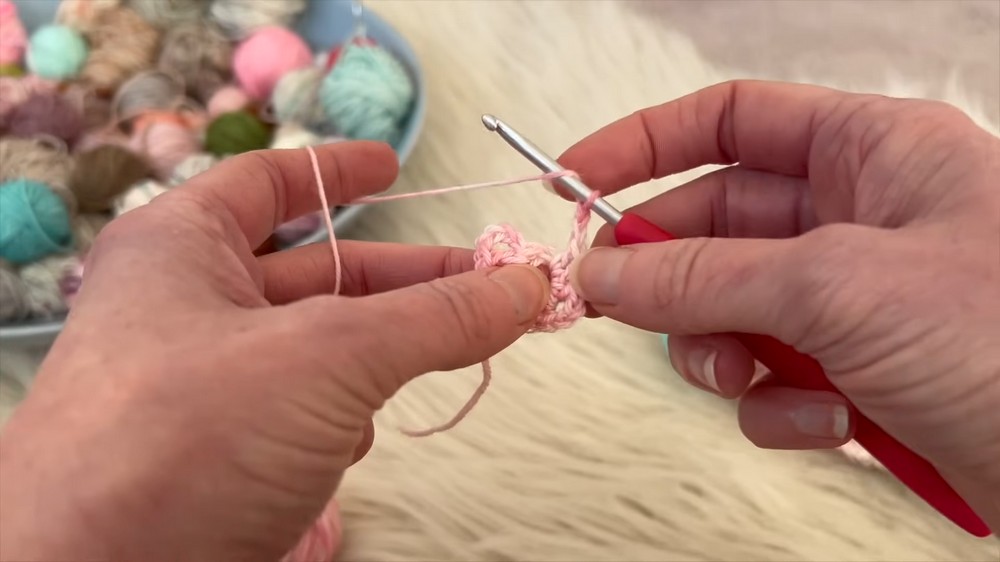
Round 1: Foundation
- Create a Slip Knot: Make a slip knot and place it on your hook.
- Chain 4 (ch 4):
- This will form the starting chain.
- Create a Ring: Join the last chain to the first with a Slip Stitch (ss) to form a chain circle.
- Alternative: If you prefer, you can use a magic circle instead of a chain circle.
- Chain 4 (ch 4): Counts as the first stitch + corner space.
- Work the Square Sides:
- First Side: Work 3 UK treble crochets (tr) together into the chain circle:
- Step for 1 tr: Yarn over, insert hook, yarn over, pull through, yarn over and pull through 2, yarn over and pull through 2. Repeat 2 more times.
- Corner Space: Chain 2 (ch 2).
- Second Side: Work another 3 UK trebles (tr) into the circle, followed by ch 2.
- Third Side: Work another 3 UK trebles (tr), followed by ch 2.
- Last Side: Work 2 UK trebles (instead of 3, because the initial chain-4 counts as one stitch), followed by Slip Stitch into the 3rd chain of the initial chain-4.
- First Side: Work 3 UK treble crochets (tr) together into the chain circle:
- Finishing the Round: Slip stitch into the corner ch space for a neat finish.
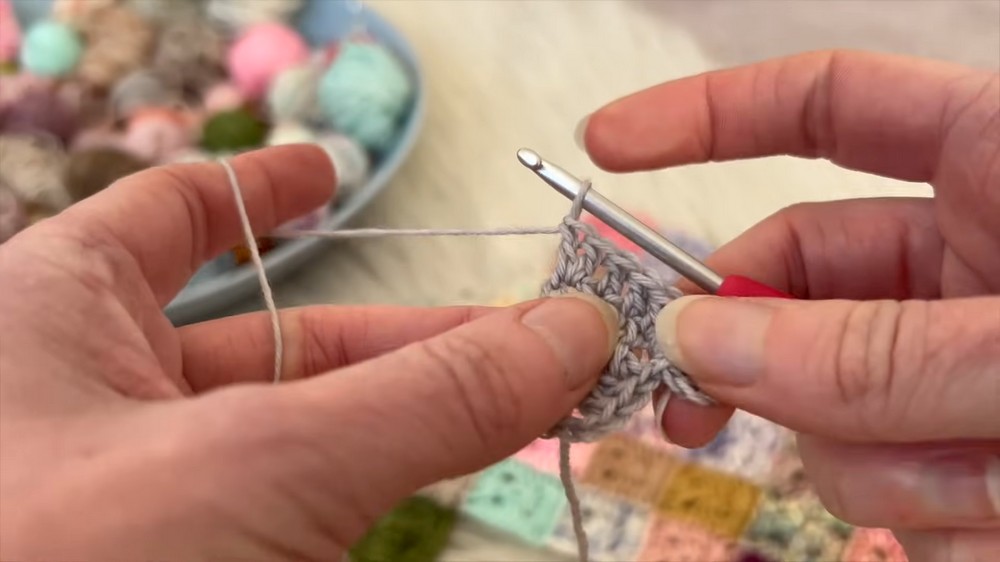
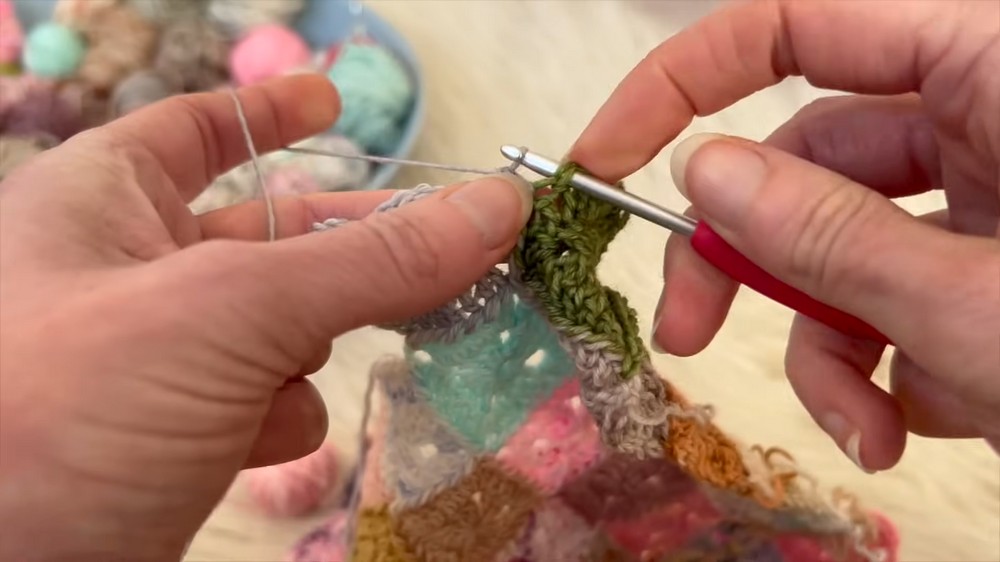
Round 2: Expanding the Square
- Begin in a Corner Space: Chain 4 (ch 4) to continue from the corner of Round 1.
- Increase Each Side:
- Work 2 UK trebles into the current corner space.
- Work 1 UK treble into the top of each stitch along the side.
- Work 2 UK trebles into the next corner space.
- Make a chain 2 to create the next corner.
- Repeat this process around the square.
- Connect the Final Side:
- When you reach the final side, join with Slip Stitch into the 3rd chain of the initial ch-4.
- Slip Stitch into the next corner space to finish.
Congratulations, your first square is complete! You can cut your yarn and fasten off here.
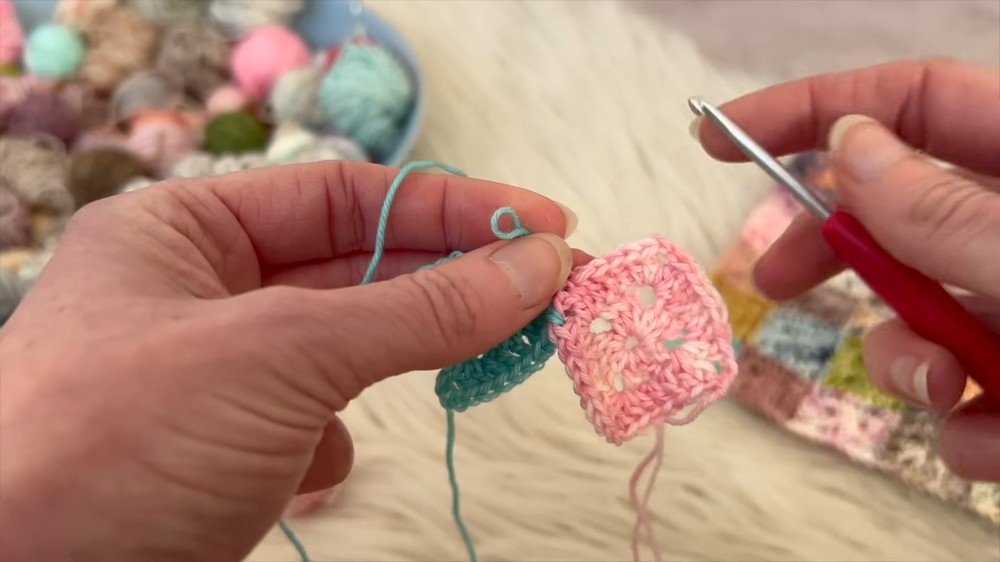
Joining Squares: Join-As-You-Go Technique
Joining One Side:
- Prepare the New Square: Make the first round of the square to be joined.
- Start Round 2 on the New Square:
- Complete one side of Round 2 in the new square (chain 4, 2 UK trebles, 1 treble into each stitch on the side, 2 trebles into the corner).
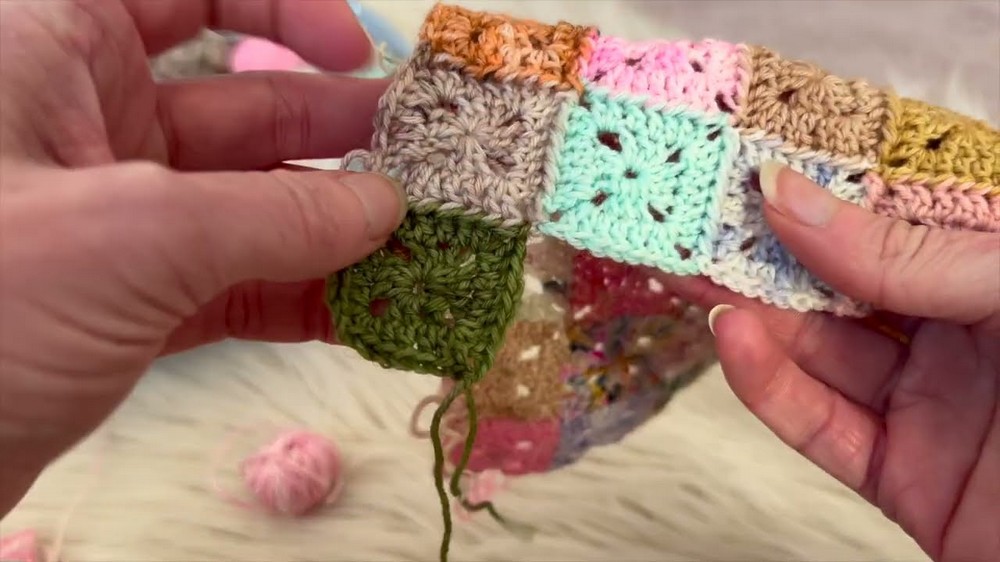
- Join the Squares:
- Instead of chaining 1 for the corner, remove your hook, line up the first square (already completed) with your new square (right sides facing up), and insert your hook front-to-back through the corner space of the completed square.
- Pick up the loop, pull it through, chain 1 to secure the join.
- Continue Across the Side:
- Work each new stitch on the second square, but after each stitch, remove your hook and join it to the corresponding stitch on the completed square by pulling the loop through.
Joining Along Two Sides:
- Work Along the First Side: Follow the process above to connect along the first side of the new square.
- Move to the Adjacent Side:
- At the corner, join the new square to the corresponding corner of the square to its right (if applicable).
- Follow the same joining technique for the second side, working stitch-by-stitch.
- Finishing: When both sides are joined, finish the final unworked sides of the square as you normally would.
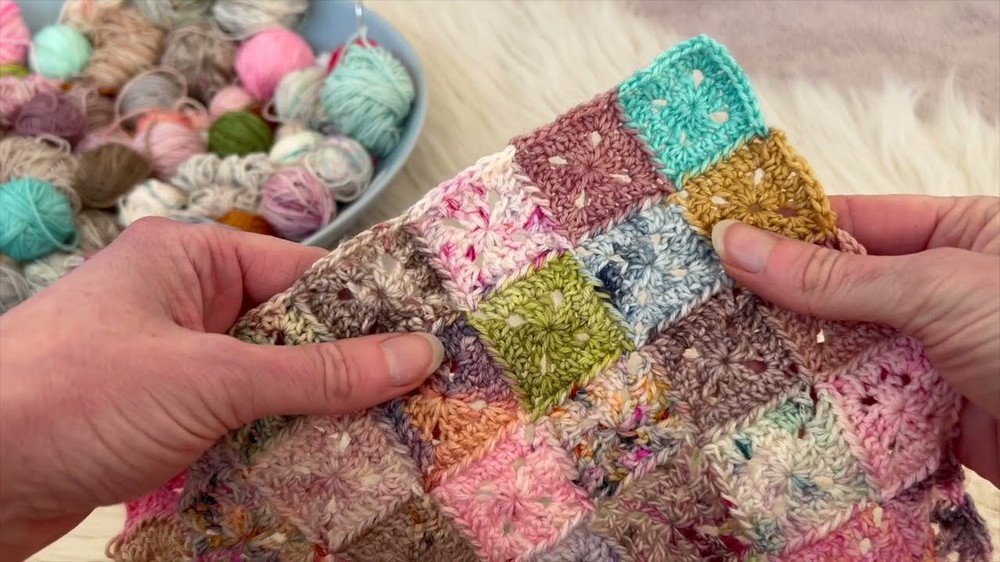
You can repeat this method to join all the squares needed for your project.
Tips for the Join-As-You-Go Method
- Keep your Slip Stitches loose for ease of work.
- Count stitches backwards to ensure you’re joining the correct ones.
- You can choose to join squares with right sides facing up for a visible join or right sides facing away for a flatter, less-visible join.
Conclusion
This Mini Solid Granny Square with Join-As-You-Go Technique is perfect for creating scrap yarn blankets or unique patchwork projects. By reusing small amounts of leftover yarn, this method is economical and beautifully customizable. The join-as-you-go technique is also ideal for creating seamless, sturdy connections between squares.