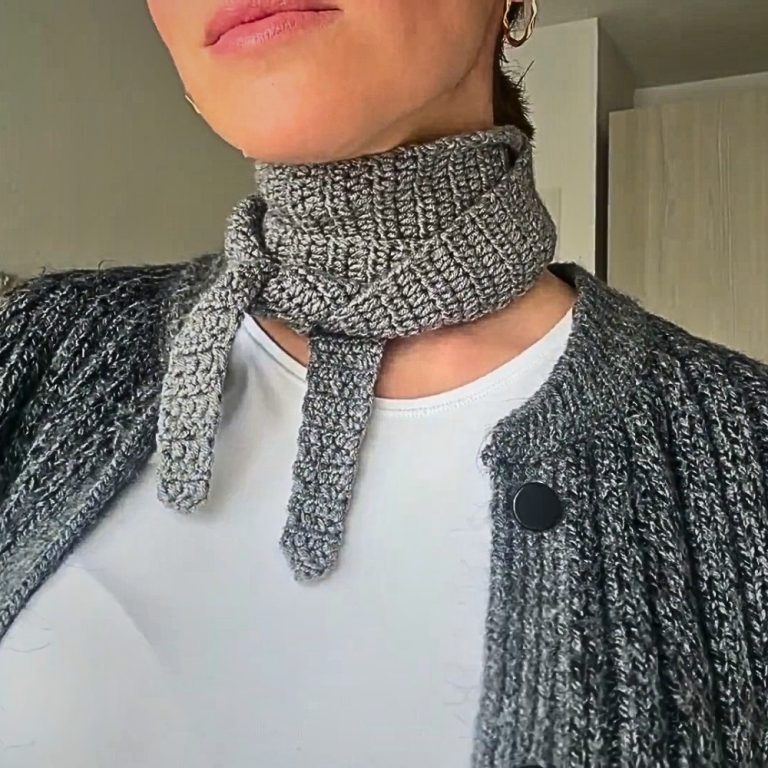
Make your winter outfit stand out by following this Crochet Mini Scarf Tutorial, an easy yet stunning design that will keep you cozy and stylish.
Crochet Mini Scarf Tutorial

Mini Scarf Crochet Pattern
Materials Needed
- Acrylic wool (Nana from the Caress brand, 75g skein; you'll use half or a bit more)
- 4mm crochet hook
- Lap counter (recommended to keep track of rows; optional)
- Scissors
- Mattress needle (for tucking in ends)
Steps
- Slip Knot and Initial Chains:
- Begin with a slip knot.
- Start with 2 chains.
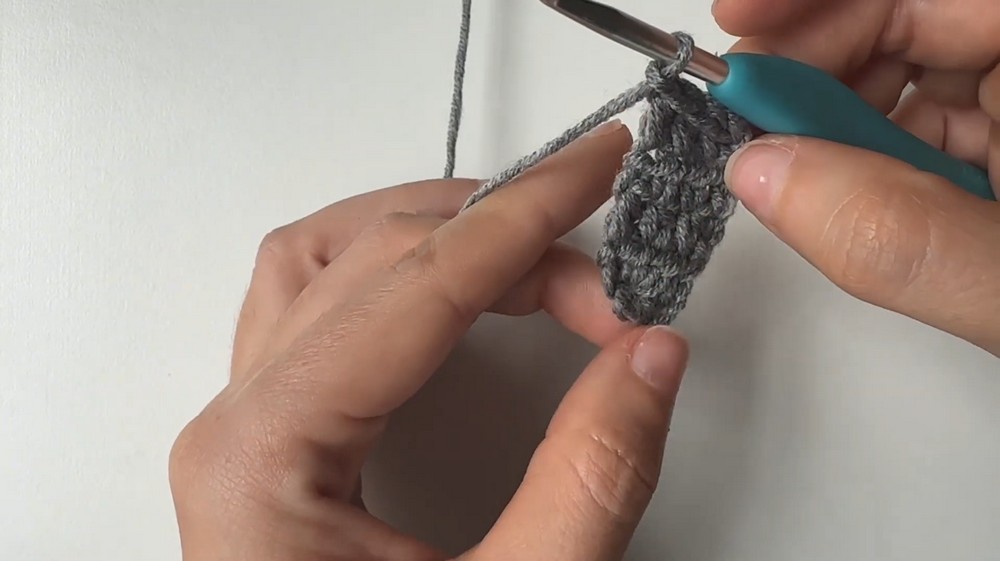
- Foundation Row:
- Make a half-double crochet (hdc) in the first chain, yarn over, insert the hook in the chain, yarn over again, pull through the chain, yarn over and pull through all three loops on the hook.
- Make another chain to complete Row 2 and give the lap counter a hit.
- First Increase:
- In Row 3, make an increase by putting 2 hdc in the same stitch.
- Make another stitch in the last chain (ensure the last stitch is done correctly as it is a bit hidden).
- Normal Rows:
- Make one stitch in each stitch for the next three rows (Rows 4, 5, and 6).
- The pattern is: one row with an increase, followed by three rows without increases.
- Continue Pattern:
- Repeat the pattern until you reach Row 62. Here’s the sequence:
- Row with an increase
- Three rows without an increase
- Continue this until Row 62
- Repeat the pattern until you reach Row 62. Here’s the sequence:
- Work up to Row 67:
- From Row 62 to Row 67: Make five normal rows without increases.
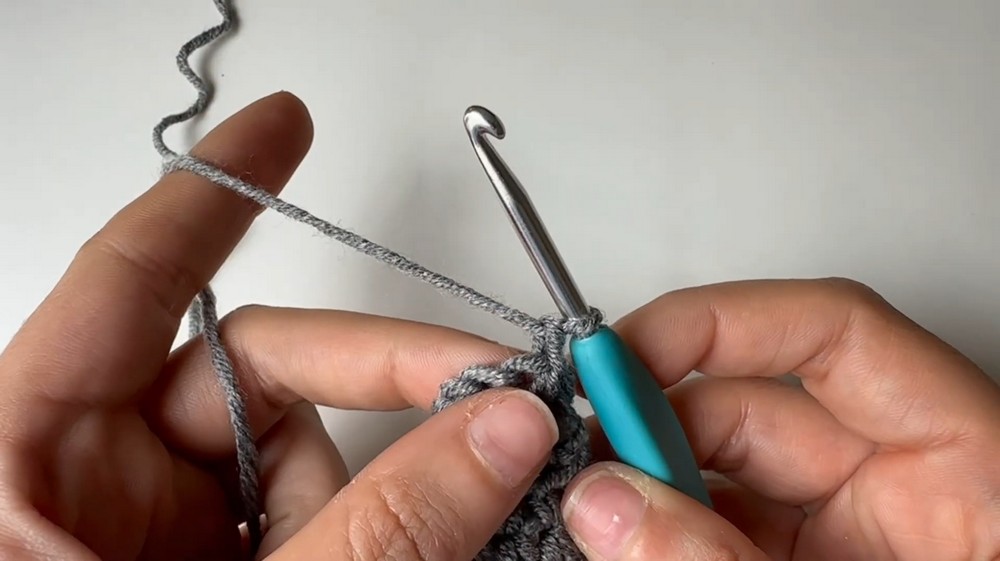
- Begin Decreases:
- For Row 68, begin with the first decrease:
- Yarn over, insert into the first stitch, yarn over and pull through (you'll have three loops)
- Insert the hook into the second stitch, yarn over and pull through (you'll have four loops), yarn over and pull through all four loops.
- Finish the row with normal stitches.
- Follow the pattern: one row with a decrease, then three rows without.
- For Row 68, begin with the first decrease:
- Continue the Decrease Pattern:
- Repeat this pattern until Row 128, alternating between decrease rows and three normal rows. A detailed note on rows with decreases is provided below.
- Final Decreases:
- From Row 128 onwards, do not follow the usual pattern of three normal rows but perform another decrease immediately after Row 128.
- Finish the chain row and in the next row make the last decrease.
- Finish Off:
- Make one final chain, cut the thread, and tuck in the ends using the mattress needle.


Notes:
- It is crucial to make sure that the last stitch of each row is completed correctly.
- Use the lap counter to keep accurate track of your rows.
Completing the Scarf:
- After completing the decreases in the rows as indicated, your mini scarf is finished and ready to wear or gift!