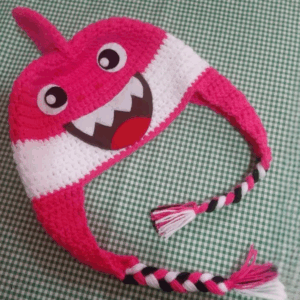
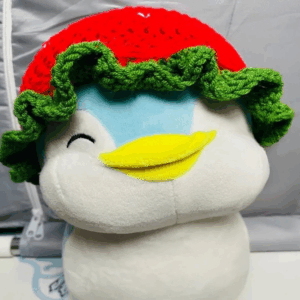
Show your support for preemies with this Crochet Micro Preemie Beanie Pattern, featuring a soft design to keep little heads warm and comfortable.
Tiny hats play a heartwarming role in supporting the littlest fighters. Designed specifically for micro-preemies, the Crochet Micro Preemie Beanie Pattern is more than just a project; it's a meaningful way to lend warmth and comfort to babies in neonatal intensive care units. This beanie is delicately shaped to gently hug tiny heads, offering softness and snugness while ensuring that fragile scalps are protected. With its simple yet appealing structure, it serves both functional and aesthetic purposes, making it a thoughtful piece for these vulnerable newborns.
How To Crochet Micro Preemie Beanie

Tiny Hat Crochet Pattern
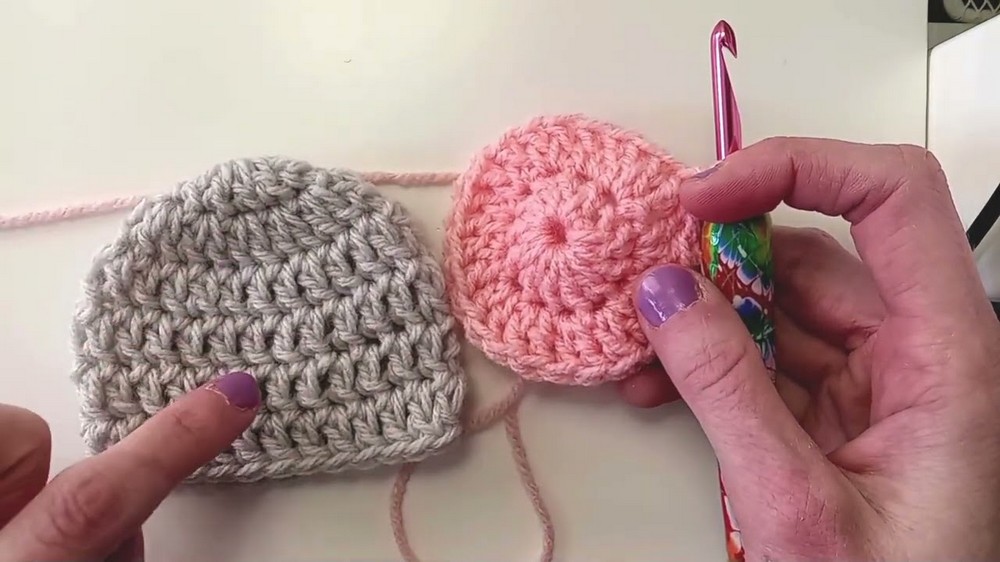
This step-by-step guide will help you create a micro prey-sized beanie, based on the simple structure described in the video. This is a beginner-friendly pattern that utilizes basic crochet techniques like slip stitches, double crochet, and working in the round. By the end of this tutorial, you’ll have a perfectly crafted tiny hat for your project!
Materials Needed
- Yarn:
- Weight 3 yarn (used in the video: Snuggly Wuggly, Michael's brand yarn).
- Alternatively, use weight 4 yarn (adjust hook size accordingly, see note below).
- Hook:
- Size I (5.5 mm) hook for weight 3 yarn.
- Size H (5.0 mm) hook for weight 4 yarn.
- Other Supplies:
- Scissors.
- Yarn needle (for weaving in ends).
Abbreviations of Stitches
To keep the pattern straightforward, here are the stitch abbreviations:
- ch = chain.
- sl st = slip stitch.
- dc = double crochet.
- st = stitch.
Pattern Instructions
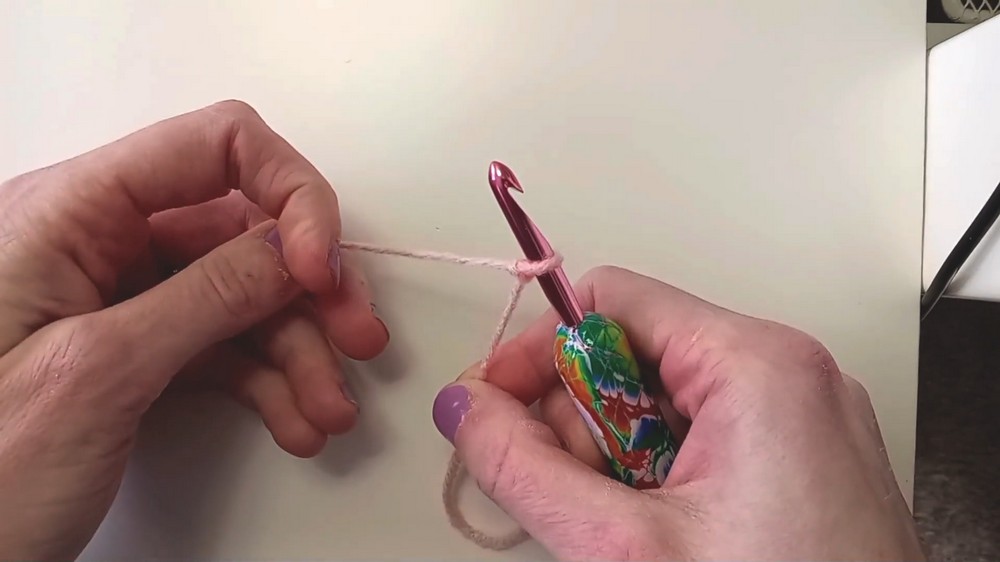
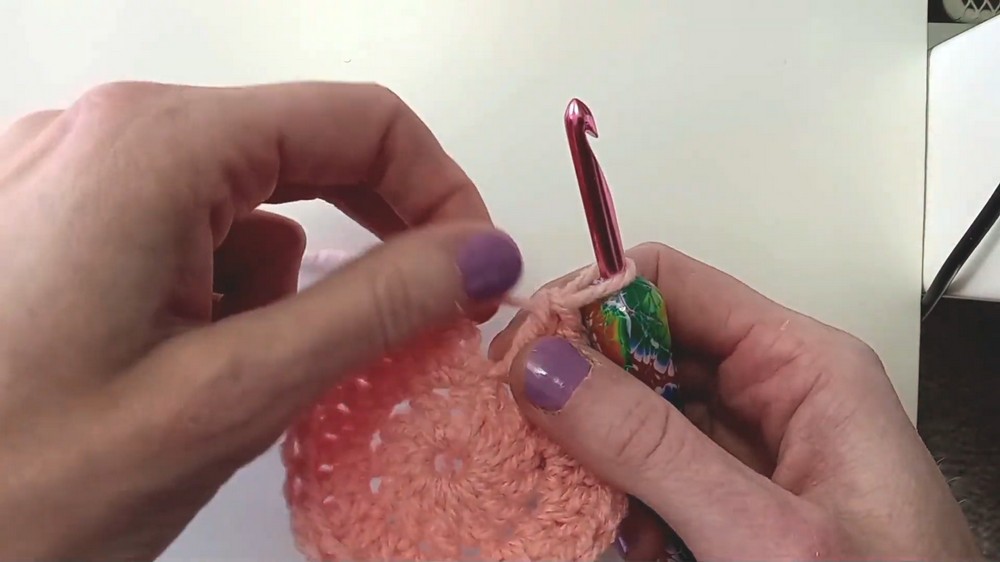
Round 1: Start with the Base
- Begin with a slip knot.
- Alternatively, you can use a magic circle if preferred.
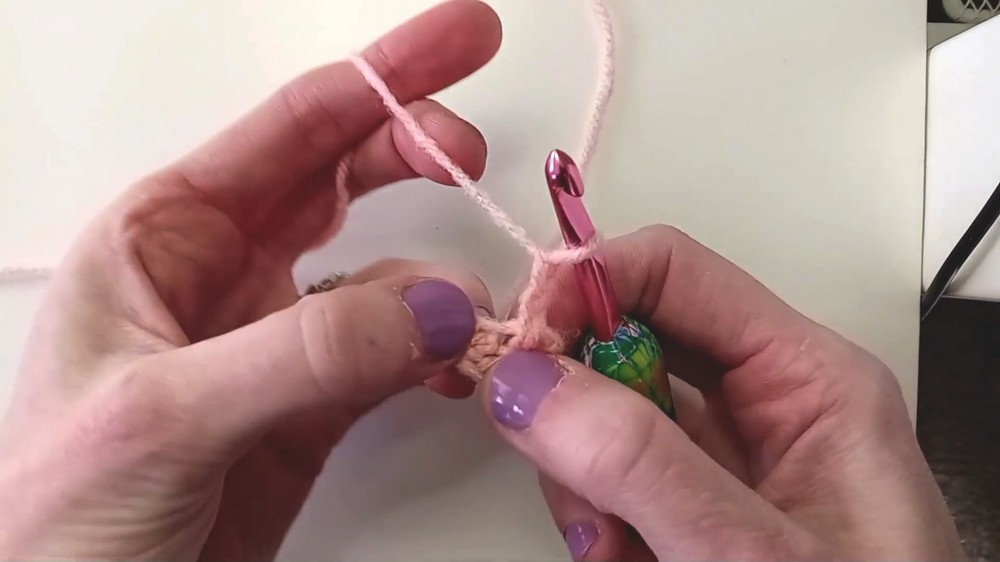
- Chain 4 (ch 4) and join the last chain to the first chain with a sl st to form a small ring.
- Chain 2 (ch 2) – this does not count as a stitch.
- Work 12 double crochets (dc) directly into the center of the ring.
- Yarn over, insert the hook into the center of the ring, yarn over again, pull through, yarn over, pull through two loops, yarn over again, and pull through the remaining two loops.
- Repeat this 12 times.
- Once you have 12 stitches, sl st into the top of the first dc to join the round.
Round 2: Increase the Diameter
- Chain 2 (ch 2) – this does not count as a stitch.
- Work 2 dc into each stitch around. You will end up with 24 stitches total.
- Yarn over and work the first dc into the very next stitch. Yarn over again and work another dc into the same stitch.
- Continue this process around.
- After completing the round, join it with a sl st into the top of the first dc.
Rounds 3–6: Build the Height
- For each round, chain 2 (ch 2) at the start – this does not count as a stitch.
- Work 1 dc into each stitch around (maintain 24 stitches in total for each round).
- Start your first dc in the first available stitch, not in the chain.
- When you complete a round, join with a sl st into the top of the first dc.
🔑 Pro Tip: To keep track of rounds, periodically count by flipping the hat inside out. Count the rows of stitches outward from the center.
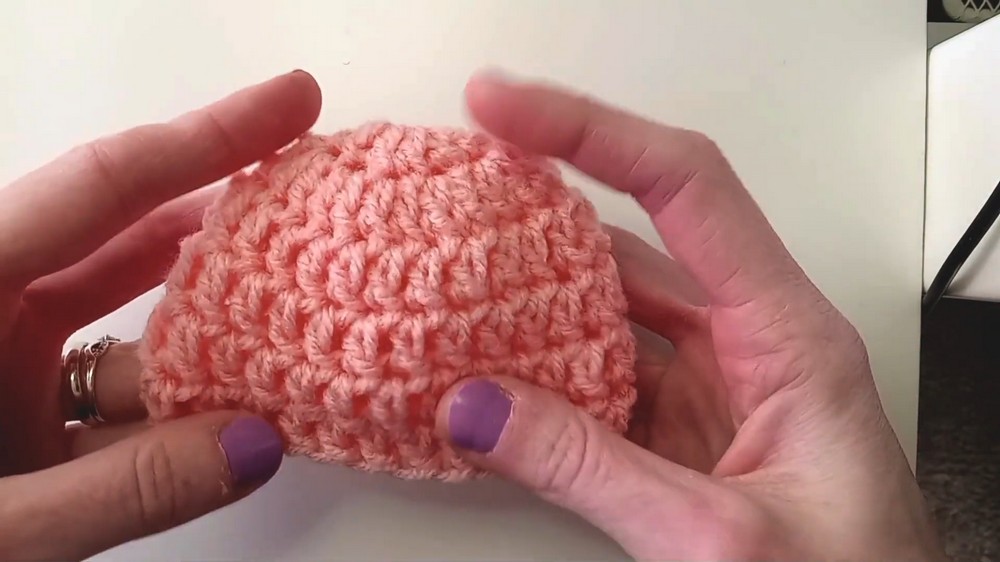
Finishing Off
- Once you’ve completed Round 6, snip your yarn, leaving a small tail for weaving in.
- Use a yarn needle to weave in the loose ends securely.
- Turn the hat right side out, and your micro prey-sized beanie is complete!
Conclusion
This quick and simple micro-sized beanie is a great beginner pattern. You can easily customize it by using various yarns, colors, or hook sizes. Whether you plan to use this for decor, toys, or other projects, this pattern is a versatile addition to your craft repertoire. If you have any questions or need clarification, don’t hesitate to ask. Happy crafting!