Make your crochet projects unique and creative with the easy-to-follow Crochet Giant Granny Square Pattern, fit for all skill levels!
The timeless charm of granny squares has made them a favorite among crochet enthusiasts for generations. A Giant Granny Square Pattern, with its appealing geometry and vibrant rows of colors, offers a versatile design perfect for endless creative applications. Whether you’re looking to crochet a cozy blanket, a stylish cardigan, or a decorative throw, this pattern adapts effortlessly to your ideas. Ideal for beginners, this pattern’s repetitive rounds provide a satisfying introduction while offering seasoned crocheters the liberty to showcase their artistic flair.
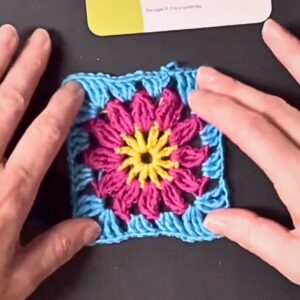
Crochet Giant Granny Square Pattern

The process involves working in rounds, starting at the center, and expanding outward while changing colors and building layers. The seamless progression ensures your piece continues to grow in size while maintaining its balanced appearance. With just the right essentials, like yarn and a crochet hook, this design flourishes into a cherished item that’s both functional and visually delightful. Its simplicity coupled with the potential of creativity makes it an enduring crochet treasure.
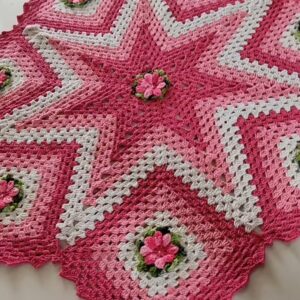
How To Crochet Granny Square Blanket
Materials Needed:
- Yarn: Stylecraft Special Double Knit
- Copper
- Parchment
- Gold
- Cypress
- Hook: 4 mm crochet hook
- Additional Tools:
- A pair of scissors
- A large blunt yarn needle

Pattern Instructions:
- Start with a Chain Ring:
- Begin with a slip knot.
- Chain 4.
- Slip stitch into the first chain to form a ring.
- Round 1:
- Chain 3 (counts as first double crochet).
- Work 2 double crochets into the ring.
- Chain 2 (to form a corner).
- Repeat (work 3 double crochets into the ring, chain 2) three more times.
- Slip stitch into the top of the starting chain.
- Fasten off.
- Round 2:
- Turn the work over.
- Attach the next color (Parchment).
- Join yarn in a corner space that wasn’t the ending space of the last round.
- Chain 3 (counts as first double crochet).
- Work 2 more double crochets into the same space.
- Chain 2, work 3 double crochets into the same corner space.
- Work 3 double crochets into the next corner.
- Chain 2, work 3 double crochets into the same corner space.
- Repeat around until you have worked into all four corners.
- Slip stitch into the top of the starting chain.
- Fasten off.
- Round 3:
- Turn the work over.
- Attach the next color (Gold).
- Join yarn in a corner space that wasn’t the ending space of the last round.
- Chain 3 (counts as first double crochet).
- Work 2 more double crochets into the same space.
- For each side space (not a corner), work 3 double crochets into the space.
- Work 3 double crochets, chain 2, and another 3 double crochets into each corner space.
- Repeat around until you have worked into all four corners and side spaces.
- Slip stitch into the top of the starting chain.
- Fasten off.
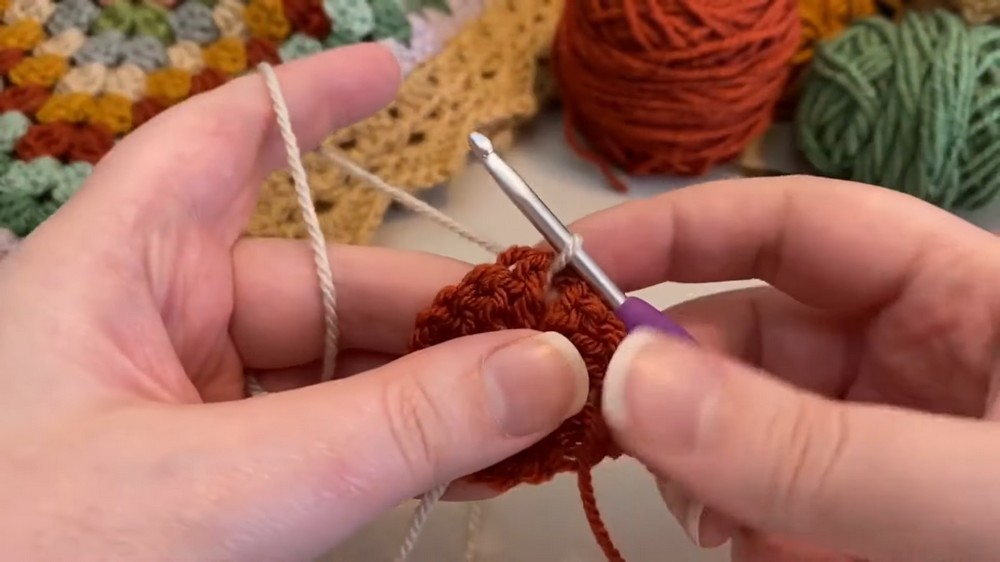
- Subsequent Rounds:
- Follow the pattern of turning the work over before starting each new round.
- Repeat joining yarn in a corner not previously used.
- Chain 3 (counts as first double crochet).
- Work 2 more double crochets into the same corner space.
- Work 3 double crochets into each side space.
- Work 3 double crochets, chain 2, work 3 more double crochets in each corner space.
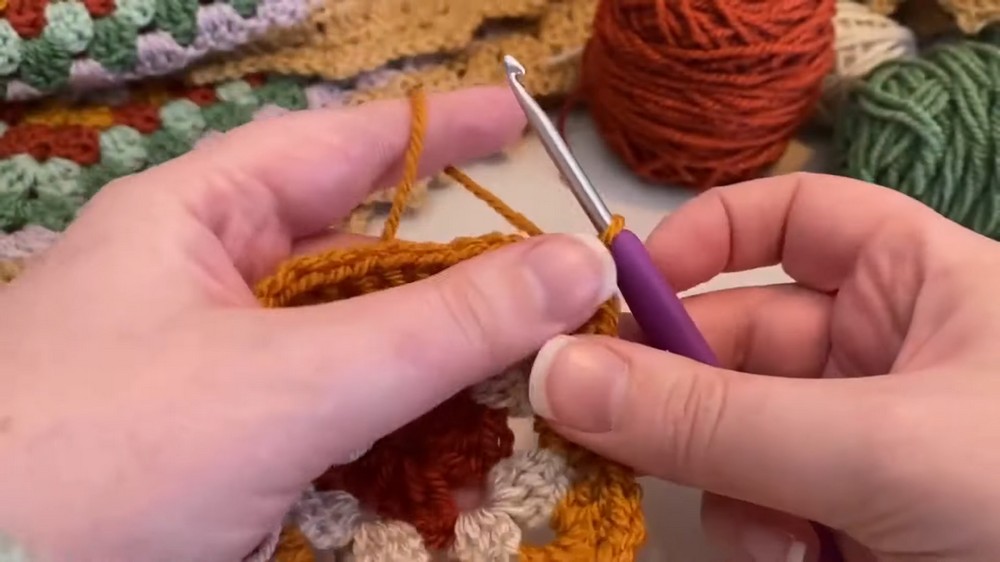
- Continuous Rounds:
- Continue working in rounds, following the pattern of:
- In side spaces: 3 double crochets.
- In corner spaces: 3 double crochets, chain 2, work 3 more double crochets.
- Change colors according to your desired pattern sequence or as specified in the crochet along.
- Turn the work over before starting each new round to maintain evenness in the granny square.
- Continue working in rounds, following the pattern of:
- Finishing Off:
- Weave in all yarn tails securely using a large blunt yarn needle.


Notes:
- Turn Work: Turning the work before starting each new round is important to prevent the granny square from skewing as it grows.
- Color Order: Follow the color sequence as per your preference or as given in the video for the "Granny Love Crochet Along."
- Customization: You can make your blanket as large as you desire by continuing to follow the established pattern, adding rows until reaching the desired size.
This is a simplified structure to help you create a beautiful giant granny square blanket. For detailed instructions and visuals, refer to the video tutorial.