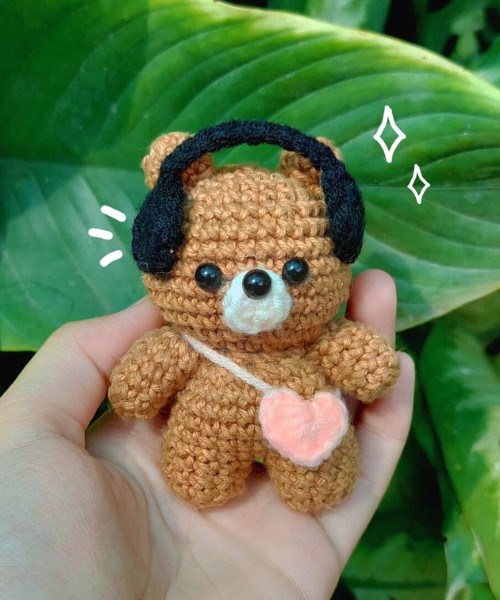
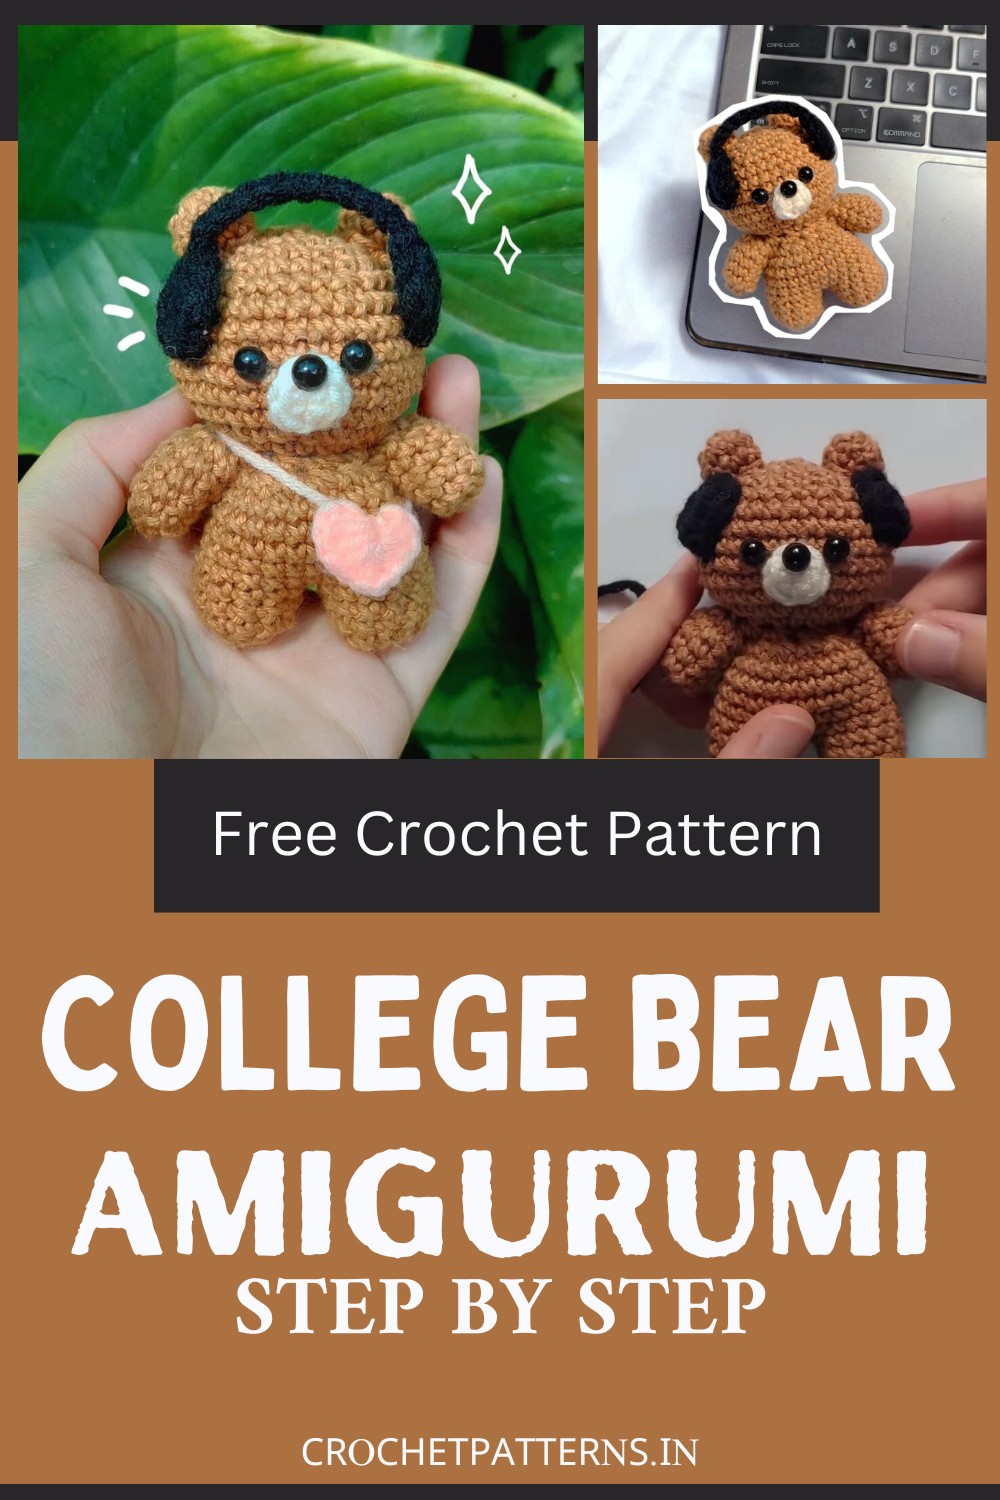
The Crochet College Bear Amigurumi Pattern is a charming treat for all crochet lovers. Picture a cute, palm-sized, brown bear with tiny arms and legs, possessing an irresistibly chubby body. This bear is no ordinary teddy, as it comes themed with beloved college memorabilia, comforting earmuffs and an adorable heart messenger bag. These accessories give the little crochet friend a distinct collegiate vibe, creating an emotional connection to our nostalgic student days. The pattern we're providing is designed to be simple and accessible, making it perfect for both beginners and experienced crafters alike. With clear, step-by-step instructions, you'll find it easy to bring your bear to life. So, what about making this amigurumi to gift someone special or add to the keychain?

Making Your Crochet College Bear
Materials Needed
- Yarn (colour of your choice for the main body, for ears, and a colour for the earmuffs)
- Crochet hook (size not specified; choose according to yarn)
- Darning needle
- Stitch marker
- Safety eyes
- Glue
- Black bead or thread for nose
- Stuffing material
Pattern Overview:
- Ears: 2 pieces
- Arms: 2 pieces
- Legs: 2 pieces; continue with the body seamlessly
- Body and Head: 1 piece
- Nose: 1 piece
- Earmuffs: 2 pieces and a connecting chain
- Heart (optional): 1 piece
Step-by-step pattern
Ears (Make 2)
- Start with a magic ring.
- Make 8 single crochets (sc) into the ring. Pull the tail to close the ring.
- Round 2-4: Make 8 sc around.
- Cut the yarn, leaving a long tail for sewing.
Arms (Make 2)
- 10 sc into a magic ring.
- Round 2-4: Make sc in each stitch around.
Legs (Make 2)
- 6 sc into a magic ring. Pull the tail to close the ring.
- Round 2: Make an increase (two sc in one stitch) in each stitch around to get 12 stitches.
- Round 3-4: Make 12 sc around in each round.
Body
- After the second leg, chain 1, but do not cut the yarn. Join the two legs together.
- Round 5: Make 12 sc on one leg, 1 sc in the chain-1 space, 12 sc on the other leg, and 1 sc in the next chain-1 space (26 stitches total).
- Round 6-8: Make 26 sc around in each round.
- Round 9: Attach the arms by making sc around and incorporating the arms at the sides.
- Round 10-11: Continue making SC around, adjusting the stitch count as the arms are added to maintain 46 stitches around the body.
Head
- From Round 15 on, continue making increases and single crochets as described in the body section until you reach the desired head size.
- Place safety eyes between Round 18, three stitches apart.
- Continue decreasing as instructed in the pattern to shape the head, filling with stuffing as needed.
- Close the opening at the top of the head.
Earmuffs
- Start with a magic ring.
- Make 8 sc into the ring.
- Slip stitch to close the circle. Leave a long tail for sewing.
Earmuffs Chain
- Make a slip knot.
- Attach yarn at one earmuff, make 10 chains, and then attach it to the other earmuff with a slip stitch.
Nose
- Sew the nose between the eyes using a black bead or thread.
Finishing
- Sew on the ears, the nose, and the earmuffs.
- Weave in all ends.
Note
- The pattern doesn't provide specific measurements, hook sizes, or yarn weight, so you may need to adjust according to your preference and the materials available.

Design and Pattern by @etmsstudio


