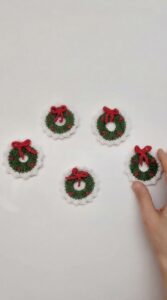
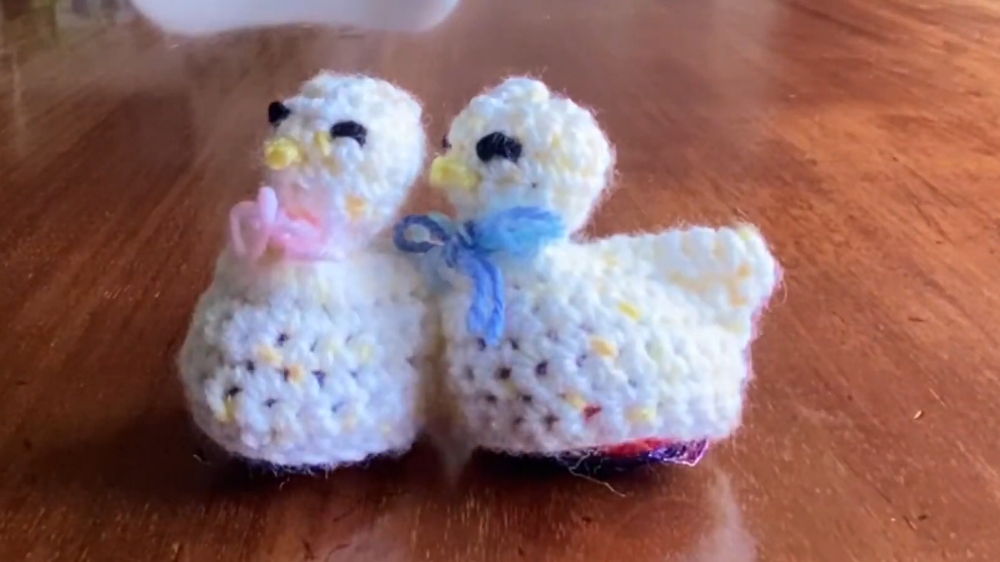
Spruce up your spring celebrations with this Free Crochet Chick Egg Cover Pattern, adding cute, colorful, and playful accents to eggs and décor.
A bright spring morning often begins with the cheerful sound of birdsong, filling the air with energy and renewal. That same playful spirit can be captured in a charming crochet chick egg cover, a small handmade accent that turns ordinary eggs into delightful seasonal decorations. Its cheerful form brings warmth to breakfast tables, festive displays, and thoughtful gifts, making it a delightful addition to both everyday moments and special gatherings.
Free Crochet Chick Egg Cover Pattern

This crochet chick egg cover offers multiple benefits: it protects fragile shells, adds personality to table settings, and doubles as a reusable decorative accent year after year. Soft yet sturdy stitches shape a snug fit that slips easily over eggs, keeping them safe while providing a burst of color and character. Whether used for Easter celebrations, springtime parties, or as a fun surprise in a packed lunch, it quickly becomes a conversation starter.
Compact and lightweight, it is simple to store and adaptable to different yarn shades, allowing a flock of colorful chicks to brighten any occasion. Beyond its practical purpose, this cheerful cover brings a touch of handmade charm that makes even the simplest meal or décor feel more memorable, ensuring smiles with every glance.
Special Features
- Easter-Themed Design: A cute and festive pattern for an Easter chick or chicken.
- Multi-Use: Functions as a decorative item and as a practical chocolate egg holder.
- Simple Pattern: The design relies primarily on double crochet (UK terms) or single crochet (US terms), making it beginner-friendly.
- Customizable Colors: Great flexibility in choosing yarn colors for personal or seasonal touches.
- Compact Size: Small and easy to make multiple for gifting or decoration.
Level of Difficulty
- Beginner-Friendly: The entire project is built around basic crochet stitches: double crochet (UK terms) or single crochet (US terms).
- Mild Complexity: Includes slight increases and decreases for shaping, all of which are explained in the video.
Materials Needed
- Yarn:
- White or yellow DK yarn for the main body.
- Tiny amounts of black DK yarn for the eyes.
- Orange or yellow DK yarn for the beak.
- Optional: Additional yarn in your color of choice for the decorative bow.
- Crochet Hook: 4 mm crochet hook (or adjust for your desired size).
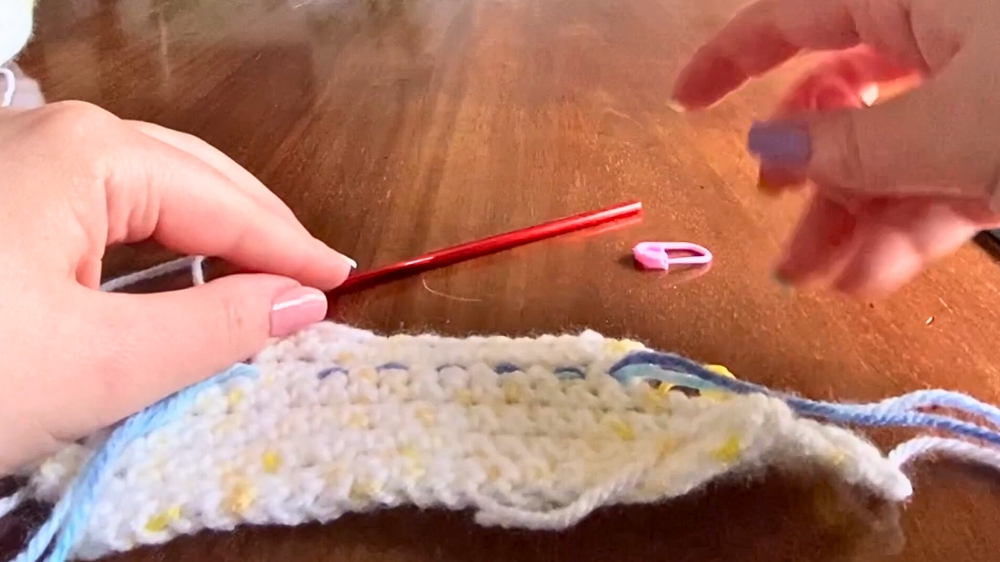
- Stitch Markers: To track specific stitches for placement and shaping.
- Filling: Small cotton wool or other stuffing material for the head.
- Scissors: For cutting yarn ends securely.
- Darning Needle: Used for weaving in ends and stitching small details like the eyes and bow.
Step-by-Step Instructions
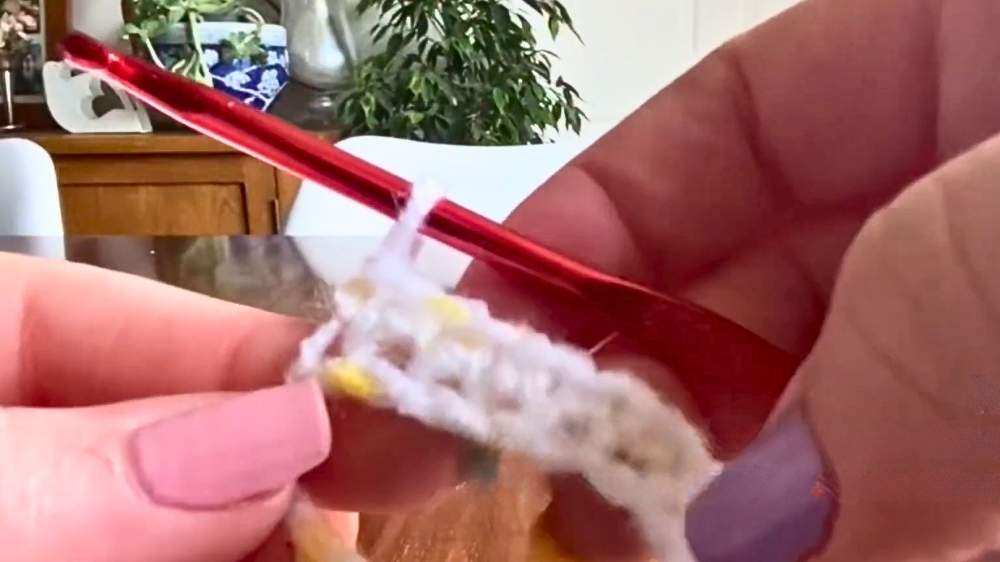
1. Creating the Base
- Start by making a slip knot and chain 22 stitches.
- Insert the hook into the second chain from the end, and create 21 double crochet stitches (DC) (UK terms)/single crochet (SC) (US terms) along the chain.
- Chain one, turn, and repeat the row for a total of three rows.
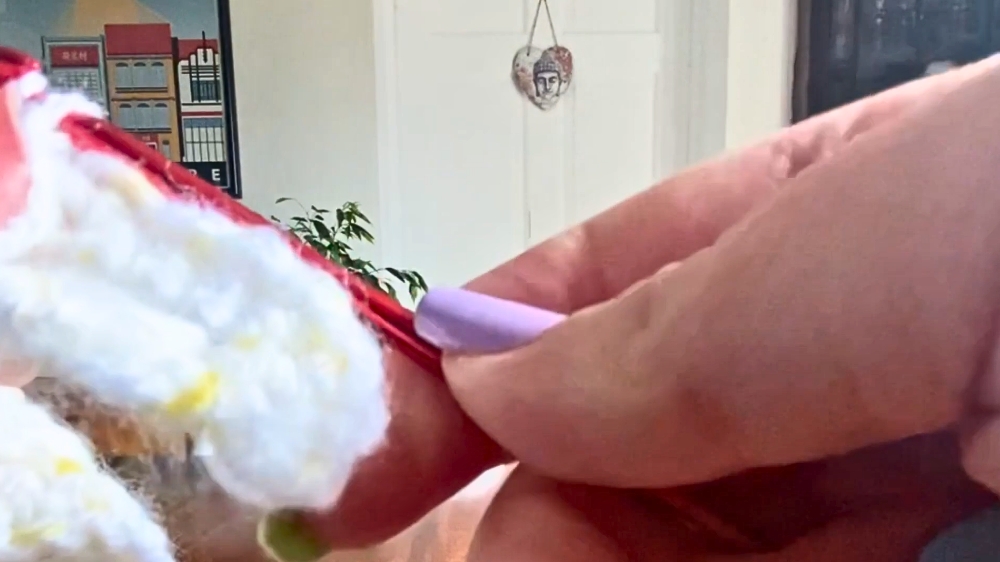
2. Increasing for Shaping
- Begin with a double crochet in the first stitch, then place two double crochets in the second stitch to create an increase.
- Continue crocheting one double crochet in each stitch until the second-to-last stitch, where you increase again (two DC in one stitch) and end with one double crochet in the final stitch.
- Chain one, turn, and repeat this increase row for four total rows of increases, shaping the chicken’s body.
3. Separating for the Head
- After completing the body, count eight stitches from the edge and mark with a stitch marker.
- Using a new slip knot, join yarn at the ninth stitch with a slip stitch, then begin double-crocheting across until reaching the previous marker.
- Work this section for a few rows to form the head shape.
4. Adding Decoration (Beak, Eyes, and Bow)
Making the Beak:
- Use orange or yellow yarn and create a small triangular beak by threading yarn through the middle of the face with a darning needle.
- Stitch three times in the same spot to form a small loop, then secure the yarn at the back.
Making the Eyes:
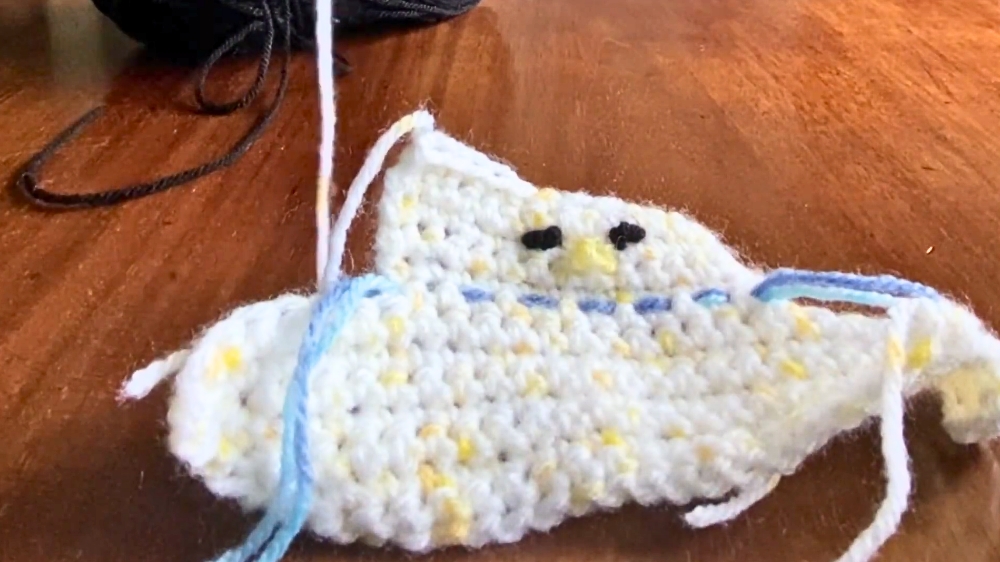
- Take black yarn and thread a fine amount to form the eyes.
- Mark the placement of the eyes with stitch markers for symmetry.
- Stitch two small loops for each eye and knot the back securely.
Adding the Bow:
- Use decorative yarn to thread through the chicken’s neck area (the base of the head).
- Tie the ends firmly into a bow shape at the front.
5. Shaping and Closing the Chicken
- Fold the chicken’s body in half and use a darning needle to whipstitch the edges together, leaving the base (bottom) open for inserting the chocolate egg.
- Insert filling material (e.g., cotton wool) into the head area to give it shape.
- Adjust the bow and tighten yarn where needed to secure the stuffing.
Tutor’s Suggestions
- Experiment with Colors: Play with different color combinations for various seasons or occasions.
- Be Precise with Shaping: Use your fingers or stitch markers to align the placement of the beak, eyes, and bow for a polished look.
- Stuff Gradually: Don’t overfill the head to avoid bulging. Adjust the stuffing for the perfect shape.
- Finishing Touches: Trim loose ends and weave yarn smoothly to give the finished product a professional finish.
Uses
- Easter Gifting: A unique and personal holder for Creme Eggs or similar treats.
- Easter Decor: Use as party decor or place settings.
- Craft Projects: Great activity for schools, churches, or family gatherings.
- Custom Decorations: Adaptable as a handmade present for children or friends.
Tip
For a neat and symmetrical finish, always double-check your stitch counts and marker placement as you work. Adjust spacing for the beak and eyes to ensure a balanced, cute appearance.
Conclusion
This crochet Easter chicken tutorial is a fun and beginner-friendly project that results in a charming, multi-purpose design. Whether used as an egg holder or a delightful seasonal decoration, it’s a simple way to add a handmade touch to your celebrations. With minimal supplies, clear instructions, and lots of room for customization, it’s a project anyone can enjoy.