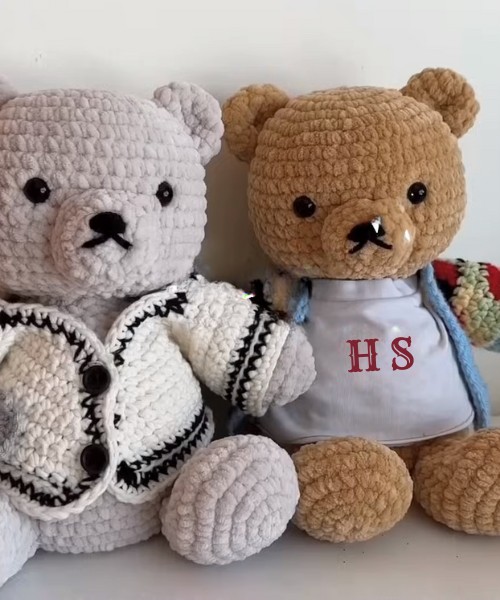
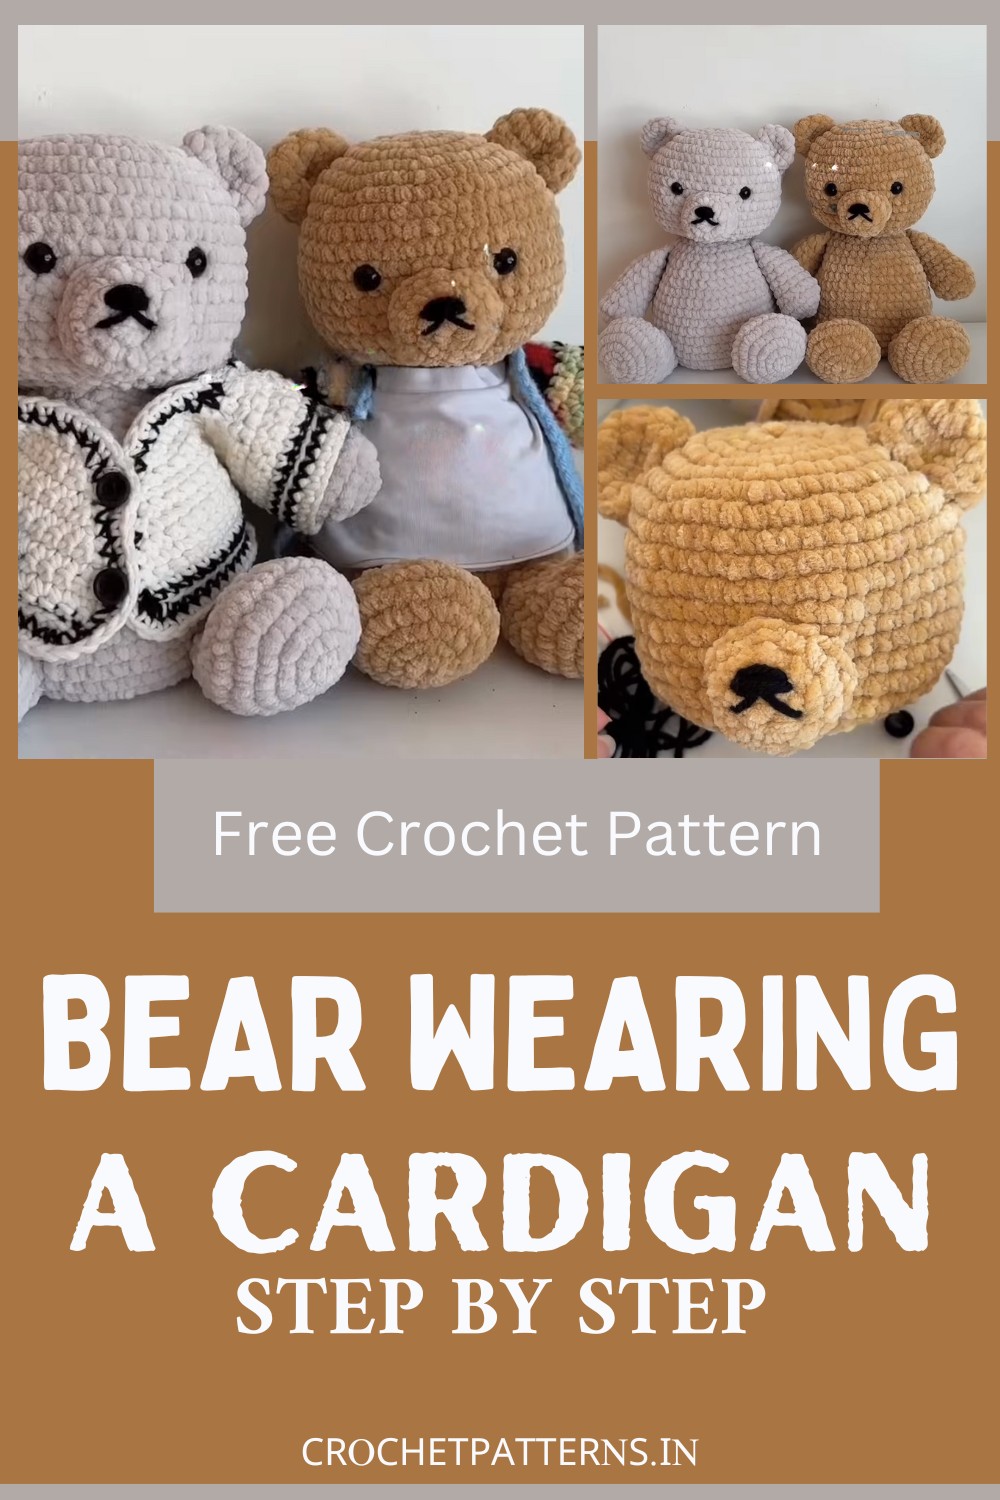
Have you ever seen a bear wearing a cardigan? Imagine a fluffy, soft crochet bear, not too big or small, perfect for a cozy cuddle. This bear doesn't come with just any outfit; it wears a tiny, adorable cardigan knitted with care. We are providing the simplest pattern of the amigurumi bear that is simple enough to be followed by the beginner. The crochet amigurumi has safety eyes (12mm in size), giving it a friendly and alert look. The bear's cardigan is made with a mix of cotton and acrylic yarn, giving it a nice texture. It has a "hairy" design and a blue border, giving it a stylish touch. Notable is the bear's poseable limbs, a unique feature that adds to its charm. So, follow the pattern, watch the video tutorial of @mahumcrochets, and start crocheting this adorable amigurumi creation!

Making Your Crochet Bear and Cardigan
Crochet Bear
Materials Needed:
- Hook (4.5mm for this project)
- Fluffy yarn for a teddy bear
- Cotton and acrylic yarn for cardigan
- Plastic needle
- Safety eyes (12mm)
- Stuffing (or alternative like old pillow stuffing or yarn scraps)
Step by step Pattern
Head & Body:
- Start with a slip knot, chain 4, and join to form a ring (or a magic circle if you're comfortable with that technique).
- Work in the round, increasing each subsequent round until the desired width is reached.
- Continue with repeat rounds (one single crochet in each stitch) with no increases until the body takes shape.
- Begin decrease rounds by performing invisible decreases to shape the top of the head.
Arms & Legs:
- Smaller chain circle (chain 3, slip stitch to join).
- Increase in each round as per the detailed pattern.
- Perform a round of invisible decreases and then single crochets.
- Repeat decreasing and single crocheting patterns to shape the limbs.
- End with a few rounds of just single crochets.
Ears & Nose/Mouth Part:
- Similar to the limbs but with a different pattern count.
- Once crocheted, fold them in half and sew to create the correct shape.
Assembly:
- Stuff all parts and sew closed if needed.
- Attach all body parts (head, body, arms, legs, ears, nose/mouth part) using a plastic needle and yarn, following the placement shown in the video.
- Embroider face details with black yarn.
Cardigan for Teddy Bear
Materials Needed:
- Yarn in multiple colours for the Harry Styles patchwork cardigan
- 4.5mm hook (or size matching your bear size)
Step-by-step pattern
Sleeve construction:
- Chain 25 (adjust the number to fit the size of your bear’s arms), skip the first chain, single crochet across to the last chain, change colors and repeat for pattern stripes.
Front and Back Pieces:
- Chain 15 for front pieces; follow the video for creating edges and decreases for shaping.
- The back piece is simply a large rectangle with no shaping.
Ribbing:
- Attach yarn to the bottom edge of the cardigan.
- Single crochet around, creating buttonholes by chaining and skipping stitches where marked.
Assembly:
- Sew sleeves and front pieces to the back piece as per the pattern.
- Sew sides together.
- Add a border around the edge.
Harry Styles Patchwork Cardigan:
- Follow the pixel grid patterns provided in the blog post linked in the video for the patchwork design.
- Work with changing colors and carrying yarn (floating yarn technique preferred).
Additional Tips:
Hidden Tips:
- Stuffing can affect the shape of your bear; understuff for a slimmer bear, overstuffed for a chunkier bear.
- Placement of the limbs and facial features will personalize your bear's expression.
- Following the pattern exactly as demonstrated will help achieve the best results.
Conclusion:
Remember to keep the written pattern open for reference on your phone or another tab while you work on your project. The tutorial in the video helps you understand the patterns and the steps mentioned above are an overview. For detailed stitch counts and additional instructions, please reference the video directly or use any accompanying written material provided by the creator.

Design and Pattern by @mahumcrochets


