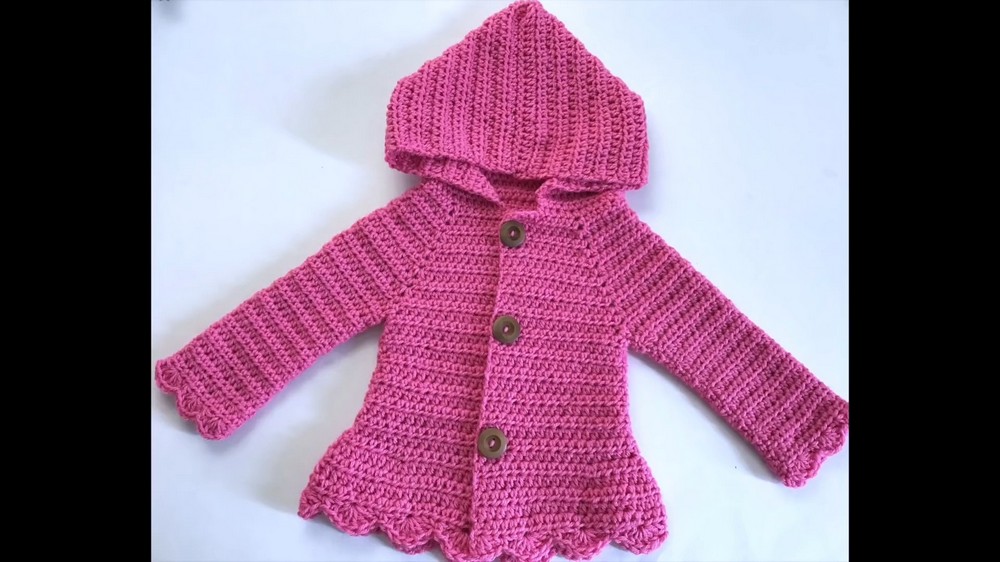
Keep your baby warm and stylish using this soft crochet hoodie jacket pattern that offers flexibility, ease, and the cutest design details.
Soft fabrics often provide babies the warmth and comfort they need during chilly months. Among the garments loved by parents and caregivers, the baby hoodie jacket stands out for its snug fit and adorable appearance. This crochet hoodie jacket, sized perfectly for six to twelve-month-old infants, combines functionality and charm, making it an ideal addition to any baby's wardrobe. Whether used as casual wear or a cozy accessory for outings, this versatile piece helps keep babies comfortable and effortlessly adorable.
How to Crochet baby Hoodie Jacket
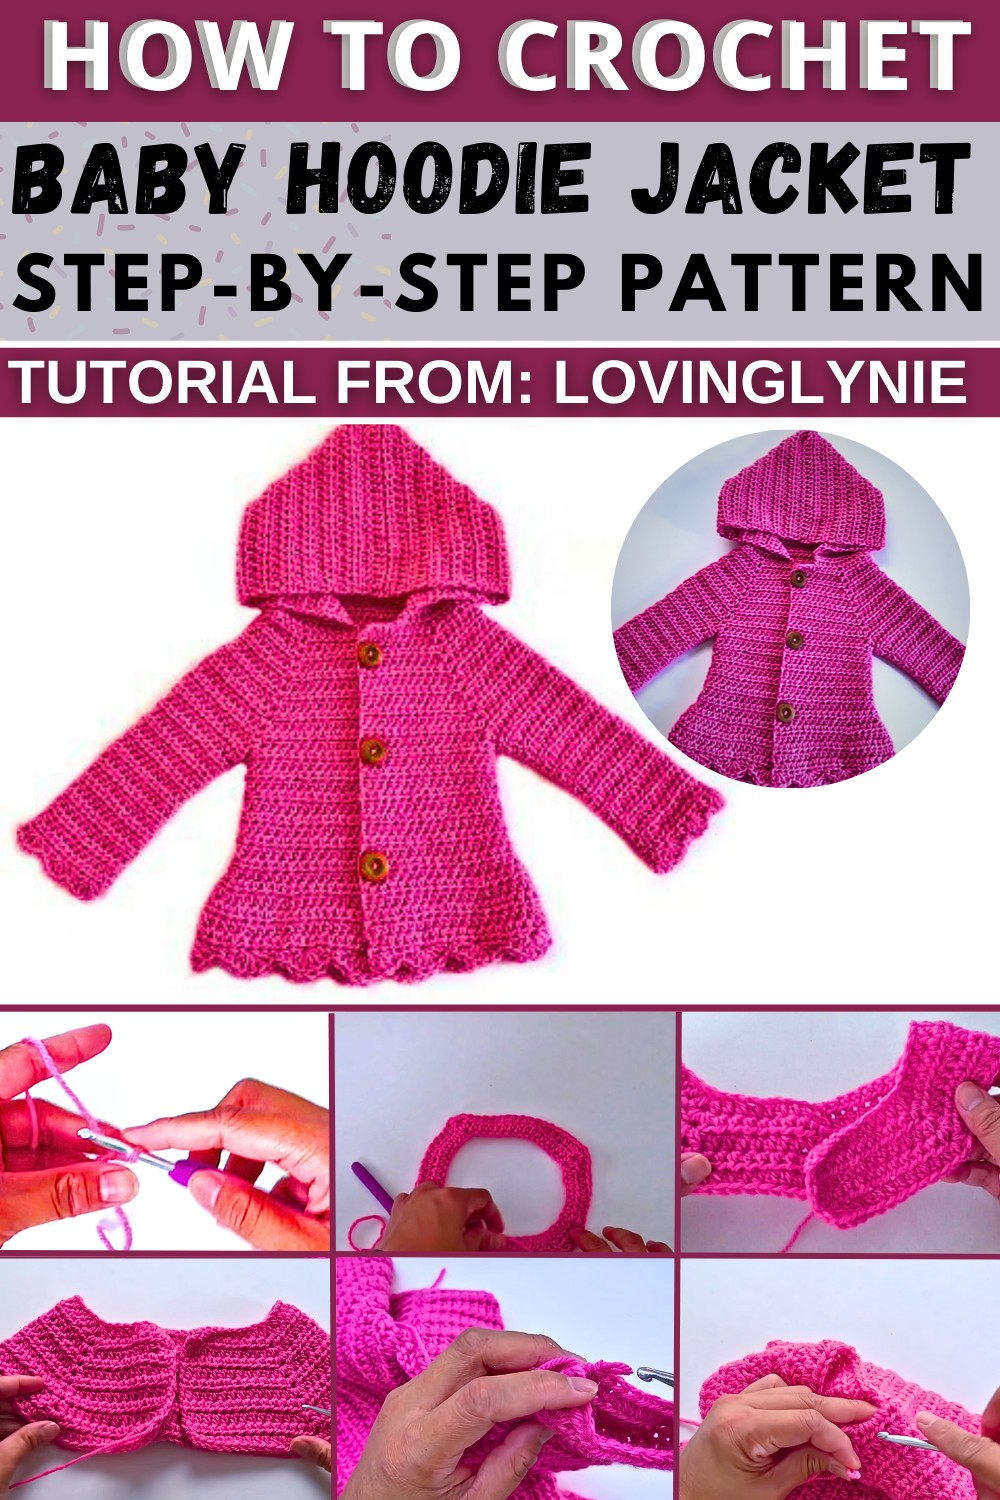
Designed with practicality in mind, the pattern features an easy-to-follow stitch layout using mostly half-double crochet stitches, ensuring durability. With thoughtful measurements of 18.5 inches around the chest and 12.5 inches in total length, this pattern ensures the sweater fits comfortably while allowing freedom of movement. Perfectly suited for spring or fall, the jacket includes button closures for convenience and style while offering layering possibilities.
Easy Baby Hoodie Jacket Pattern (6-12 Months)
This easy-to-follow crochet pattern teaches you how to make a cozy hoodie jacket for babies aged 6 to 12 months. It uses primarily half double crochet stitches (HDC) with a touch of double crochet (DC) for finishing details. The final measurements are around 18.5 inches for the chest circumference and 12.5 inches from the top to the bottom, with the option to crochet the hood separately.
Let’s get started!
Materials
- Yarn: Lion Brand “Pound of Love," 100% premium acrylic, Size #4 (medium-weight, slightly thinner side).
- Around 1 skein (16 oz.) is enough for the entire hoodie.
- Crochet Hook: 5.0 mm (H/8).
- Buttons: 3 buttons, approximately 1-inch in diameter.
- Scissors.
- Yarn needle (for weaving ends and sewing buttons).
Abbreviations
- CH: Chain
- HDC: Half Double Crochet
- DC: Double Crochet
- SL ST: Slip Stitch
- SC: Single Crochet
- V-ST: V-Stitch (1 HDC, CH 1, 1 HDC in the same stitch)
- [ ]: Repeat instructions inside brackets.
Step-by-Step Instructions
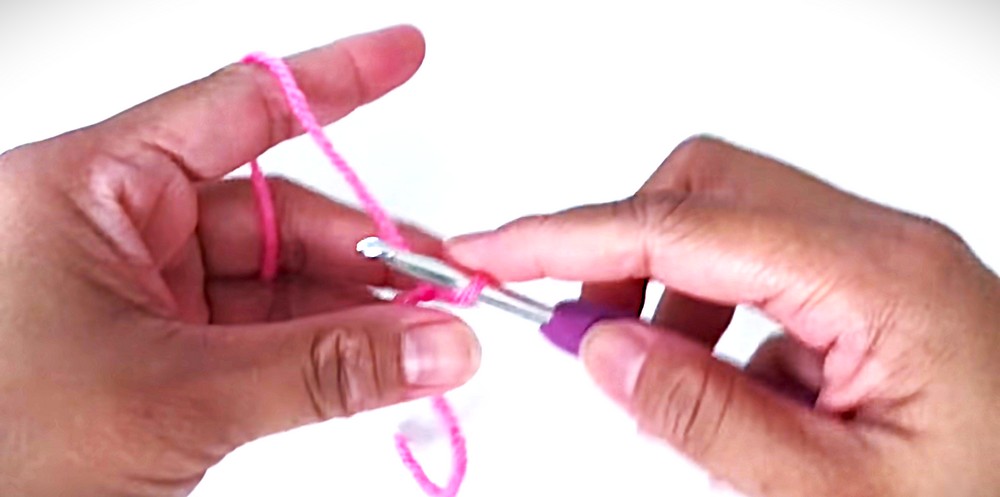
1. Foundation Row
- Start with a slip knot, then CH 61.
- HDC into the third chain from the hook and in each chain across, as follows:
- 9 HDC, followed by 1 V-ST.
- 11 HDC, followed by 1 V-ST.
- 15 HDC, followed by 1 V-ST.
- 11 HDC, followed by 1 V-ST.
- 9 HDC.
- By the end of Row 1: You should have 63 stitches.
2. Rows 2–11: Increasing Rows
Each row focuses on increasing the stitch count by placing V-Stitches into the previous row's V-Stitch. Follow these steps:
- Start each row with CH 1 and turn your work.
- For each row:
- Add HDCs at the beginning and end of the row according to the pattern.
- Continue placing V-ST into the V-ST of the previous row.
- Buttonholes: On Row 3 and Row 13, create a buttonhole:
- CH 1, skip 1 stitch, work 1 HDC into the next stitches.
By Row 11, you should have 103 total stitches.
3. Row 12: Separate Sleeves and Body
- CH 1, turn, and HDC across as follows:
- 15 HDC for the Front (Left).
- CH 2 (skipping the sleeve stitches).
- 28 HDC for the Back.
- CH 2, skipping the second sleeve.
- 16 HDC for the Front (Right).
- Total stitches after this row: 59 stitches.

4. Body (Rows 13–30)
- Work even rows of HDC (63 stitches) for Rows 13–29.
- On Row 30, work Shell Stitch (decorative edge):
- CH 3, turn.
- Half Shell: 3 DC in the first stitch.
- [SK 2 stitches, SC in next, SK 2 stitches, 6 DC in next] across.
- End with a SC in the last stitch.
5. Sleeves
- Start the sleeve in the CH 2 space from Row 12.
- Work in rounds:
- Round 1: 27 HDC around. SL ST into the first HDC.
- Rounds 2–20: Continue HDC, decreasing by 2 stitches every 3rd round.
- Round 21: Work shell stitch (5 DC in one stitch, SK 1, SC in next) around.
- Fasten off and repeat for the second sleeve.

6. Hood
- Find the center of the neck and count 26 stitches on either side for a total of 52 stitches.
- Attach yarn:
- Row 1: CH 1, HDC across (52 HDC).
- Rows 2–24: CH 1, turn, HDC across.
- Fold the hood in half and join the top edges using SC stitches.
- Fasten off and weave in the ends.
7. Finishing
- Securely sew buttons to match the buttonholes.
- Weave in all yarn ends using the yarn needle.
Conclusion
Congratulations! 🎉 You’ve completed a beautiful, cozy baby hoodie jacket that’s perfect for the little one in your life. This pattern is customizable, so you can adjust yarn colors and add your creative touch. If you enjoyed this project, make another one as a thoughtful handmade gift.