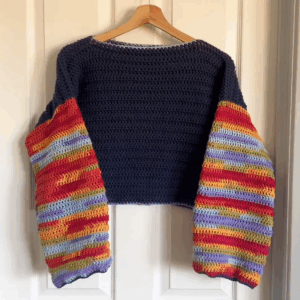
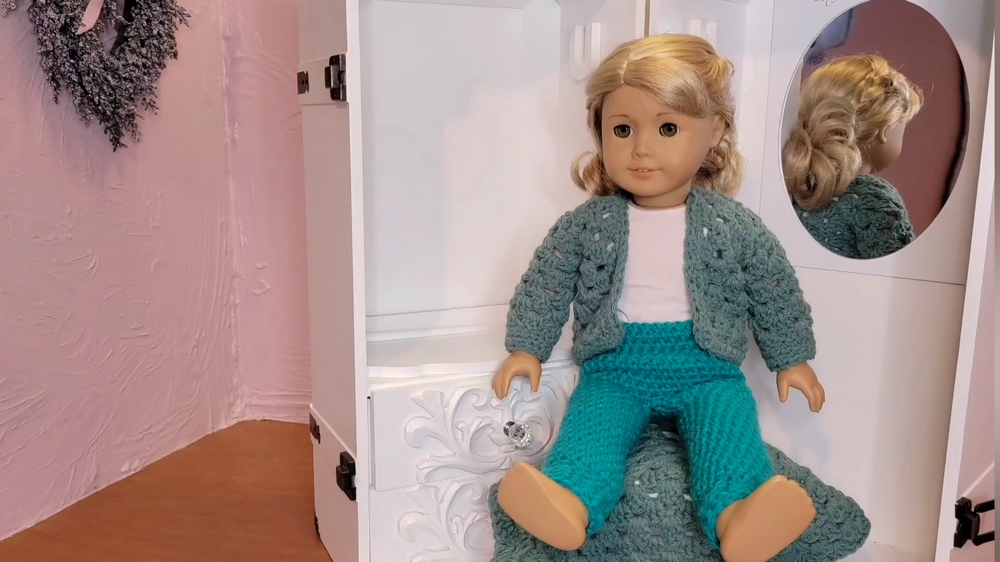
Soft sunlight filters through a cozy living room as the aroma of fresh coffee lingers in the air, and a gentle rhythm of yarn looping through fingers fills the space. This serene moment reflects the charm of a Free Crochet Granny Square Sweater pattern, where each square becomes a piece of personal expression, capturing warmth and creativity stitch by stitch. The sweater brings versatility to any wardrobe, effortlessly pairing with casual jeans, flowing skirts, or layered over dresses for a comforting embrace during cooler days.
Fun Crochet Granny Square Sweater Pattern for Casual Wear
Its modular construction allows for easy adjustments in size, ensuring a flattering fit for various body types while offering a satisfying sense of accomplishment as each colorful square comes together. Beyond its visual appeal, this cozy garment provides practical comfort, with soft yarn shielding against chilly evenings while remaining breathable enough for indoor wear.
Seasonal color combinations can refresh the look, turning a simple sweater into a statement of individuality. Perfect for gifting, it carries a personal touch that resonates with both maker and recipient. Whether worn on quiet mornings, bustling afternoons, or relaxed weekends, the sweater transforms ordinary moments into subtle celebrations of skill, patience, and the soothing rhythm of handwork, making each wear a gentle reminder of creativity woven into daily life.
Materials Needed
- Yarn:
- Medium #4 weight yarn (the tutor uses "Big Twist," but you can use any brand as long as it’s the right weight).
- Check your yarn label to confirm the weight.
- Hook:
- 5.5 mm crochet hook (Size I or 9).
- Additional Tools:
- Scissors.
- Tapestry/yarn needle (for weaving in ends and stitching parts together).
- Stitch markers (optional, to help track stitches).
- Optional: Fray Check (to secure yarn ends).
Special Features of This Pattern
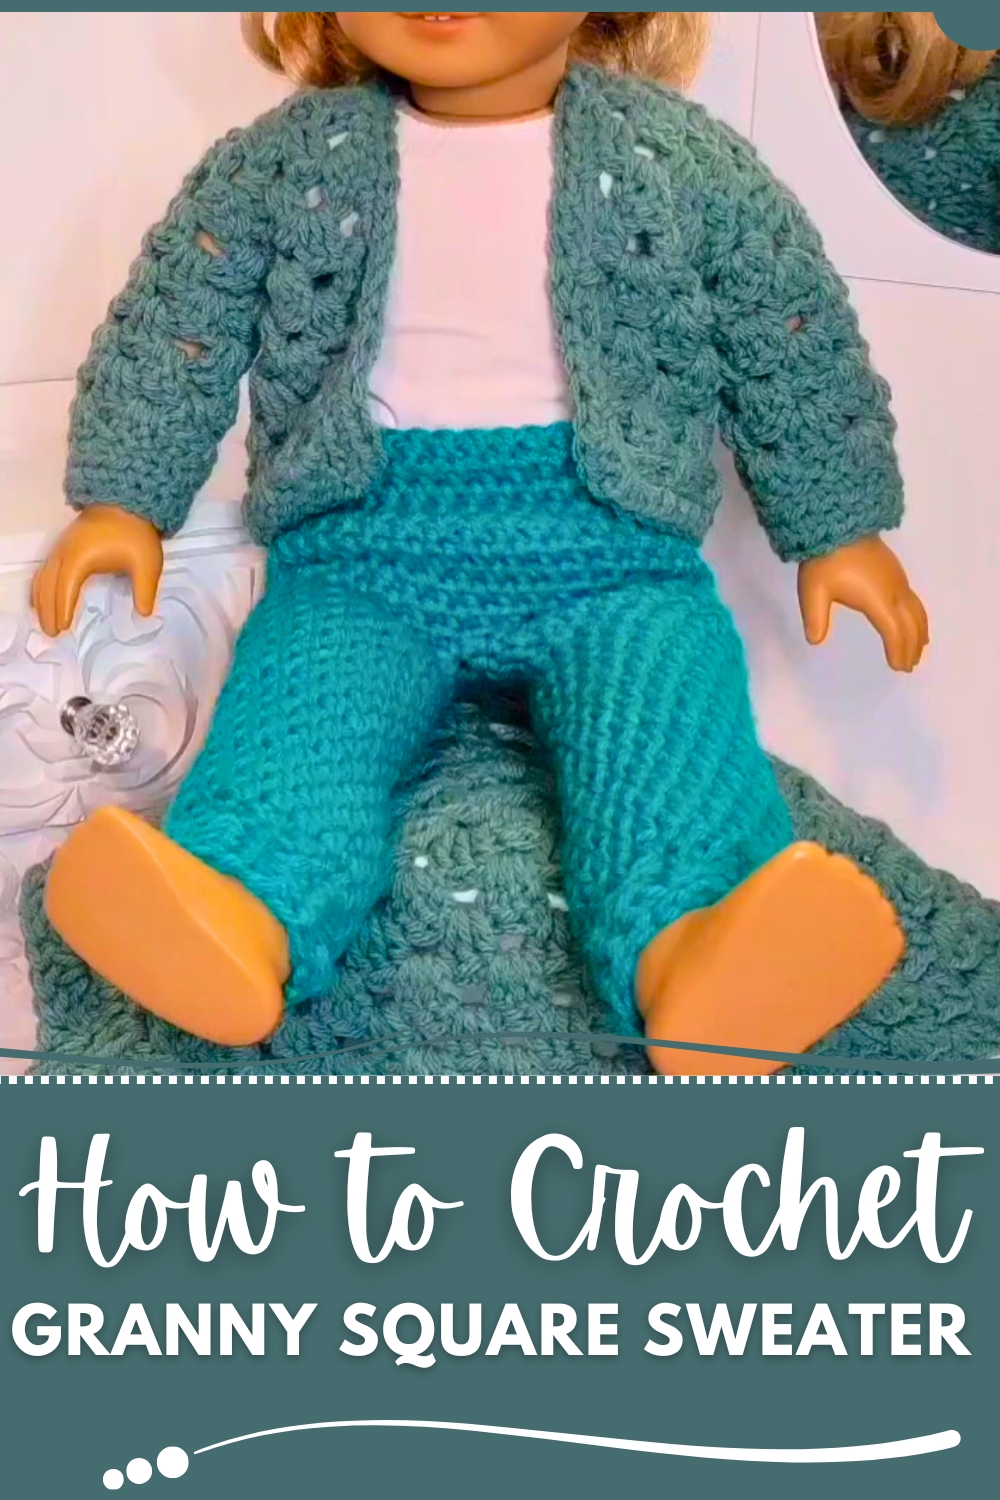
- Doll-Sized Sweater: A mini-project makes it quick and easy to complete.
- Granny Square Foundation: Uses the classic granny square as the base, making it ideal for those familiar with this crochet technique.
- Customizable: The sweater can be adjusted for different dolls by increasing or decreasing the size of the granny square.
- Seamless Design: The video provides tips to ensure seamless joins and neat edges for a polished look.
- Versatile Trim: The edges can be trimmed with different stitches or even a different color for a unique finish.
Level of Difficulty
Beginner-Friendly:
- The tutor explains each step clearly, making it accessible for those new to crochet.
- Basic techniques like chaining, slip stitches, and double crochets are the primary stitches used.
Suggested Skills or Familiarity:
- Familiarity with granny squares will make the process faster, but the tutorial covers how to make a granny square from scratch for beginners.
Step-by-Step Instructions
1. Creating the Granny Square (Back of the Sweater)
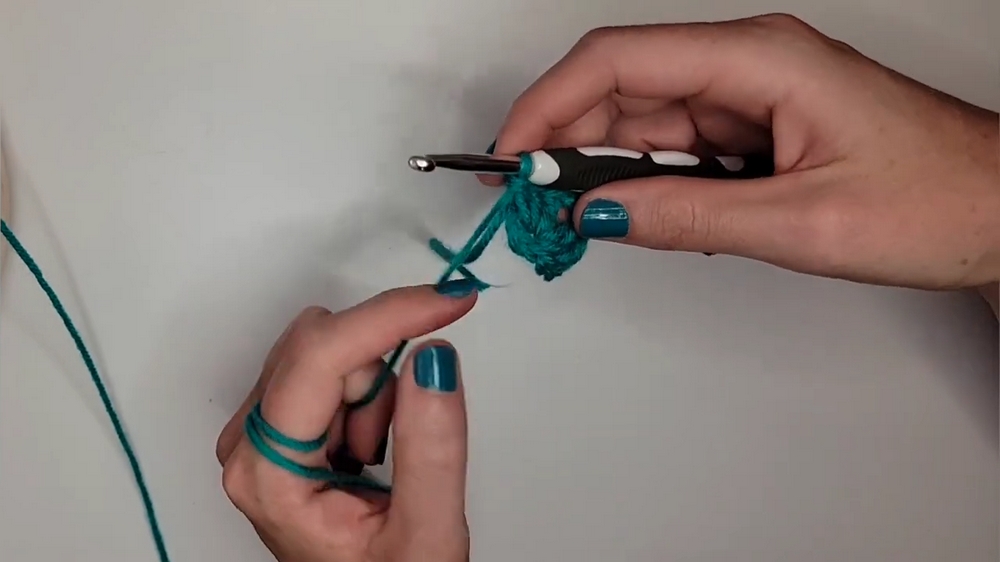
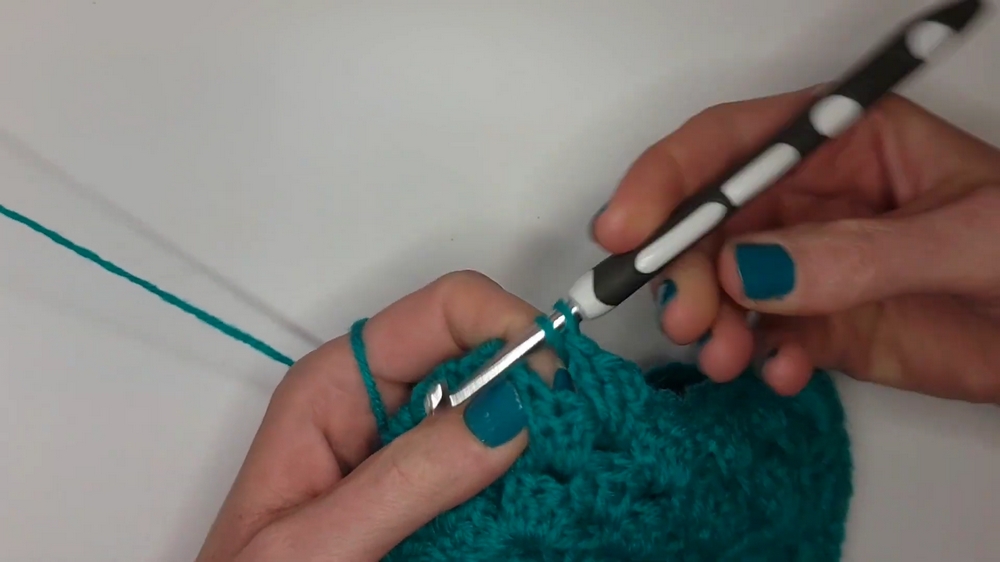
- Start with a Slip Knot:
- Wrap the yarn around two fingers to create a loop, and pull the back loop over the front one. Slide the loop onto your hook.
- Chain 4:
- Yarn over and pull through the loop on your hook. Repeat to create 4 chains.
- Yarn over and pull through the loop on your hook. Repeat to create 4 chains.
- Make a Circle:
- Slip stitch into the first chain to form a small loop (this will be the center of your granny square).
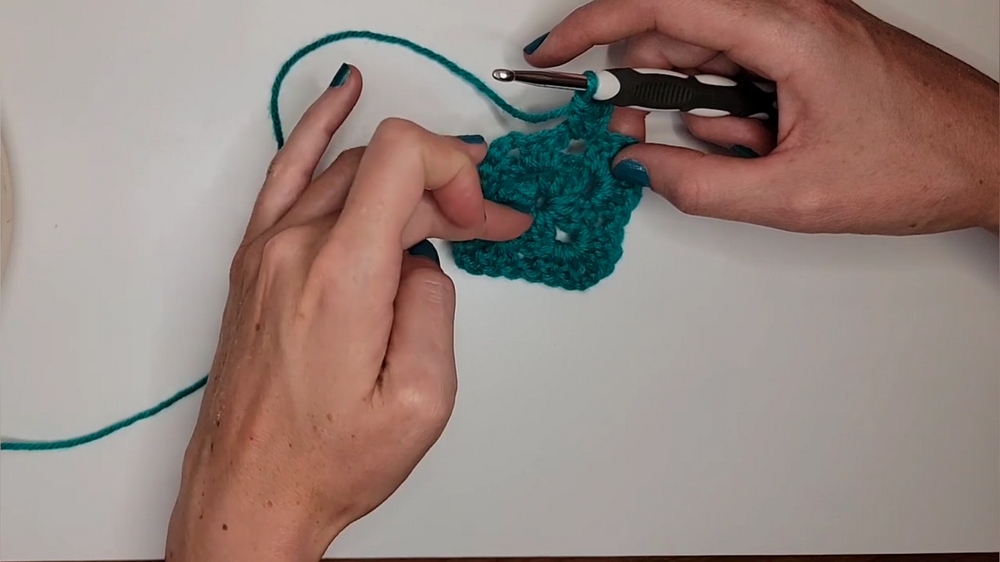
- Round 1 (Foundation Row):
- Chain 3 (counts as the first double crochet).
- Into the center loop, create 2 double crochets.
- Chain 2 (creates the corner).
- Repeat: 3 double crochets, chain 2 (3 more times).
- Slip stitch into the top of the first chain-3 to close the round.
- Round 2 and Onward:
- Chain 3, turn your work, and work clusters into the chain spaces as follows:
- In each corner chain-space, work (3 double crochets, chain 2, 3 double crochets).
- In non-corner spaces, work 3 double crochets.
- Continue for 6 rows in total.
- Chain 3, turn your work, and work clusters into the chain spaces as follows:
2. Making the Front of the Sweater
- Seamlessly Move Across the Granny Square:
- After your 6th row, slip stitch across the top of your stitches to position your yarn in the correct starting space.
- Create Rows for the Sweater Front:
- Chain 3, work 2 double crochets into the first space, and then 3 double crochets into each space across.
- Chain 3, turn, and repeat.
- Create 13 rows total.
- Chain 3, work 2 double crochets into the first space, and then 3 double crochets into each space across.
- Important Note: Ensure you end on the outside edge, so the front is ready to be joined to the back with single crochets.
3. Connecting the Front and Back
- Join Front and Back with Single Crochets:
- Place the front and back together, aligning the edges.
- Use single crochets to seam up one side, leaving five granny square "clusters" open for the sleeve holes.
- Repeat on the other side to finish the basic body of the sweater.
4. Adding the Sleeves
- Attach Yarn to the Armhole:
- Slip knot onto your hook and attach to any corner space of the armhole.
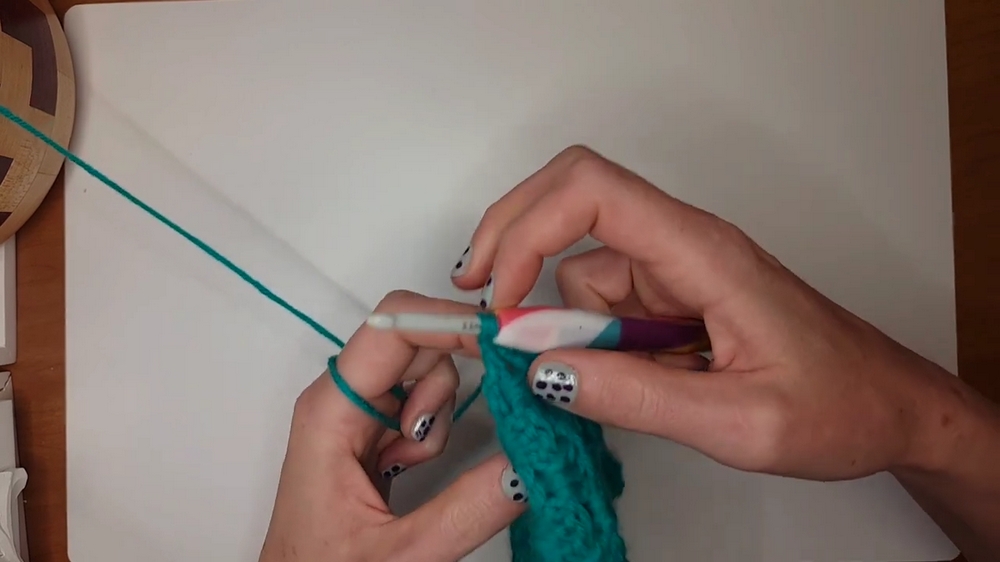
- Crochet the Sleeve Rounds:
- Work 3 double crochets into each open area, continuing the granny square pattern.
- Complete 5 rounds for the proper sleeve length.
- Finishing the Edge:
- Add a final row of single crochets, half double crochets, or double crochets to create a decorative sleeve cuff. The tutor uses half double crochets for a neat look.
- Repeat for the Other Sleeve:
- Ensure you work the second sleeve in the same direction as the first to keep the design consistent.
- Ensure you work the second sleeve in the same direction as the first to keep the design consistent.
5. Adding Edging to the Sweater
- Start with a Slip Knot:
- Attach yarn anywhere around the edge of the sweater.
- Work a Decorative Edging (Optional):
- The tutor uses half double crochets, but double crochets or a different color yarn can be added for a unique look.
- Add extra stitches into the corners to maintain a neat square shape.
- For the neckline, skip stitches or crochet two stitches together to ensure a snug fit.
6. Weaving in Ends
- Thread Yarn Ends Through Your Tapestry Needle:
- Weave the ends in one direction, then back in the opposite direction for security.
- Secure with Fray Check (Optional):
- Place a small drop on the end to ensure the yarn stays in place.
7. Final Touches
- Flip the sweater right-side out, ensuring seams and edges are hidden inside.
- The sweater is complete and ready to be worn by your doll!
Tutor’s Suggestions
- Be Consistent with Stitches: Ensure the front and back granny square rows match in number.
- Match Sleeves’ Stitch Direction: Crochet both sleeves in the same direction to maintain consistent texture.
- Custom Edges: Experiment with different colors or stitch styles for the sleeve cuffs and edging to personalize your sweater.
- Work in Small Steps: Take breaks between sections to avoid mistakes, as this project involves multiple joins and rounds.
Uses
- Doll Clothing: This sweater is perfect for American Girl dolls or other 18-inch dolls.
- Decorative Display: Makes a great accessory for doll collections.
- Practice for Granny Squares: A creative way to practice and improve your granny square techniques.
Tip for Success
While working on the sleeves, use stitch markers at the beginning of each round to help track progress and ensure neat, even rounds.
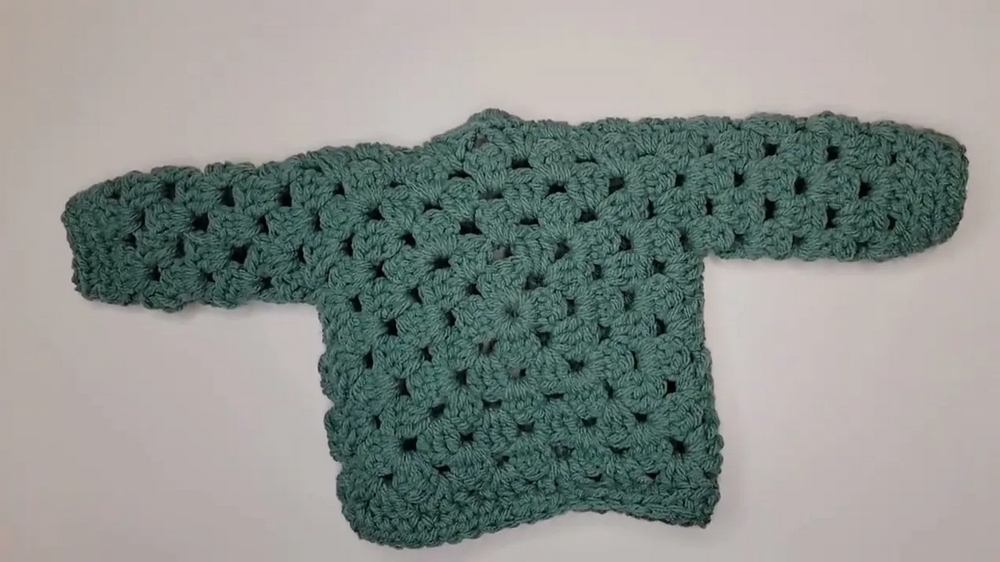
Conclusion
This granny square sweater tutorial is a wonderful project for beginners and intermediate crocheters alike. The final product is a charming, doll-sized sweater built on the simple granny square and enriched with seamless connections, sleeves, and neat edging.