Stepping out on a crisp, cool morning with an accessory that’s as stunning as it is practical. A crochet headband pattern offers the perfect blend of warmth and style, making it a must-have for chilly days. Whether you’re layering up for a cozy outing, adding flair to casual errands, or keeping hair in place during workouts, a crochet headband fits seamlessly into any look.
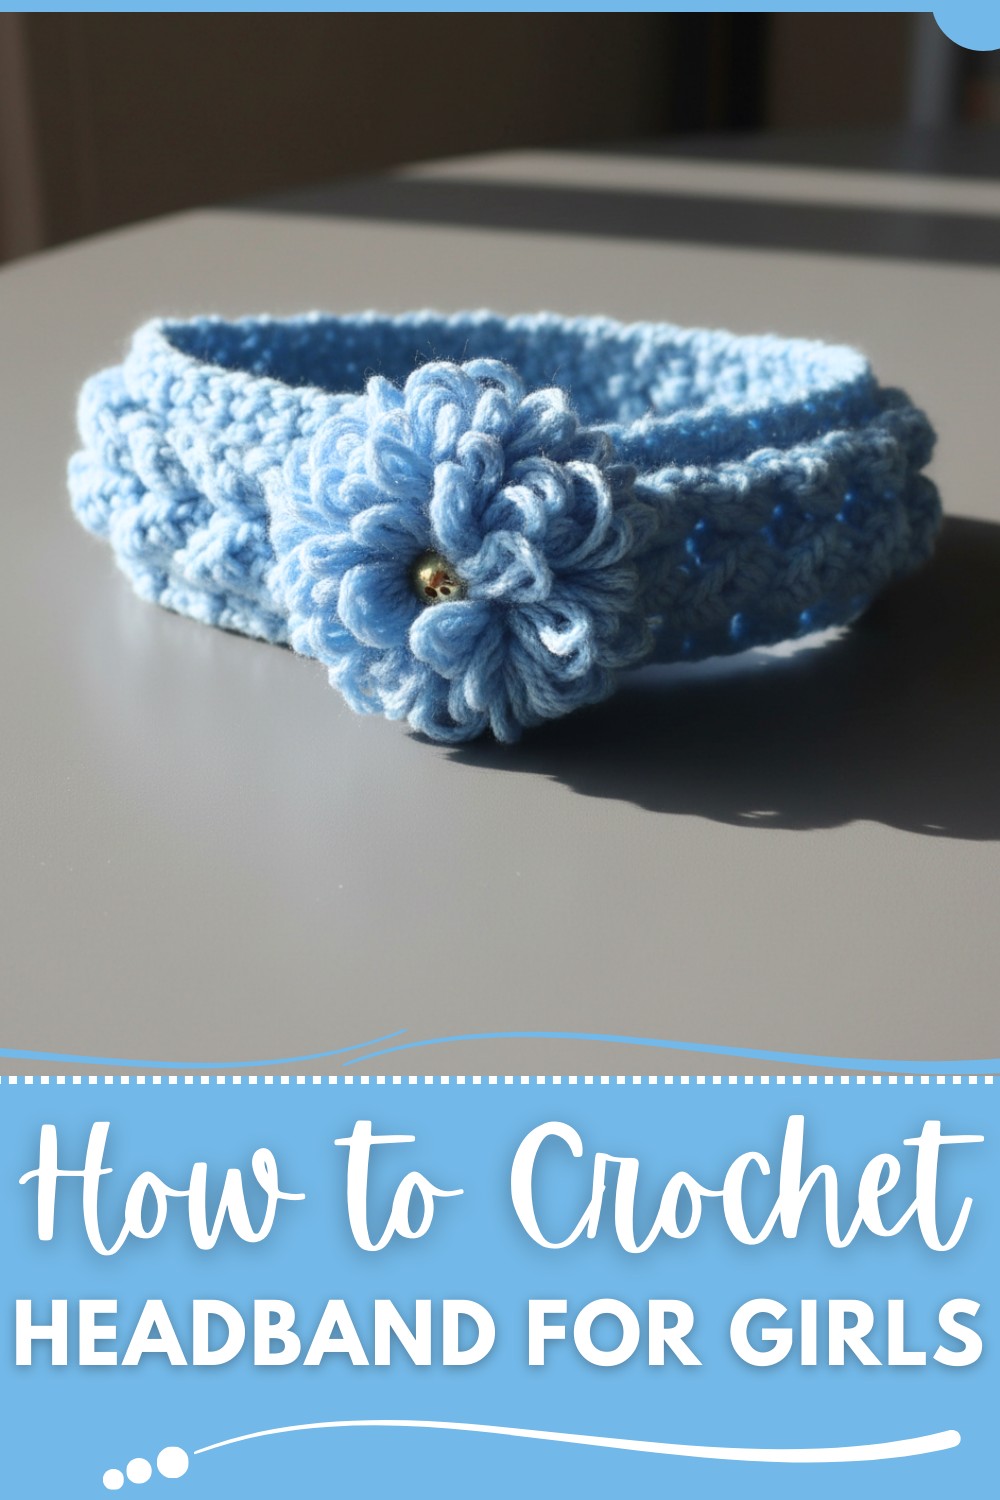
Personalize it with bold colors, intricate textures, or decorative touches like buttons or flowers to match your vibe. Not only does it keep you snug, but it’s also a thoughtful, handmade gift to share and cherish. Let your creativity shine while crocheting this functional yet fashion-forward piece, perfect for every season.
Unique Crochet Headband Pattern with Stunning Details
Materials Needed
- Yarn: Medium-weight yarn (Category 3) in your preferred color. Approximately 20–30 grams will suffice.
- Crochet Hook: 4 mm.
- Yarn Needle: To sew and weave in ends.
- Scissors
- Optional: Decorative bow, flower, or embellishment to attach to the headband.
Gauge
- Half Double Crochet (hdc): 12 stitches x 8 rows = 10 cm x 10 cm.
- The gauge is not critical for this project, but maintaining consistency ensures the braided strips remain uniform.
Crochet Headband Pattern
This step-by-step pattern walks you through creating a stylish and elegant braided headband. This versatile project is beginner-friendly and works up quickly, making it perfect for gifting or wearing as an accessory for any occasion.
Finished Size
- Length (circumference): Customizable. For an average child (1–3 years), the finished length is approximately 45 cm (17.7 inches) after braiding.
- Width: Approximately 6-8 cm (2.5-3 inches) after braiding.
Tips for Success
- Measure Before Completing: Measure the strip length around the head for a precise, snug fit. Add or remove rows as necessary.
- Loose Tension: Keep your tension consistent but slightly loose to make braiding and sewing easier.
- Seam Placement: Ensure the seams stay hidden on the underside for a neat finish.
- Customization: Add more strips for a wider braid or work fewer for a minimalistic look.
Special Techniques
- Half Double Crochet (hdc): A versatile stitch adding both texture and flexibility.
- Back Loop Only (blo): Working into the back loop creates a ribbed texture and flexibility for a snug fit.
- Braiding: A decorative and functional way to form the headband.
Pattern Instructions
Step 1: Create the Strips
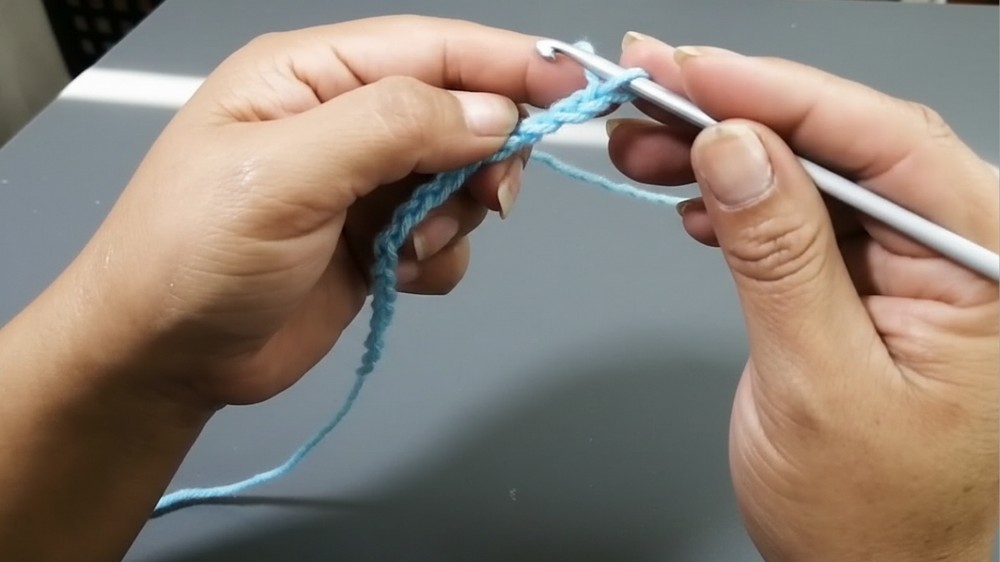
- Foundation Chain:
- Chain 20 chains (or about 15 cm, if adjusting for a custom size).
- Row 1:
- Half-double crochet (hdc) into the second chain from the hook and into each chain across (total: 19 hdc).
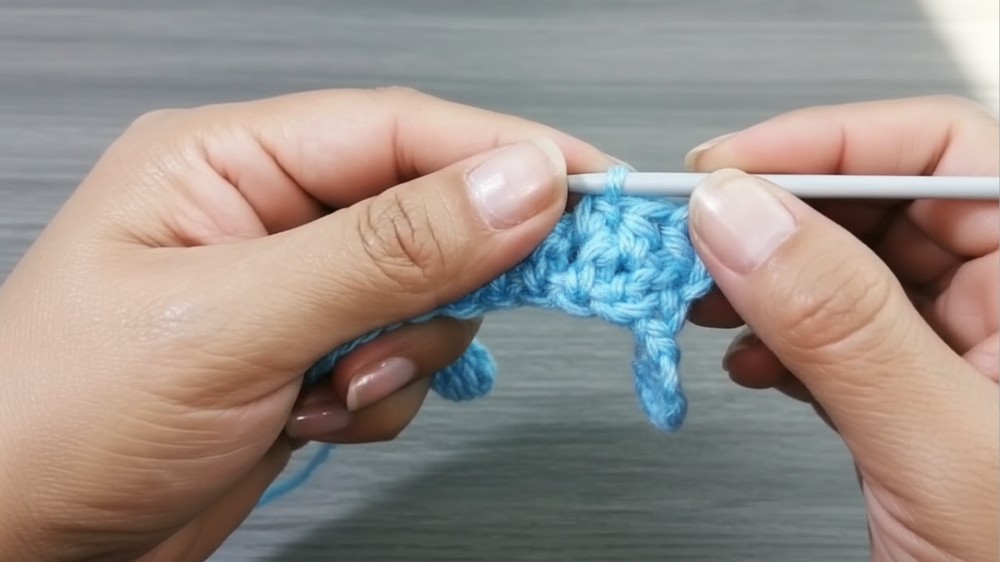
- Row 2:
- Turn your work. Chain 1 (does not count as a stitch).
- Work 1 hdc blo (back loop only) in each stitch across (19 hdc).
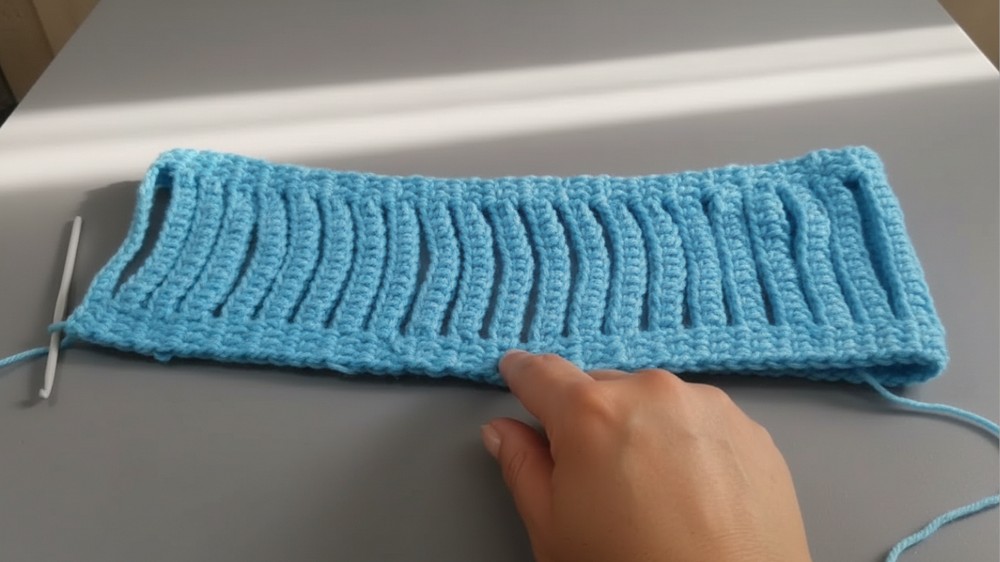
- Form a Strip with Loops:
- Turn your work. Chain 14 chains (this will create the loop for braiding).
- Skip 3 chains on the base, and hdc into the 4th chain, then continue to hdc across the row (same 19 stitches total).
- Repeat for Strips:
- Repeat Row 4 for each strip, adding chains for loops each time.
- Total Strips Needed:
- Continue this process until you have 22 strips for a child-sized headband (adjust as needed for different head sizes or preferences).
Step 2: Finish Both Ends of the Strips
- Seam the Ends:
- Fold the fabric to connect the starting edge with the working edge. Sew only through the first 3 hdc stitches on either side to create clean, aligned ends.
- Weave in Ends:
- Use your yarn needle to weave in the remaining loose ends securely.

Step 3: Create the Braid
- Start Braiding:
- Take the first strip and form a small loop (as if tying a bow). Pull the adjacent strip through the loop of the first strip.
- Continue this process: take the next strip and bring it through the previous loop, creating an intertwined braid.
- Complete the Braid:
- Follow this pattern with all 22 strips, keeping the braid tight and neat or slightly loose, depending on your desired look.
- Secure the Final Strip:
- Sew the last loop to the starting loop (just under where you began) using small, invisible stitches. Ensure the braid is secure and doesn’t unravel.
Step 4: Final Seaming
- Seam the Two Ends of the Braid:
- Hold the two ends of the strip together, ensuring a continuous, smooth braid.
- Sew the two ends together, securing them with slip stitches or sewing loops in place.
- Make sure the seam is flat and inconspicuous.
- Secure Loose Ends:
- Weave in all yarn ends to ensure durability and a polished look.
Customization Ideas
- Colors: Use different shades of yarn for each strip to create a colorful, multi-tone braid.
- Strips: Add more strips (e.g., 30 strips) to create a thicker and wider headband for adults or a statement piece.
- Embellishments: Add bows, flowers, beads, or crocheted appliques to embellish the headband.
- Use a Satin Ribbon: Thread through the braid for an elegant touch.
Optional Add-Ons
- Decorative Bow:
- Use a matching or contrasting yarn to crochet a bow. Sew it to the top of the braid, offset for added sophistication.
- Crochet Flower:
- To create a flower, work a magic ring with 10 single crochet stitches, then into each stitch, crochet 1 sc, 1 hdc, 1 dc, 1 hdc, 1 sc to form petals. Attach this flower to the headband’s side.
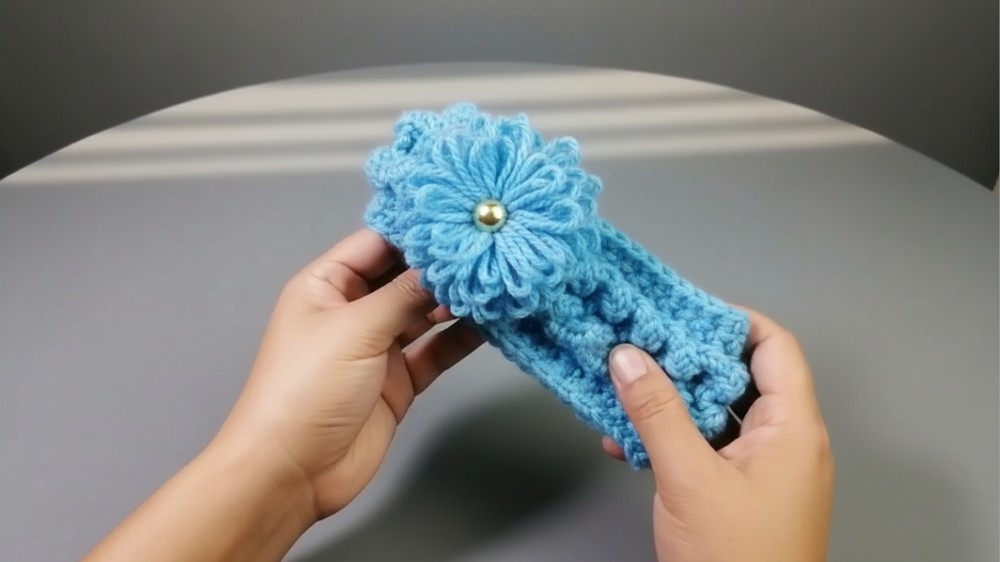
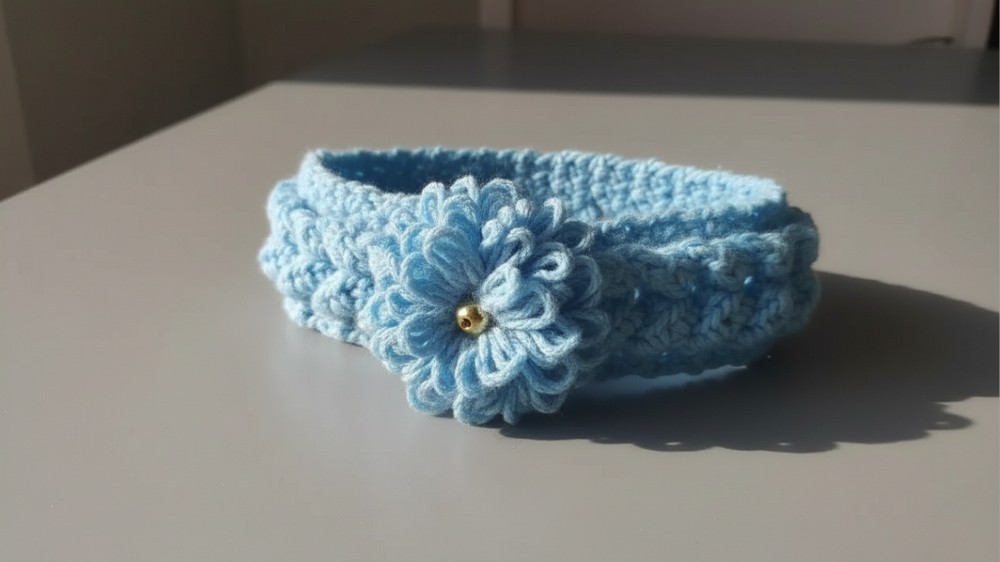
Conclusion and Final Look
Congratulations! You have crocheted an elegant braided headband that is both beautiful and practical. Its ribbed texture and braided design add sophistication, while the snug, stretchy fit ensures comfort for the wearer. This versatile accessory is ideal for children or adults (adjustable by simply increasing or decreasing strip counts).