Adorable charm pops with the Crochet Miffy Head pattern adding softness, durability, and a playful touch to gifts, décor, and accessories.
Children are naturally drawn to gentle, friendly characters that offer comfort and companionship, and Miffy, the beloved little bunny, has captured hearts worldwide. The Crochet Miffy Head pattern brings this iconic character into the realm of handmade creations, transforming her simple, endearing features into a tactile, soft accessory that can brighten any space. Perfect for nurseries, keychains, or as a charming gift, this crochet piece combines visual appeal with practical functionality.
Cute Crochet Miffy Head Pattern for Key Organization
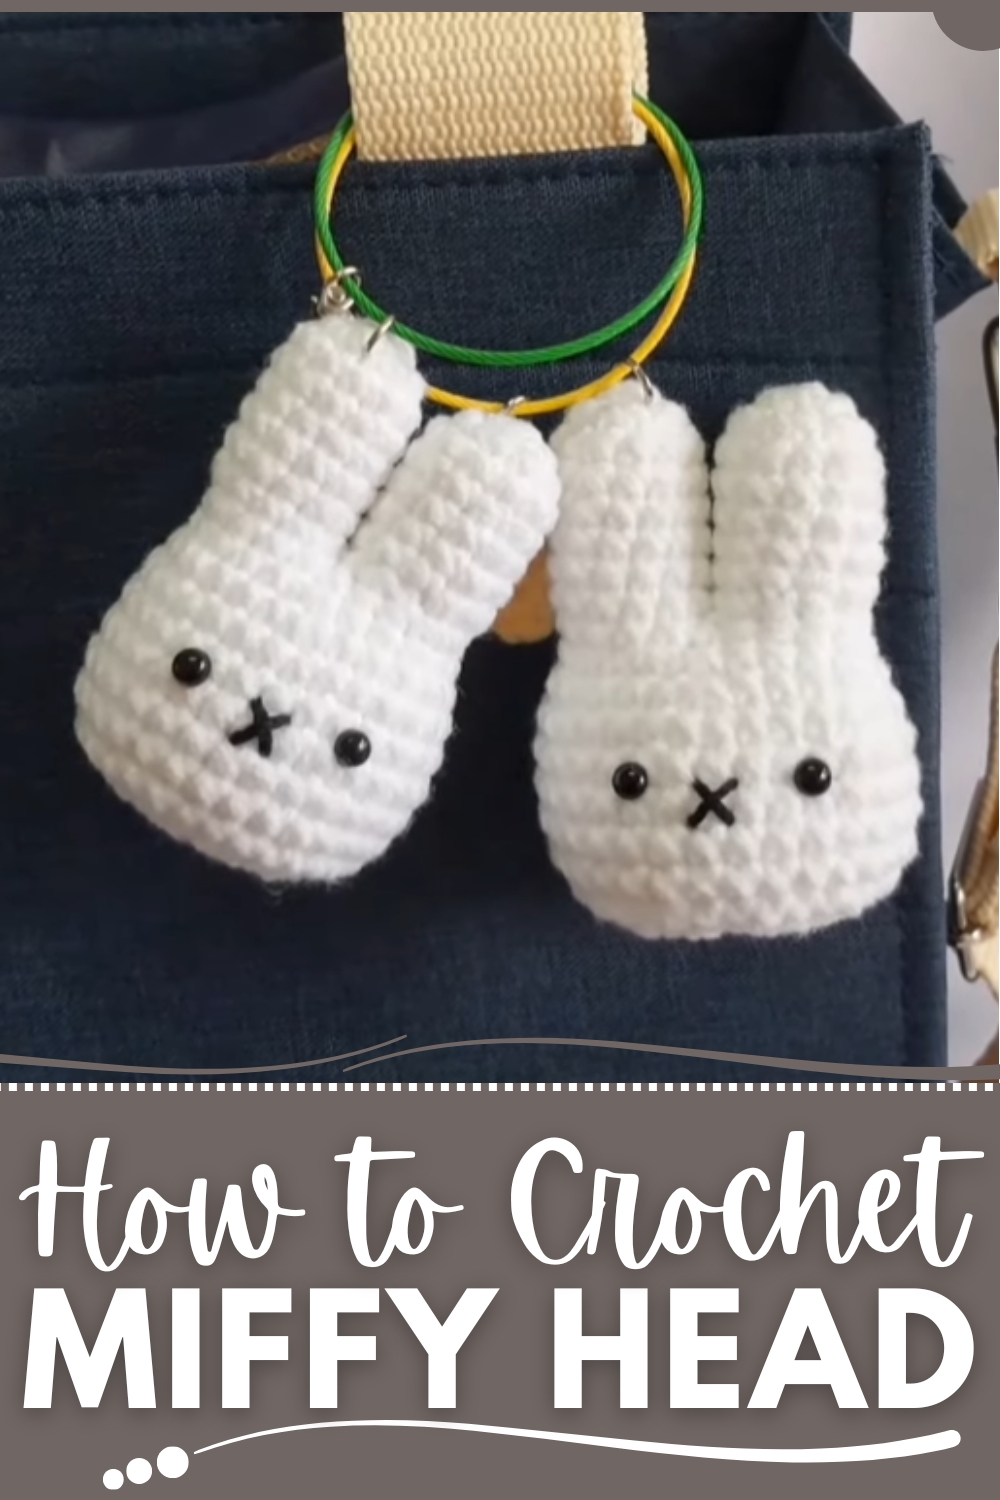
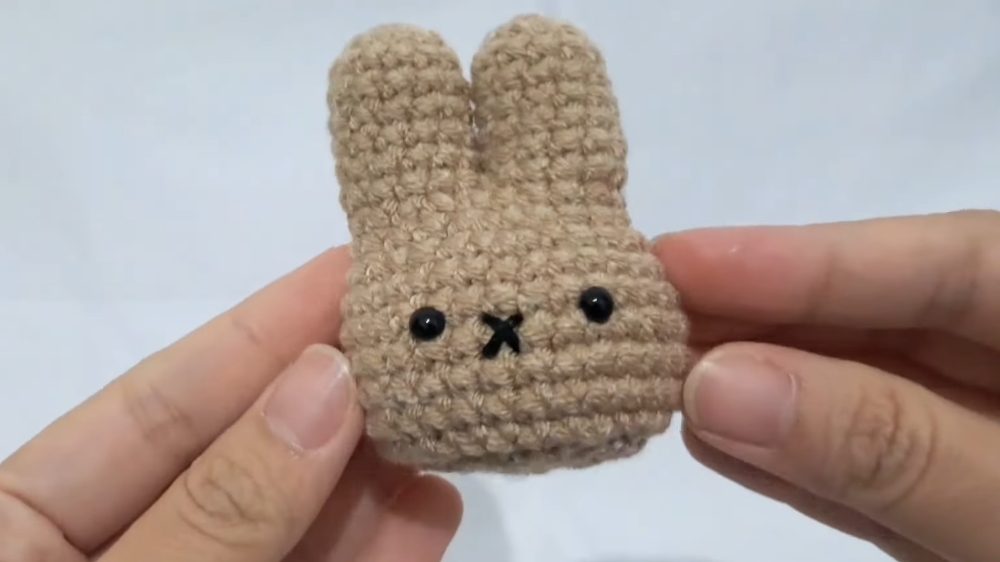
The pattern features a rounded head with carefully shaped ears, capturing Miffy’s recognizable silhouette. Minimalist embroidered eyes and a small “x” for the mouth add personality while keeping the overall look clean and approachable. Its compact size allows for versatility: it can serve as a bag charm, a decorative piece on shelves or desks, or even a comforting toy for young children.
Beyond its delightful appearance, the Crochet Miffy Head offers practical benefits. The soft yet durable construction withstands handling, while the lightweight nature makes it easy to carry or display. Combining charm, utility, and a timeless character, this pattern turns a simple motif into a versatile accessory that spreads warmth, joy, and a sense of playful nostalgia, making everyday items feel more special and inviting.
Materials Needed
To make the Miffy Head Keychain, you’ll need:
- Yarn: Any color suitable for the Miffy head (white is ideal for a traditional look).
- Crochet Hook: Use a hook size that matches the weight of your selected yarn.
- Stuffing: Fiberfill or other soft material to stuff the head and ears.
- Needle: Darning needle for sewing parts together and embroidering the face.
- Keychain Ring: Optional, to convert it into a keychain.
- Scissors: For cutting yarn.
- Stitch Marker: To track your position in the rounds.
Special Features
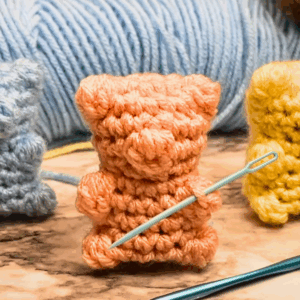
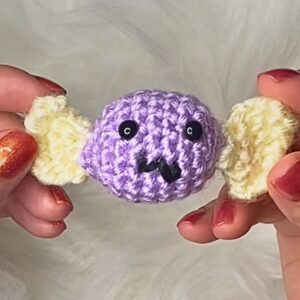
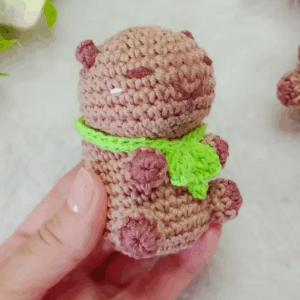
- Charming 3D Design: The Miffy head has a cylindrical body, ears, and a smiling face with embroidered features.
- Customizable: You can use your choice of yarn colors for the head, face, or flower to personalize the keychain.
- Beginner-Friendly Techniques: Includes simple crochet stitches like single crochet, magic rings, and decreases.
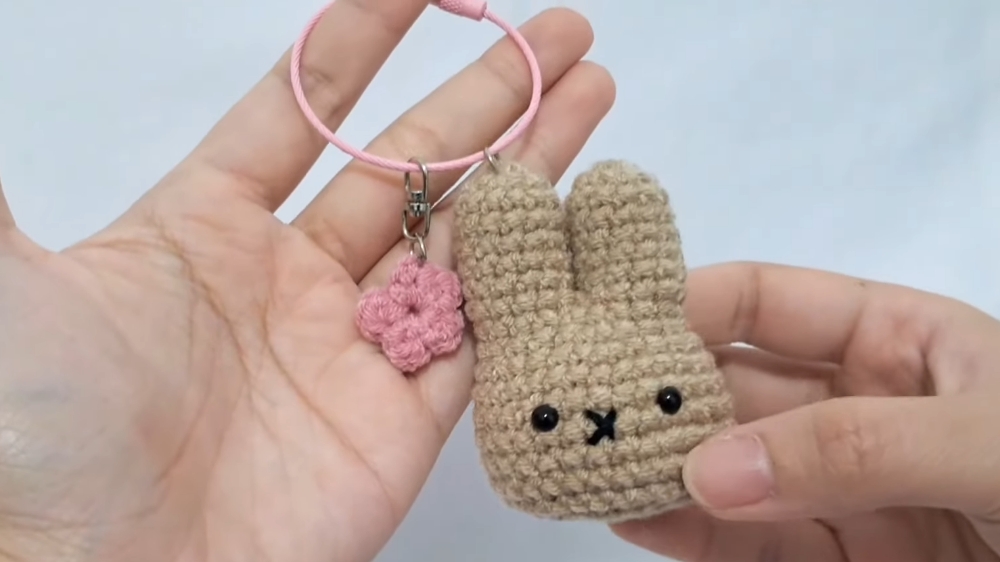
- Optional Mini Flower: A fun embellishment that complements the Miffy design.
Level of Difficulty
Beginner to Intermediate:
- The project mostly uses basic stitches such as single crochet, increases, decreases, and magic rings.
- A bit of attention is required to attach uniform ears and manage stuffing, which might be a bit tricky for beginners.
Step-by-Step Instructions
Part 1: Making the Ears
First Ear
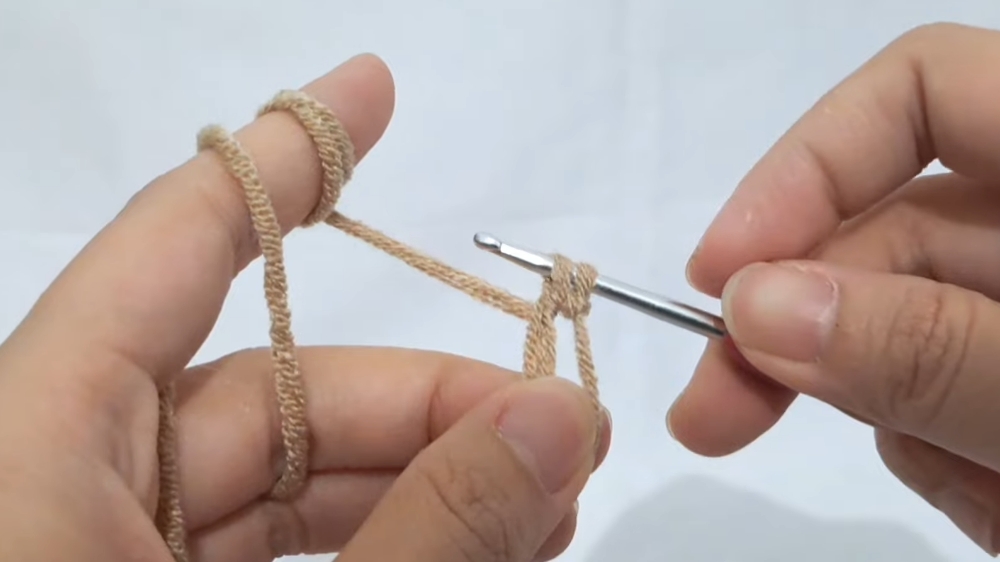
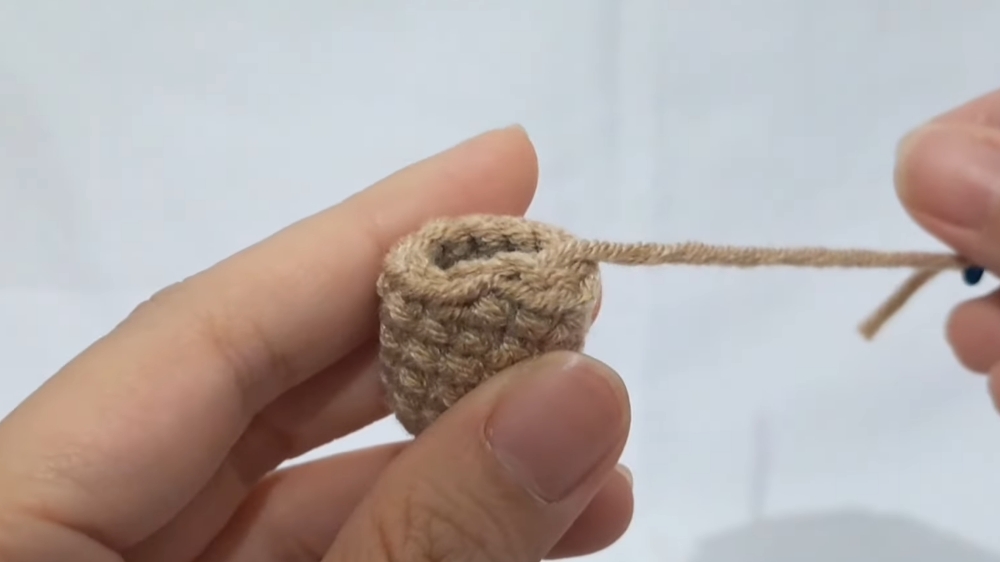
- Start with a Magic Ring: Wrap yarn around your fingers, create a magic ring, and secure it with a chain.
- Round 1: Crochet 6 single crochets (sc) into the magic ring. Pull the tail to close the ring.
- Round 2: Work an increase in each stitch (2 sc in one stitch) around = 12 sc.
- Round 3 - Round 7: Make one sc in each stitch around = 12 sc per round.
- Finish the Round: Cut the yarn and use a needle to create an invisible finish. Insert the needle into the second-to-last stitch, back into the last stitch, and through the back loop. Secure and weave in the end.
Second Ear
- Repeat Rounds 1-7 as with the first ear.
- Do Not Cut Yarn this time; you’ll continue attaching the ears in Round 8.
2: Connecting the Ears
- Start with the Second Ear: Crochet 12 sc around the second ear.
- Join the First Ear: Grab the first ear and crochet 12 sc around its stitches.
- The two ears are now connected.
3: Forming the Head
- Round 9: Start with 4 single crochet stitches, followed by a decrease. Repeat the pattern (4 sc, decrease) to finish the round.
- Round 10: Crochet 4 sc, then make an increase. Repeat (4 sc, increase) to complete the round.
- Round 11: Crochet 3 sc, then make an increase. Repeat (3 sc, increase) until the end.
- Rounds 12-17: Crochet one single crochet in each stitch around, maintaining the same stitch count for each round.

4: Stuffing and Finishing the Head
- Stuff the Ears and Head: Before moving to the final rounds, ensure the ears and head are evenly stuffed.
- Round 18: Crochet 1 sc, followed by a decrease. Repeat (1 sc, decrease) to finish the round.
- Final Round: Crochet decreases all the way around.
- Close the Hole: Insert your hook into the front loops of the remaining stitches, yarn over, and pull through to close the opening. Weave in the yarn ends securely.
5: Adding Details and Face
- Embroider Features: Use a darning needle and black yarn to stitch the eyes and mouth. Ensure the features are evenly aligned and symmetrical.
- Optional – Mini Flower:
- Create a magic ring.
- For the petals, chain, make a half double crochet, another chain, and slip stitch into the ring. Repeat for 5 petals.
- Pull the yarn to tighten the ring and secure the flower.
Tutor’s Suggestions
- Perfect the Magic Ring: The magic ring is essential for a neat start. Practice it a few times if necessary.
- Use Stitch Markers: Keep track of your rounds to avoid losing your place when working in spirals.
- Even Stuffing: Ensure the stuffing is distributed evenly for a nice 3D effect.
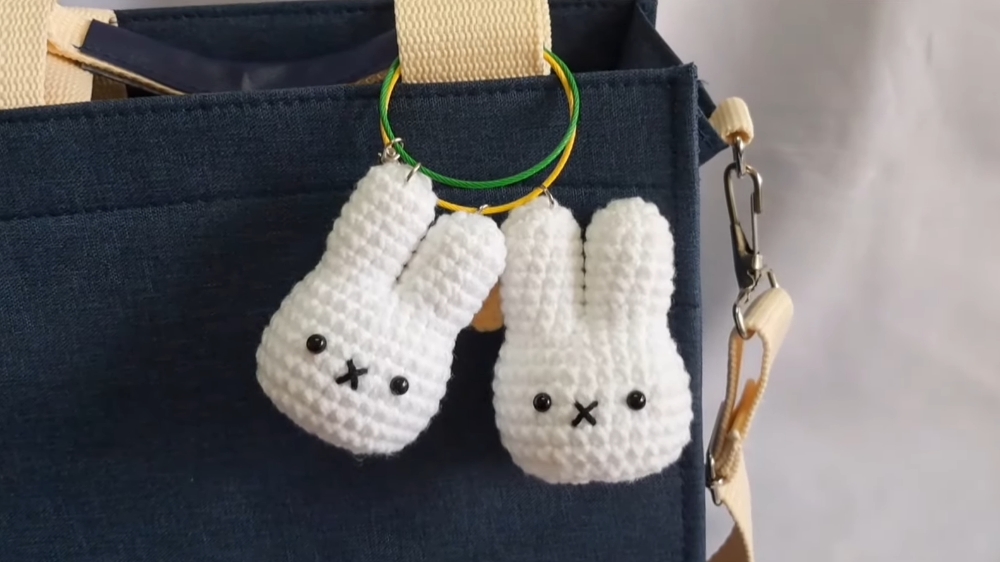
Uses of the Miffy Head Keychain
- Cute Keychain: Add a ring to make this a keychain.
- Bag Decoration: Use it as a bag charm or zipper pull.
- Gifting: Great for kids or as a handmade gift to a friend.
Tip for Success
Ensure you stuff the ears and head firmly but not too tightly to maintain their shape without distorting the stitches.
Conclusion
The Miffy head keychain is a fun crochet project for those looking to create something adorable and practical. It’s suitable for beginners and intermediate crocheters, offering an excellent opportunity to practice stitches like single crochet, increases, and decreases. Personalize your keychain with different colors or add the optional mini flower for an extra special touch.