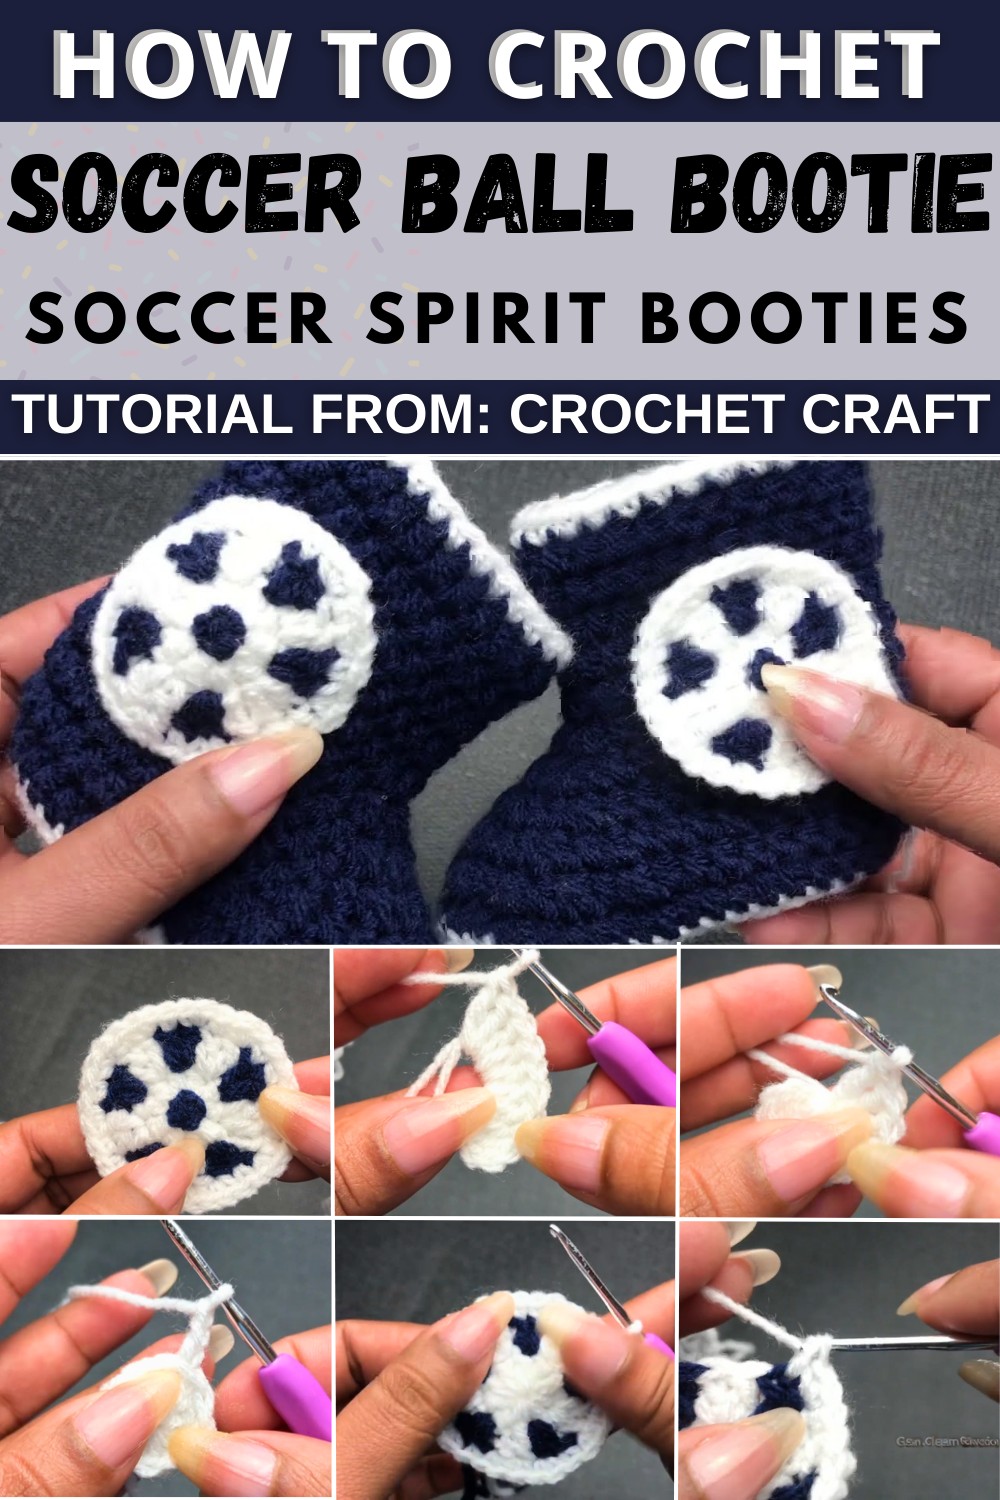
Bring playful charm to little feet with crochet soccer ball bootie pattern that are cute cozy perfect for gifting and ideal for tiny sports enthusiasts.
Everyone will adore these tiny shoes! Crochet soccer ball bootie patterns are perfect for any baby or toddler. These booties look like little soccer balls, complete with white and black patches, adding a sporty yet cute touch to any outfit.
FREE Crochet Soccer Ball Bootie Pattern for Tiny Sports Fans
They're not just adorable; they keep little feet warm and cozy. Perfect for baby showers or as a special gift, they’re a unique way to show off your love of soccer. Easy to follow and fun to make, these booties bring smiles and make little ones look even more charming.
This detailed guide will help you create a small crochet ball to complete your adorable baby boots set. The finished ball is versatile and can also be added to hats or other baby accessories. The pattern is beginner-friendly and provides step-by-step instructions.
Required Materials and Supplies
- Yarn: Double knitting yarn in white and dark blue (or other colors of your choice)
- Hook: 2.5mm crochet hook (even if the yarn’s recommended hook size is 4mm, a smaller hook is preferred for tighter stitches)
- Yarn Needle
- Scissors
Crochet Ball Pattern Instructions
Here is the step-by-step guide to creating the ball:
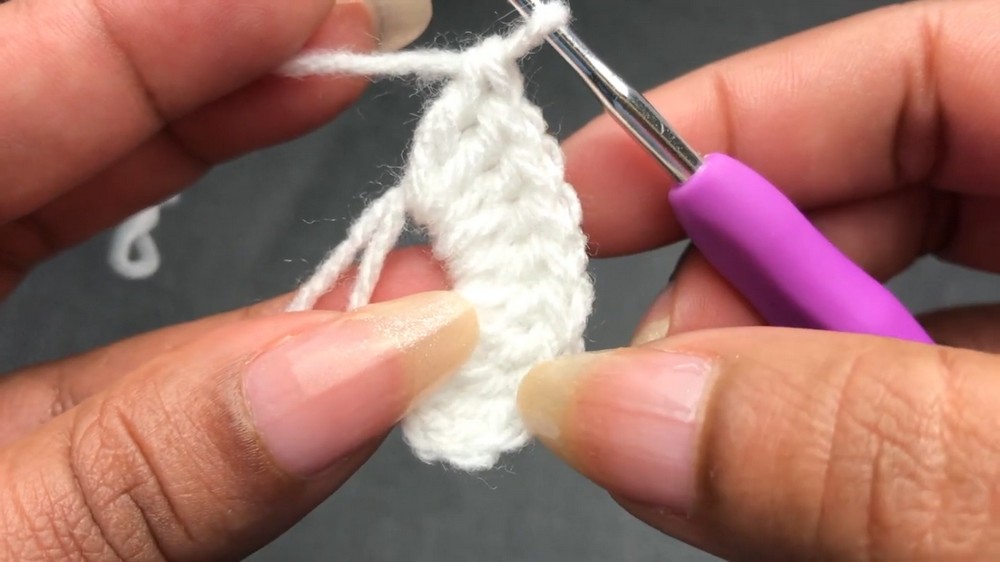
Step 1: Magic Ring and Round 1 (White Yarn)
- Begin with a magic ring.
- Chain 3 (acts as the first double crochet).
- Work 10 double crochets into the magic ring.
- Tighten the ring by pulling the yarn tail.
- Slip stitch into the third chain of the initial chain-3 to close the round.
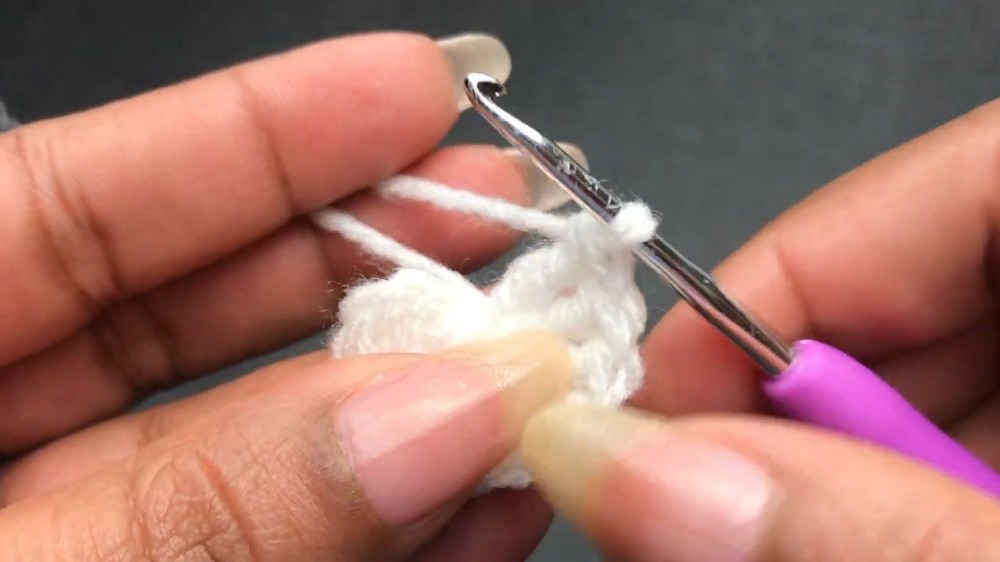
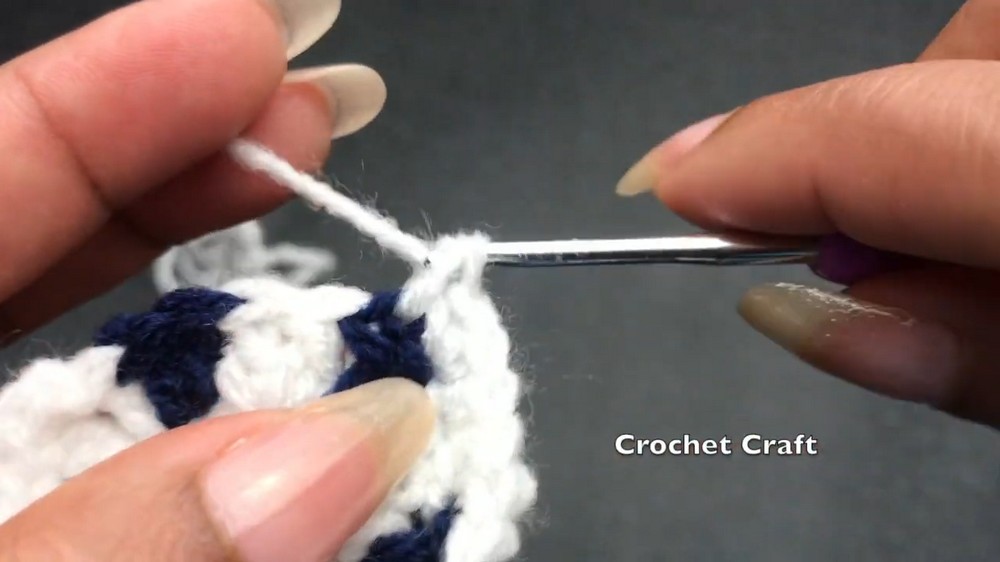
Step 2: Round 2 (Dual Colors - White and Dark Blue)
- Start with white yarn and chain 3.
- Into the first space, work 2 double crochets, but do not complete the second double crochet. Leave the last two loops on your hook.
- Switch to blue yarn by pulling it through the last two loops on your hook.
- Continue alternating colors (white and blue) every 2 double crochets around.
- Slip stitch into the starting chain to close the round.
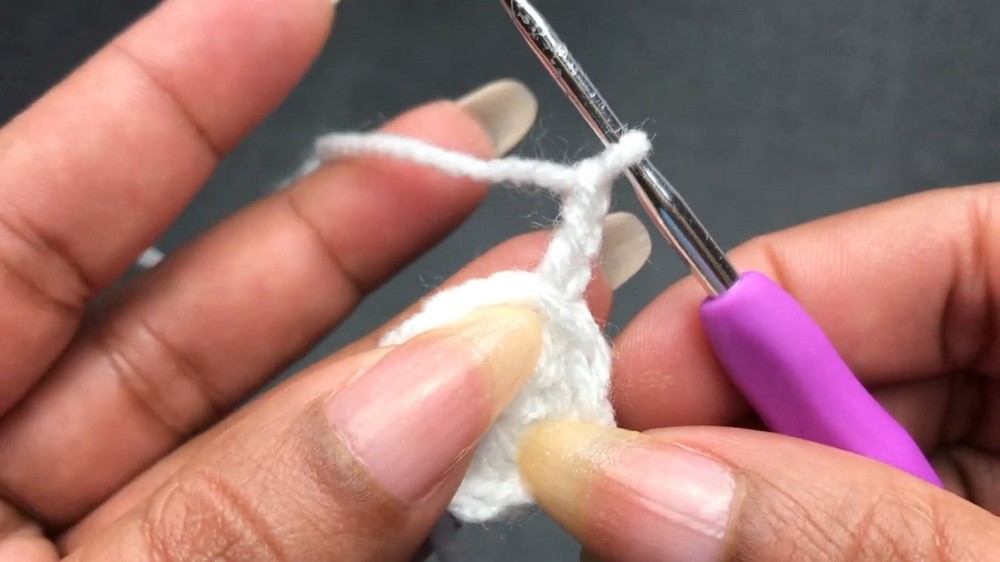
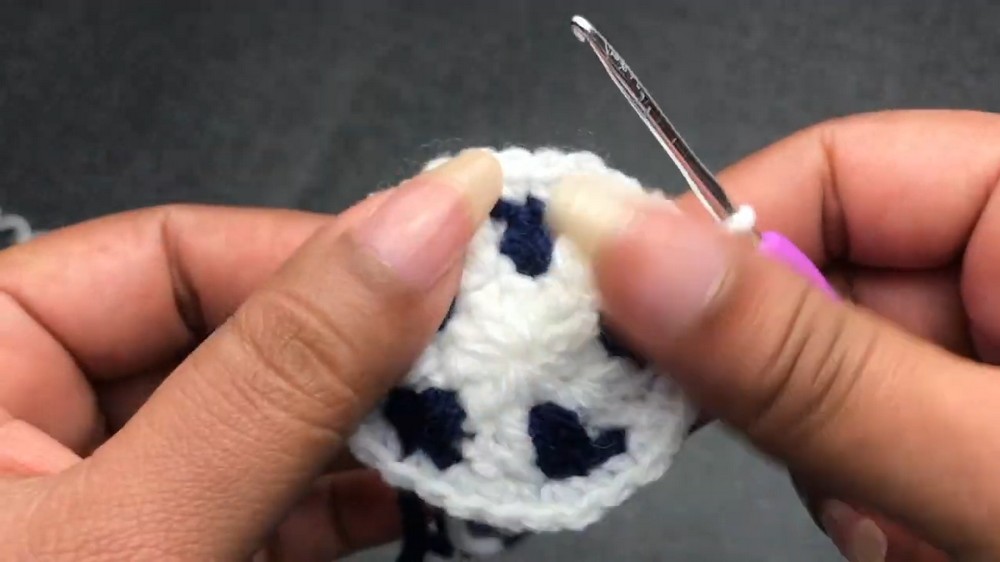
Step 3: Round 3 (White Yarn - Single Crochet)
- With white yarn, chain 1.
- Work one single crochet into the first stitch.
- Alternate 1 single crochet and 2 single crochets in the next stitch around.
- Continue until you have completed the round. Slip stitch into the first single crochet to close.
Step 4: Closing the Ball
- Cut the yarn, leaving a long tail. Tie a secure knot to close the ball.
Step 5: Adding the Middle Circle (Optional for Decoration)
- Thread a yarn needle with blue yarn.
- Add decorative stitches in a star shape at the center of the ball. For a smooth circular design:
- Pass the needle across each corner and pull the yarn to form a neat pattern.
- Tie and secure the yarn at the back of the ball.
Attaching the Ball to Boots
- Prepare two identical balls following the same pattern.
- Use blue or white yarn to stitch the balls to the boots using a yarn needle.
- Position each ball carefully on the outer side of the left and right boots for symmetry. Stitch securely.
- Tie small knots at the back to keep the balls firmly attached and trim excess yarn.
Customization Options
- Color: Switch to baby-friendly pastels or vibrant shades for variety and personalization.
- Size: Use larger hooks or thicker yarn to create bigger balls for larger accessories like hats or blankets.
- Texturing: Add ruffles or additional layers on the ball for decorative purposes.
Tips for Success
- Use tighter tension when crocheting the ball for a clean and compact finish.
- Take care when switching colors to minimize gaps and tangling.
- Work in a quiet environment to follow the pattern with precision.
Conclusion
The small crochet ball pattern for boots is a simple yet elegant way to enhance baby accessories. With careful attention to color and symmetry, you can create matching sets such as hats, blankets, and boots, ensuring they are comfortable, stylish, and practical for babies.
Important Remarks
The provided step-by-step process is designed to assist crafters of all skill levels, making it easy to follow along. If you encounter any challenges, don't hesitate to replay key sections of this guide or participate in crochet community groups for additional support.
Final Notes
- Ensure all knots are securely tied when finishing the ball or attaching it to the boots.
- The yarn ends should be neatly hidden within the ball for a polished look.
- Feel free to share your creations in online groups to inspire others to join you in crafting delightful baby sets.