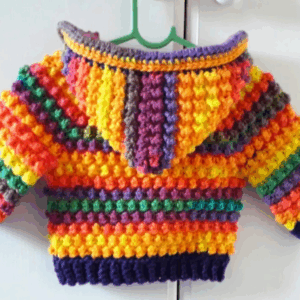
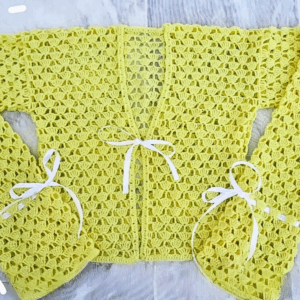
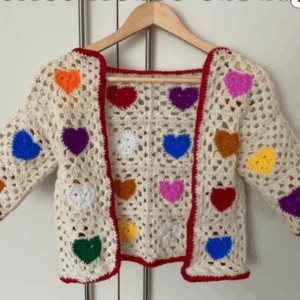
If you love cozy and stylish fashion, a crochet front tie cardigan is a fantastic project to try! You can craft this unique cardigan using simple crochet techniques to create a beautiful piece that wraps warmly around you. The charming tie at the front adds a touch of elegance, allowing you to adjust the fit to your liking.
Crochet Front Tie Cardigan

Whether you're skilled at crochet or just starting, creating this cardigan can be a rewarding and fun activity that results in a lovely addition to your wardrobe.
Materials Needed:
- Yarn of your choice (The video tutorial uses 4 ply milk cotton yarn, equivalent to a DK weight or number 3 weight yarn)
- Crochet hook suitable for your yarn (4 mm hook used in the video)
- Darning needle
- Stitch markers
- Tape measure
Measurements and Calculations:
- Bust Measurement: Measure the chest circumference. For instance, if the measurement is 33 inches, divide it by 4 to calculate the width of the front panel (33/4 = 8.25 inches).

Front Panel:
- Starting Chain: Make a slip knot and chain to the calculated width of your front panel (plus 2 chains for turning). Make the initial chain slightly looser.
- Row 1: Yarn over, skip the first two chains (turning chains), and make half double crochet (hdc) stitches in each chain across.
- Row 2 and Beyond: Chain 2 (turning chains), turn your work. Make hdc in each hdc from the previous row.
Continue until you reach the desired length before the waist tie, marking the decrease point.

Decrease for Waist Tie:
- Decrease Row: When you're two stitches from the end of your row, yarn over, insert the hook into the next stitch, pull up a loop, yarn over again, insert the hook into the next stitch, pull up a loop (5 loops on hook), yarn over and pull through all 5 loops. This is your decrease stitch.
- Next Rows: Chain 2, turn your work, make 1 hdc in each hdc across without decreasing. Alternate decrease rows with normal hdc rows until you reach the shoulder, marking each decrease row for easy tracking.

Shoulder Construction:
- Continue with hdc until you add an additional 1.5 inches for the front panel (splitting the shoulder measurement equally between the front and back panel), without increases or decreases.
- Repeat: All steps for another front panel.

Back Panel:
- Create the Back Panel: With the same starting chain width as for the front panels (but doubled for the whole back), begin your first row of hdc.
- Continue with hdc: Until the back panel reaches the same length as the front panels before the shoulder construction.
- Shoulders for Back Panel: Add the additional length for the shoulder as you did for the front panel, but only work this extra length on the outer edges of the back panel for shoulder seams.
Assembling:
- Join Front and Back Panels: Align the shoulder seams and use slip stitches to join the front to the back on both sides.
- Side Seams: Fold the cardigan right sides together. Starting from the cuff, work single crochets or slip stitches up the side of the body to the armpit, leaving space for armholes as desired.
Sleeves:
- Setup Round: Attach yarn at the base of the armhole, chain 2, and work a round of hdc stitches along the armhole edge.
- Sleeve Rounds: Work in rounds, creating hdc stitches in each stitch around, adding increases after the elbow for a slightly flared sleeve as per your preference. Continue until sleeve reaches desired length.
Finishing Touches:
- Neckline and Ties: Starting at one side of the neckline, work hdc stitches evenly around the neck edge, creating chain ties at the v-neck points.
- Sew in Ends: Weave in all ends to finish your cardigan.

This is a customizable cardigan pattern allowing for adjustments in yarn choice, hook size, and measurements. Always measure your work as you go to ensure the desired fit.