Are you excited about making your cute crochet parrot? You're in the right place! We have an easy-to-follow crochet parrot that uses simple white and bright-colored yarn, making it fun and charming. The best part? You don't have to be a crochet expert to make this. You can make this lovely parrot if you follow our clear steps. So, get started and add a touch of color to your day!
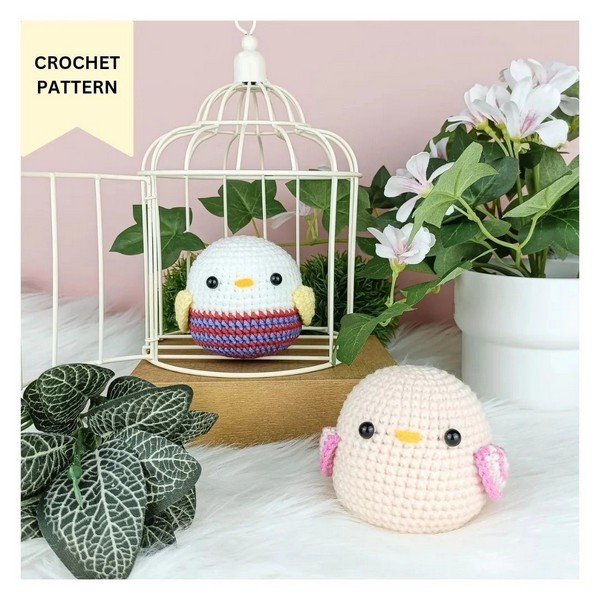
Crochet Parrot Pattern
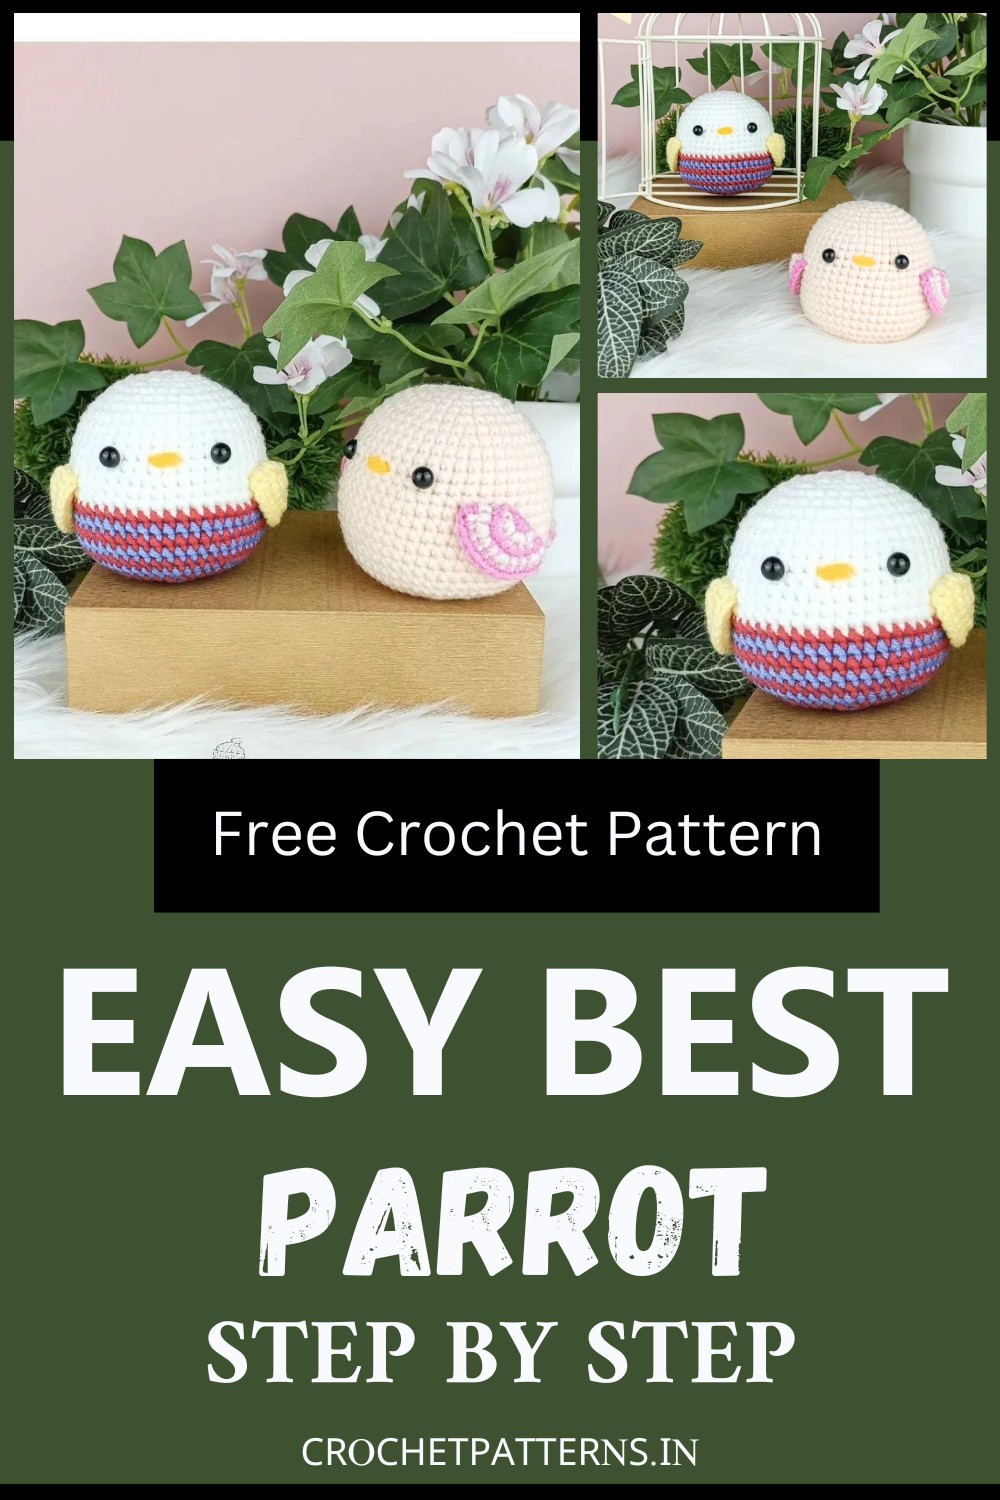
Free crochet pattern by @owlonhook
Abbreviation
- rnd: round
- sc: single crochet
- inc: increase (2 sc in each st) dec: decrease (2 sc together) sl st: slip stitch
Materials
- Milk cotton 4-ply (Beige & Pink) 2.20 mm crochet hook
- 7 mm safety eyes
- Stitch marker
- Scissor
- Darning needle
- Fiberfill stuffing
Finished Size
- Approximately 2.6" (6.5 cm) tall
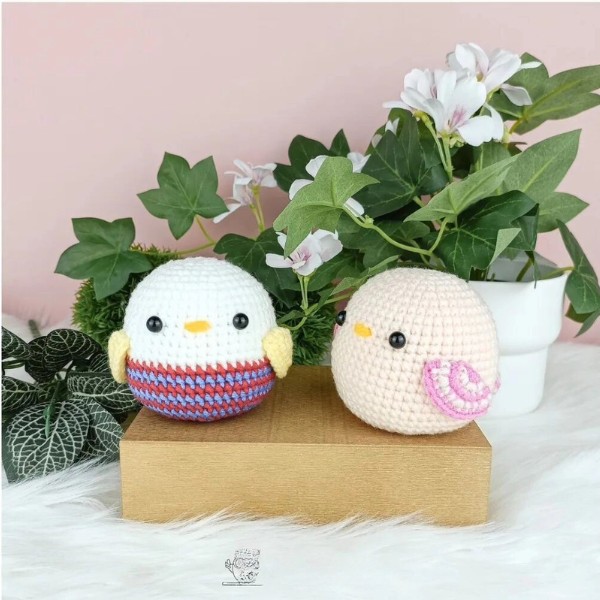
This written pattern is for solid color Chirpy Bird with striped wings.
Let's get started!
Head & Body
In beige yarn.
- Rnd 1: Start 6 sc in a magic ring. [6]
- Rnd 2: Inc in all 6 st. [12]
- Rnd 3: (Sc in next st, inc in next st ) x 6. [18]
- Rnd 4: (Sc in next 2 st, inc in next st) x 6. [24] Rnd 5: (Sc in next 3 st, inc in next st) x 6. [30]
- Rnd 6: (Sc in next 5 st, inc in next st ) x 5. [35]
- Rnd 7: (Sc in next 6 st, inc in next st ) x 5. [40]
- Rnd 8: (Sc in next 7 st, inc in next st ) x 5. [45]
- Rnd 9-12: Sc in all 45 st. [45]
- Rnd 13: (Sc in next 14 st, inc in next st ) x 3. [48]
- Rnd 14: Sc in all 48 st. [48]
- Rnd 15:(Sc in next 15 st, inc in next st ) x 3. [51]
- Rnd 16-20: Sc in all 51 st. [51]
Insert safety eyes between Rnd 11-12, 8 st apart.
Sew mouth in the center between the eyes on Rnd 11-12.
Start stuffing the head & body with fiberfill as you continue.
- Rnd 21: (Sc in next 15 st, dec) x 3. [48]
- Rnd 22: (Sc in next 4 st, dec) x 8. [40]
- Rnd 23: (Sc in next 3 st, dec) x 8. [32] Rnd 24: (Sc in next 2 st, dec) x 8. [24] Rnd 25: (Sc in next st, dec) x 8. [16] Rnd 26: (Dec) x 8. [8]
Stuff the head & body firmly. Sl st in next st and fasten off. Leave a long yarn tail. Thread the tail through a needle and weave the needle through the front loop of each of the 8 st. Pull the yarn tail to close the hole. Insert the needle through the middle of the hole and pull through the top. Fasten off and weave the end in. Rnd 14-18
WING x 2
Alternate each row with pink and beige colour yarn.
Start with pink yarn.
- Rnd 1: Start 6 sc in a magic ring. [6]
- Rnd 2: Inc in all 6 st. [12]
- Rnd 3: (Sc in next st, inc in next st ) x 6. [18]
- Rnd 4: (Sc in next 2 st, inc in next st) x 6. [24]
- Rnd 5: Fold your work in half and sc both side together. [12]
- Fasten off and leave a long yarn tail for sewing.
- Sew the wing on the side of the body between Rnd 14-18. Refer to image 1.
On Tail
Alternate each row with pink and beige colour yarn.
Start with pink yarn.
- Rnd 1: Start 5 sc in a magic ring. [5]
- Rnd 2: Inc in all 5 st. [10]
- Rnd 3: (Sc in next st, inc in next st ) x 5. [15]
- Rnd 4: Sc in all 15 st. [15]
- Rnd 5: (Sc in next st, dec) x 5. [10]
- Rnd 6: Sc in all 10 st. [10]
- Rnd 7: Flatten your work in half and sc both side together. [5]
- Sew the tail in the centre on the back of the body between Rnd 20-21.