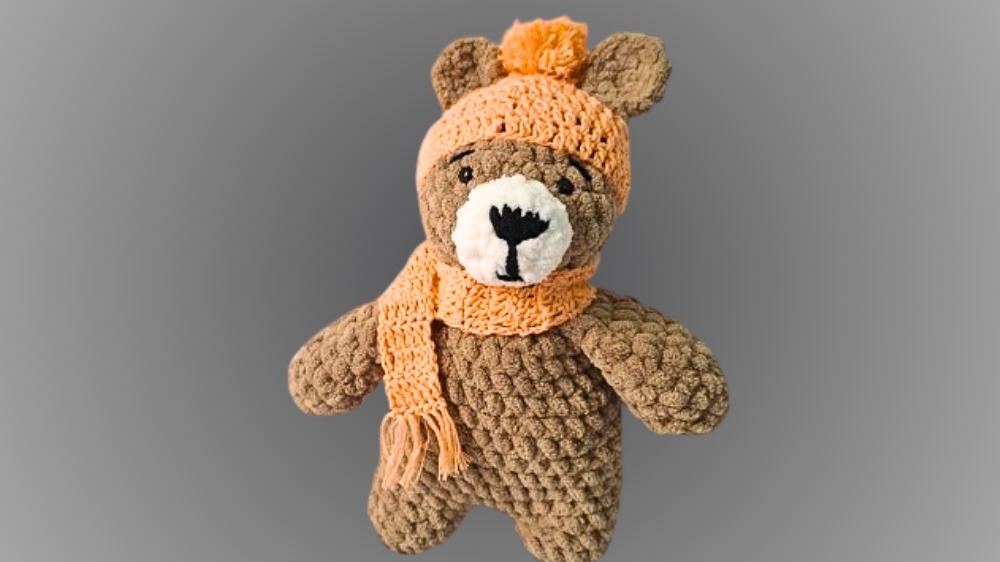
Charm every heart with this Crochet Bear with Cap and Shawl Pattern, a delightful piece that adds warmth, cuteness, and joy to gifts or décor.
A bear dressed with thoughtful details often carries a charm that lingers in memory, and when paired with a cap and shawl, it becomes even more delightful. This sweet combination brings warmth and personality to a familiar childhood figure, making it far more than an ordinary toy. The bear’s soft form, complemented by its snug little cap and neatly draped shawl, speaks of coziness, care, and playful elegance all at once. Each detail adds to its character, making it feel like a treasured companion with a story of its own.
Special Crochet Bear with Cap and Shawl for Little Ones
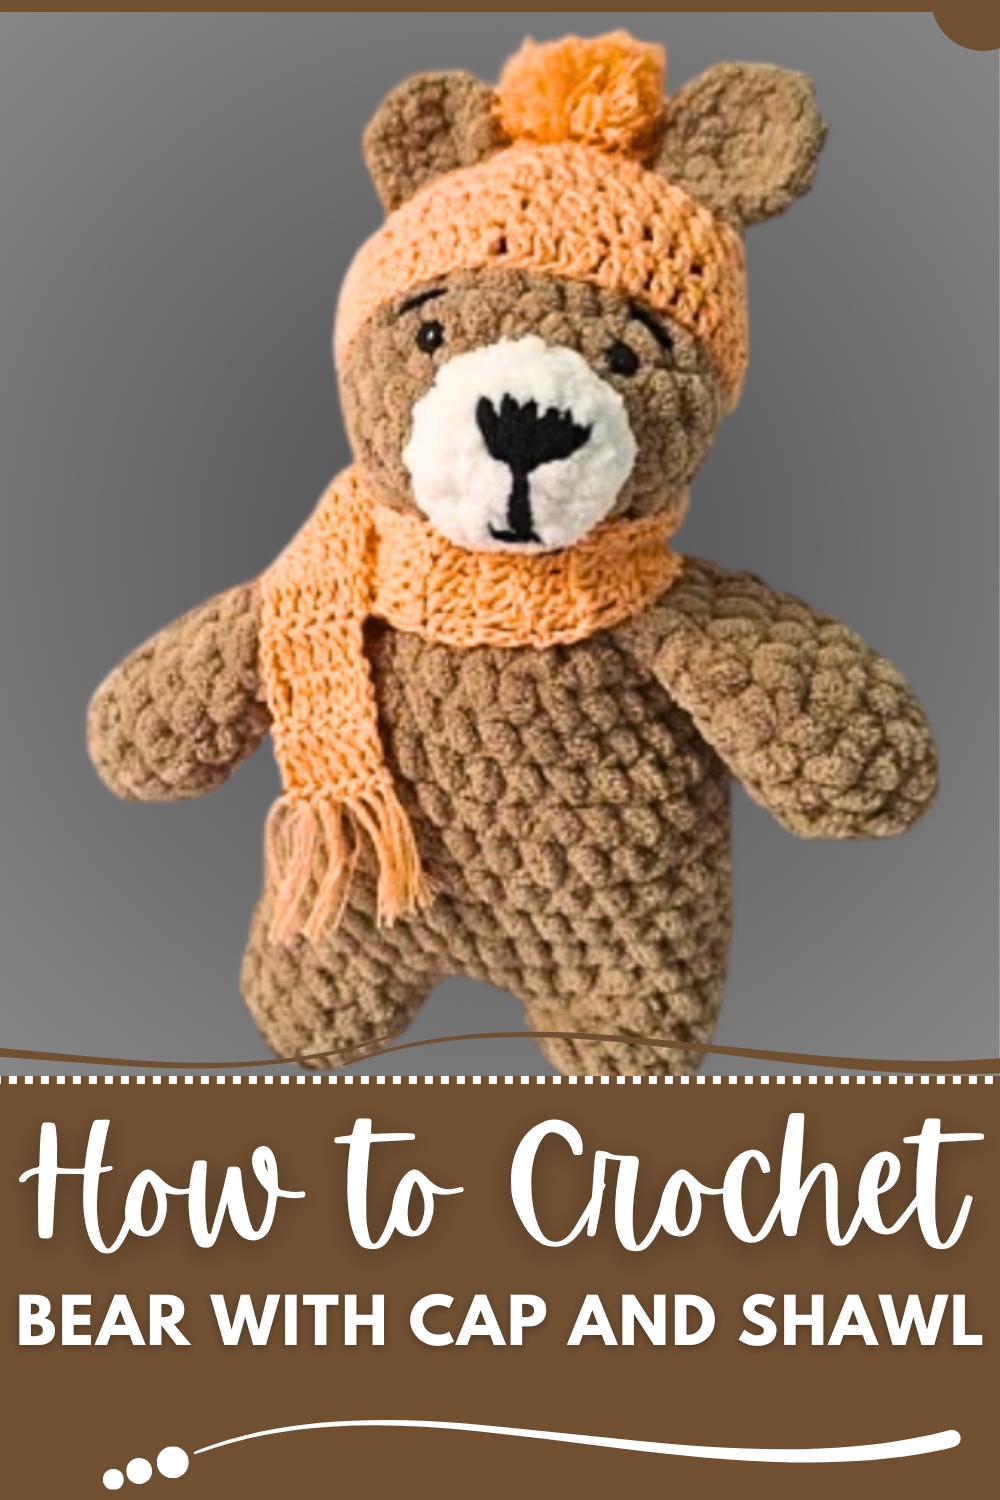
Such a bear can be cherished in many ways—it may sit proudly on a nursery shelf as décor, be hugged close during bedtime for comfort, or serve as a thoughtful handmade gift that carries a sense of love and attention. The cap and shawl not only enhance its appearance but also bring a sense of personality, as though the bear is dressed for a special outing or a chilly day. The overall look conveys charm and heartwarming appeal, while its softness ensures gentle comfort.
Whether gifted to a child, kept as a keepsake, or used as a decorative accent, this bear with cap and shawl holds beauty in its simplicity and lasting value in its tender presence.
Materials Needed
- Yarn:
- Vardhaman Blanket Yarn (plushy yarn) – Approx. 200 grams (1 ball).
- 4-ply Cotton Yarn (for shawl or decorative details).
- Crochet Hook:
- 4.5 mm crochet hook for the plush yarn.
- Fiber Stuffing:
- For stuffing the bear head and limbs.
- Safety Eyes:
- 1 Pair (optional), or you can embroider eyes using yarn/threads.
- Tapestry Needle:
- For sewing parts together.
- Scissors:
- For cutting yarn cleanly.
- Alphabet Decoration:
- This can be done using small chains of yarn, or an already crafted alphabet can be glued on.
- Pom-Pom Maker or By Hand:
- For creating the pom-pom on the cap.
Special Features
- Soft and Plush Texture:
- The bear is made with blanket yarn (Vardhaman’s Plushy Yarn), which gives it a cuddly and soft feel, perfect for children or as a decorative toy.
- Customizable Design:
- The pattern showcases personalization options like adding an initial ("A") for customization, a shawl for style, or a cap with a pom-pom for cuteness.
- Functional Accessories:
- Both the shawl and the cap are removable, allowing for imaginative play and a variety of looks for the crocheted bear.
- Beginner-Friendly Patterns:
- Each bear component (head, ears, arms, legs, etc.) is explained step-by-step, making it manageable for intermediate or adventurous beginner crocheters.
- All-In-One Gift:
- This plush bear combines a soft toy with unique, handmade accessories, making it more than just a simple crochet project — it’s a complete gift!
Step-by-Step Details
1. Making the Bear’s Head
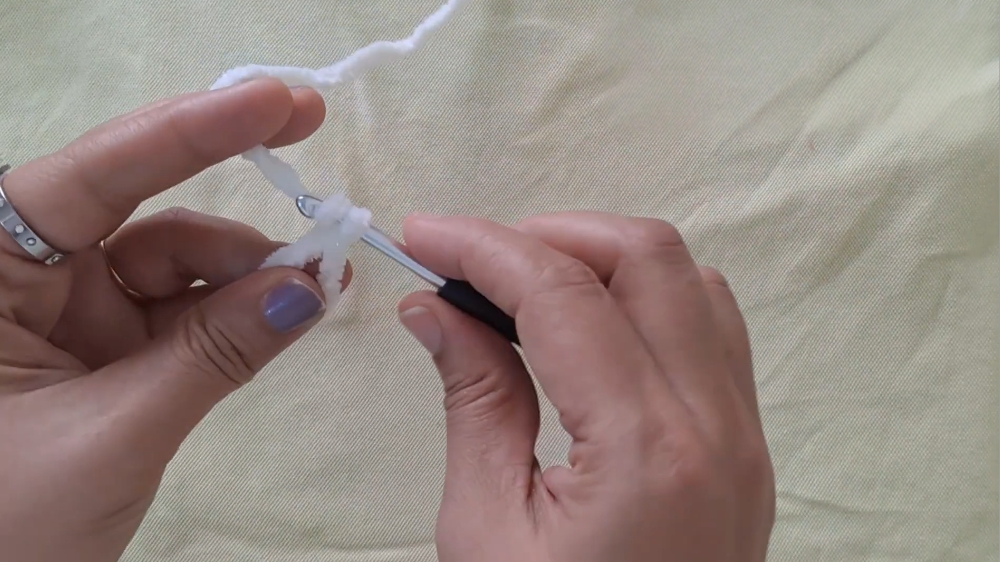
- Create a Magic Ring:
- Chain 1 and make six single crochets (SC) into the magic ring.
- Round 2:
- Work in continuous rounds without slip stitches. Make an increase in each single crochet (SC) from the first round (12 stitches total).
- Round 3:
- Alternate single crochet (SC) and increases (18 stitches).
- Round 4–5:
- Gradually increase the rounds. For example, in Round 4, work two SCs followed by an increase. Keep count of stitches, ensuring symmetry.
- Rounds 6–9:
- No increases. Work straight single crochets around to build the height of the head.
- Round 10:
- Begin decreasing. Work 3 SCs in the first three stitches, then decrease using single crochet together.
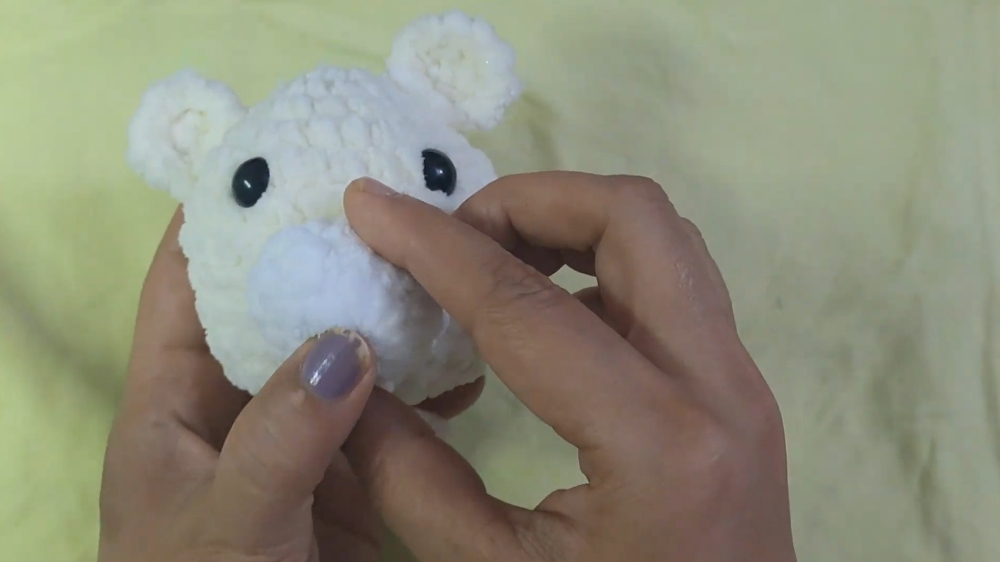
- Attach Safety Eyes:
- Insert safety eyes between the fifth and sixth rows, ensuring proper alignment. Alternatively, embroider eyes for child safety.
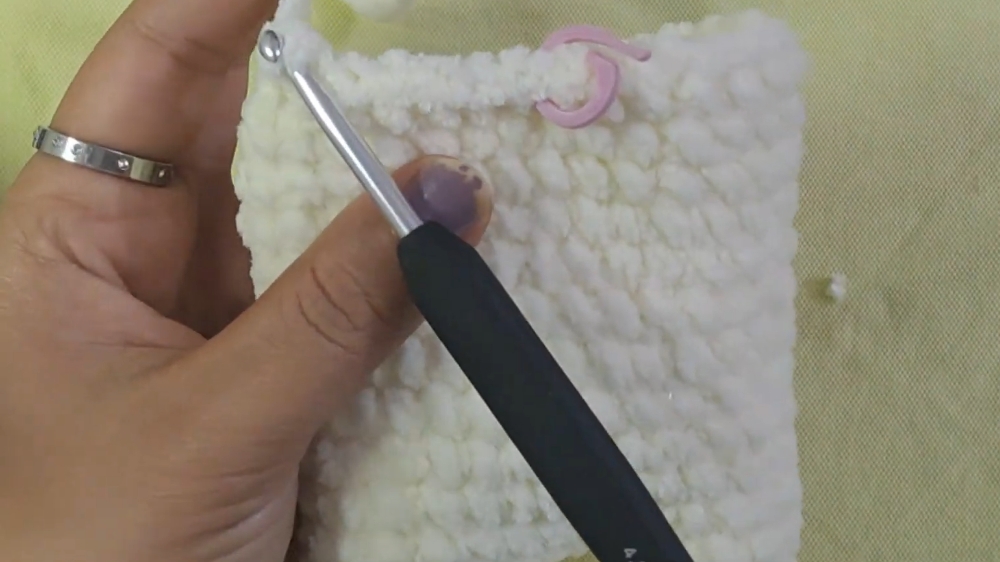
- Stuff the Head:
- Before closing the head, firmly fill it with fiber stuffing.

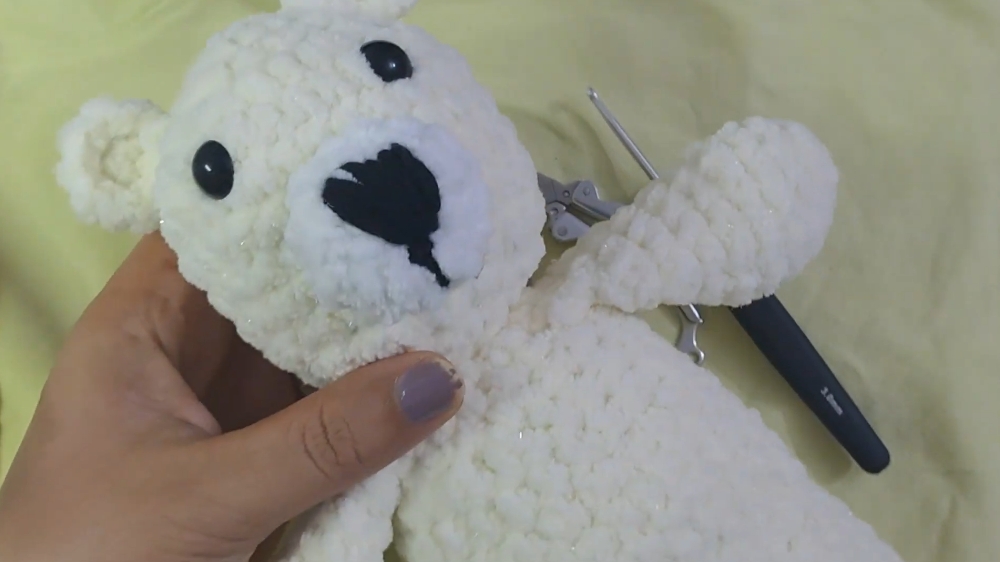
2. Creating the Ears
- Create a Magic Ring:
- Make six single crochets into the ring.
- Add Increases for Round 2:
- Work two stitches in each stitch, creating a small circle.
- Flatten the Circle:
- Sew the ears onto the head, ensuring they are equally spaced. Make a duplicate ear for symmetry.
3. Crocheting the Arms
- Use a Magic Ring to Begin:
- Chain 1 and work 6 SCs into the magic ring.
- In Round 2:
- Work alternating single crochet and increases.
- Rounds 3–7:
- Single crochet evenly for these rounds to form the arm tube.
- Partial Stuffing:
- Lightly stuff the arms with fiberfill, leaving the upper edge unstuffed for easier attachment.
- Close the Edge:
- Flatten the tube and crochet across the top to close. Make a second arm.
4. Crocheting the Legs and Connecting the Body
- Legs:
- Both legs are made similarly using a magic ring, with gradual increases for shaping (e.g., 12 SCs built over a few rounds).
- Rounds 3–7 are worked without increases to form the leg shape.
- Joining for the Body:
- After completing the second leg, chain 2 and attach it to the first leg, joining with slip stitches.
- Creating the Torso:
- Work 12 SCs on each leg, along with increases in the joint chain.
- Continue with no increases for 6–8 rounds, filling the body as you go.
- Decreasing the Body:
- As you work towards closing the body, decrease using single crochet together techniques.
- Attach the Arms:
- Sew the arms into place during one of the closing rounds for a seamless look.
5. Assembling the Bear
- Attach the Head to the Body:
- Use a long yarn tail to sew the head onto the body securely.
- Optional Nose:
- Crochet a small nose using white yarn and sew it in the center of the head.
6. Accessorizing the Bear
Cap:
- Chain a foundation chain (approximately 40 chains).
- Work double crochets into each chain, increasing as necessary for the crown of the head.
- Skip stitches to create the ear opening.
Shawl:
- Chain a base (7–10 chains depending on size).
- Work double crochets across, turning at the end of each row. Continue for 25–30 rows to create the length of the shawl.
Pom-Pom:
- Create a pom-pom and attach it to the top of the cap.
Alphabet Decoration:
- Create chains to outline the chosen alphabet. Attach it to the bear using glue or sewing.
Level of Difficulty
Intermediate
- Beginner-Friendly Elements: Magic rings and single crochet techniques for building shapes.
- Challenging Sections: Shaping the head, creating proportional limbs, and assembling all components while maintaining symmetry.
Tutor’s Suggestions
- Take Your Time:
- The process involves multiple steps, so work at a manageable pace to avoid mistakes.
- Use a Stitch Marker:
- Mark the start of each round to keep track of your stitches.
- Choose the Right Yarn:
- Blanket yarn creates a plush finish, but cotton yarn can also be used for different textures. Ensure the yarn suits your project.
- Stuff Firmly, But Evenly:
- Overstuffing can distort shapes, so adjust the fiberfill to achieve a soft but stable structure.
Uses
- Gifts for Children:
- Ideal for birthdays, baby showers, or as a keepsake piece.
- Decorations:
- Makes for a charming addition to nurseries or home décor.
- Personalized Piece:
- Add initials, colors, or accessories to make the bear unique.
Tip
If you’re new to plush yarn, go slow! This type of yarn can be tricky to work with because of its bulk. Keep your stitches loose and visible.
Conclusion
This crochet plush bear is not just a fun project, it’s a customizable masterpiece that’s functional, decorative, and meaningful. With step-by-step instructions for the body, limbs, and adorable accessories, this pattern equips you with all the tools to complete a heartwarming, handmade creation.