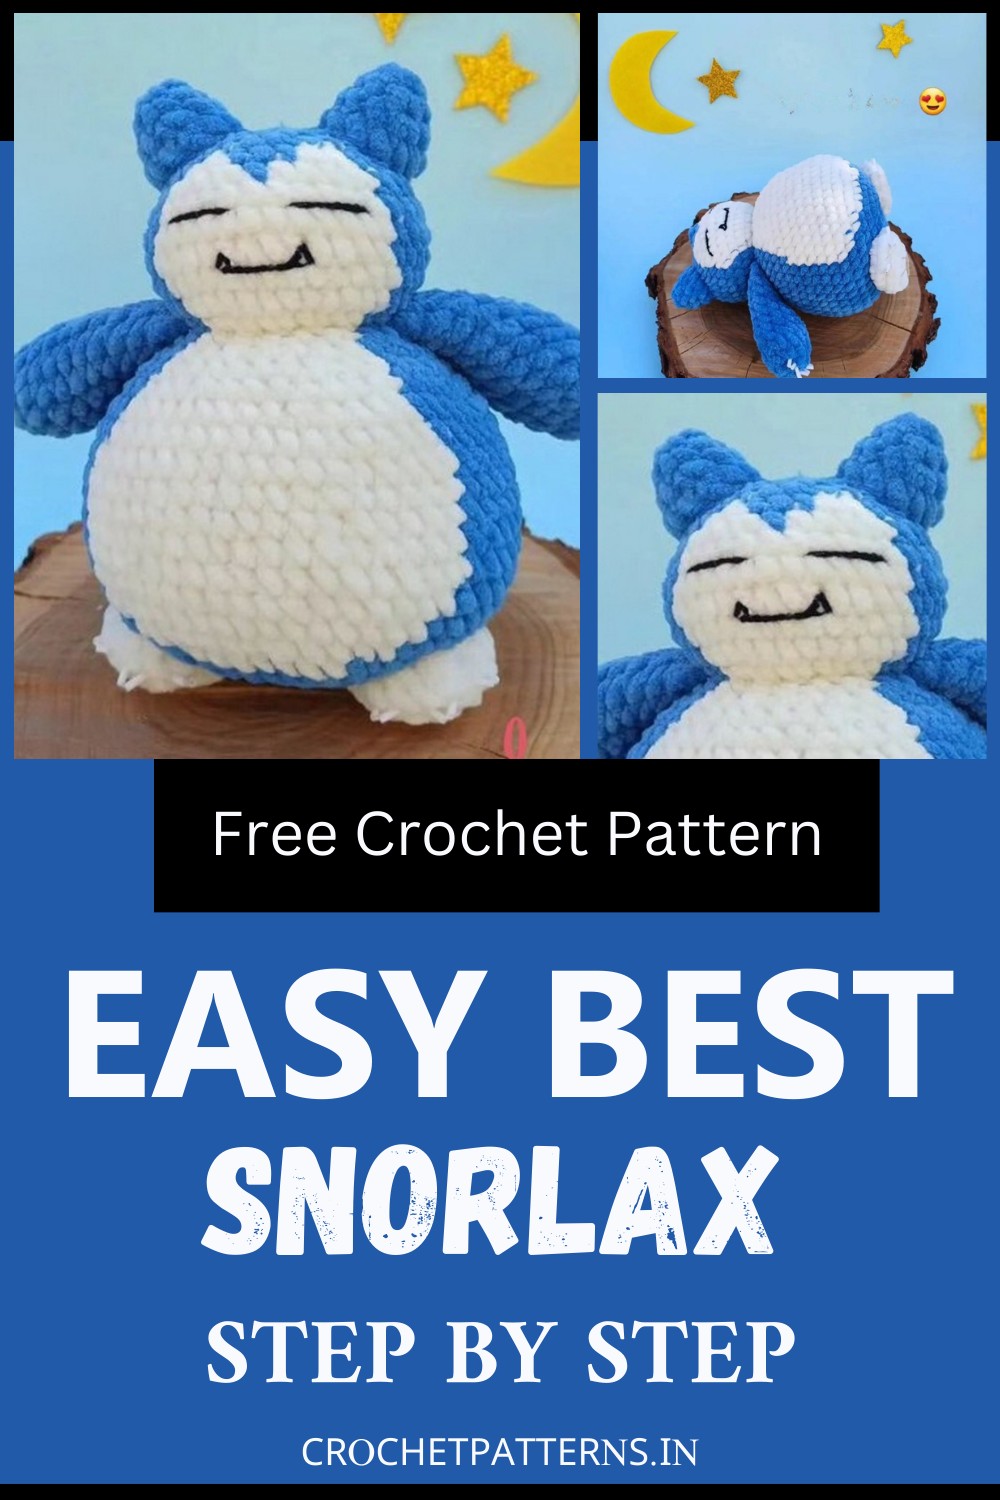
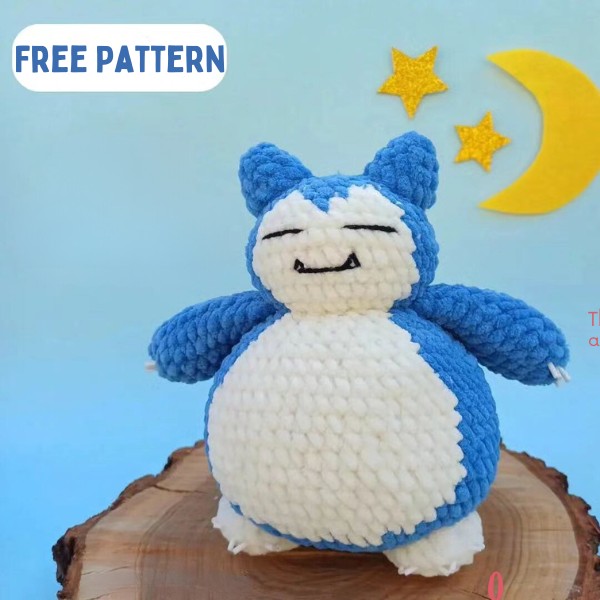
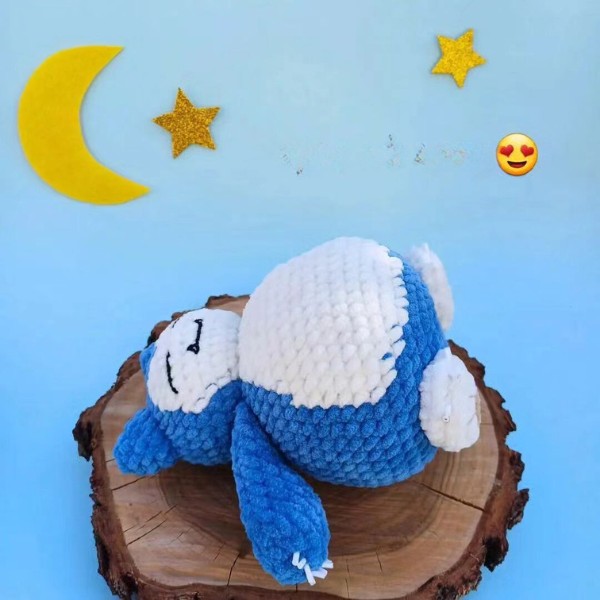
Here, we have a super fun project for making a cute Crochet Snorlax pattern that will help you create an adorable Snorlax with soft colors and a cozy texture. This pattern is easy to follow, so you'll enjoy making it and have an elegant Crochet Pokemon to show off. So be creative and be ready to enjoy crocheting this lovely little buddy with our easier pattern.
Crochet Snorlax Pattern

Free crochet pattern by @mamalinka_toys

Abbreviations
- MR-magic ring sc-single crochet
- sl st - slip stitch inc - increase
- dec - decrease

Tools And Materials
- Plush yarn (Himalaya Dolphin baby - 100g/120m)
- navy blue #341
- milky #308
- 1m of black cotton yarn for face
- hook #4
- glass beads, a sewing thread and a needle
Start in blue.
- R1. 6sc in MR
- R2. 6inc (12)
- R3. (5sc, inc)x2 (14)
ARMS
- R4-11.14sc-8rounds
- Stuff only hands with holofiber.
Fold in half and work 7sc through the both halves.
Body & Head
- Start in blue
- R1. 6sc in MR
- R2. 6inc (12)
- R3. (1sc, inc)x6 (18)
- R4. 1sc, inc, (2sc, inc)x5, 1sc (24)
- R5. (3sc, inc)x6 (30)
- R6. 2sc, inc, (4sc, inc)x5, 2sc (36)
- R7. (5sc inc)x6 (42)
- R8. 3sc, inc, (6sc, inc)x2, (milky) 6sc, inc, (blue) (6sc, inc)x2, 3sc (48)
- R9. (blue) (7sc, inc)x2, 3sc, (milky) 4sc, inc, 7sc, (blue) inc, (7sc, inc)x2 (54)
- R10. (blue) 20sc, (milky) 16sc, (blue) 18sc (54)
- R11-16. (blue) 19sc, (milky) 18sc, (blue) 17sc (54) - 6 rounds
- R17. (blue) 20sc, (milky) 16sc, (blue) 18sc (54)sc, (milk)
In the next rounds we will decrease the number of milky stitches only with the help of decreases inside the milky spot. Crochet according to the colour scheme of the rounds. Stitch blue above the blue stitches and switch to white above the white parts.
- R18. (7sc, dec)x6 (48)
So, in this round it actually would be like this: (blue) (7sc, dec)x2, 2sc, (milky) 5sc, dec, 7sc, dec, (blue (7sc, dec)x2 (48)
- R19.3sc, dec, (6sc, dec)x5, 3sc (42)
- R20. (5sc, dec)x6 (36)
- R21. 2sc, dec, (4sc, dec)x5, 2sc (30) R22. (3sc, dec)x6 (24)
- R23. In this round we attach the arms. Work (blue) sc, dec, sc, attach the arm and work (sc, dec)x2, sc through the arm and the body, (white) 5sc, attach the other hand (blue) (sc, dec)x2, sc through the arm and the body, sc (19)
- R24. FLO: (blue) 8inc, (milky) 5inc, (blue) 6inc (38) R25. (blue) 15sc, (milky) 12sc, (blue) 11sc (38)
In the next round I shifted the white spot so it has to be in the middle. Watch your spot. Keep it in the center. - R26-29. (blue) 15sc, (milky) 13sc, (blue) 10sc (38) - 4rounds
- R30. (blue) 16sc, dec, (milky) 11sc, (blue) dec, 8sc (36) R31. (blue) (4sc, dec)x3, (milky)
EARS
Add a little holofiber and sew the ears to the head.
- R1. 6sc in MR
- R2. (1sc, inc)x3 (9)
- R3. (2sc, inc)x3 (12)
Start in brown.
- R1. 6sc in MR
Switch to milky
- R2. 6inc (12)
PAWS
- R3. (1sc, inc)x5 This round isn't finished. Mark this place. Now it's the beginning of the round.
- R4. BLO: 21sc (21)
- R5. 10 dec, 1sc (11)
Sew the paws to the bottom. Than, sew the eyes and the mouth. Sew glass beads to make claws. I used two pieces for one claw.


