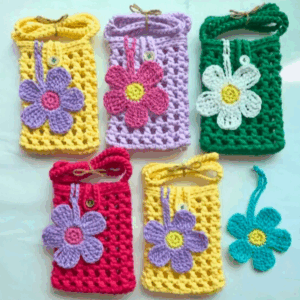
Organize your essentials with this Crochet Wallet pattern, adding stylish texture, durable charm, and practical elegance to your everyday carry.
Small accessories often reveal the perfect balance between functionality and style, and a crochet wallet exemplifies this harmony. Handmade with care, it transforms simple yarn into a practical item that carries essentials while adding a touch of charm and individuality. Ideal for everyday use, it keeps cards, cash, and small items organized while doubling as a statement accessory that reflects personal taste.
Exquisite Crochet Wallet for Everyday Elegance

The wallet begins with a firm base worked in tight, even stitches to ensure durability and structure. Layers or compartments are then added to provide storage and organization, while closures such as buttons, zippers, or flaps keep contents secure. Texture can be introduced through raised stitches, subtle ridges, or decorative motifs, giving each piece depth and character. Color choices allow for a classic, neutral look or a vibrant, playful appearance, making each wallet unique.
Beyond its visual appeal, the crochet wallet offers tangible benefits. It is lightweight yet sturdy, portable, and easy to handle, providing a practical solution for carrying essentials. For makers, it delivers a rewarding project that sharpens skills while producing a usable, lasting item. Combining artistry, functionality, and charm, the finished crochet wallet becomes both a practical tool and a stylish accessory that complements everyday life.
Materials Needed
- Yarn:
- A 4-ply mixed cotton yarn (primary color such as pink, or any other choice).
- Optional: Additional yarn colors for decorative elements like the button loop or design details.
- Crochet Hook:
- 3 mm hook (recommended for 4-ply yarn).
- Eyes (Optional):
- 5 mm safety eyes for decorative purposes (optional for children’s designs).
- Glue Gun:
- Used for attaching embellishments, but you can also sew them if glue is unavailable.
- Scissors:
- For cutting yarn.
- Tapestry Needle:
- For stitching the edges and weaving in the loose ends.
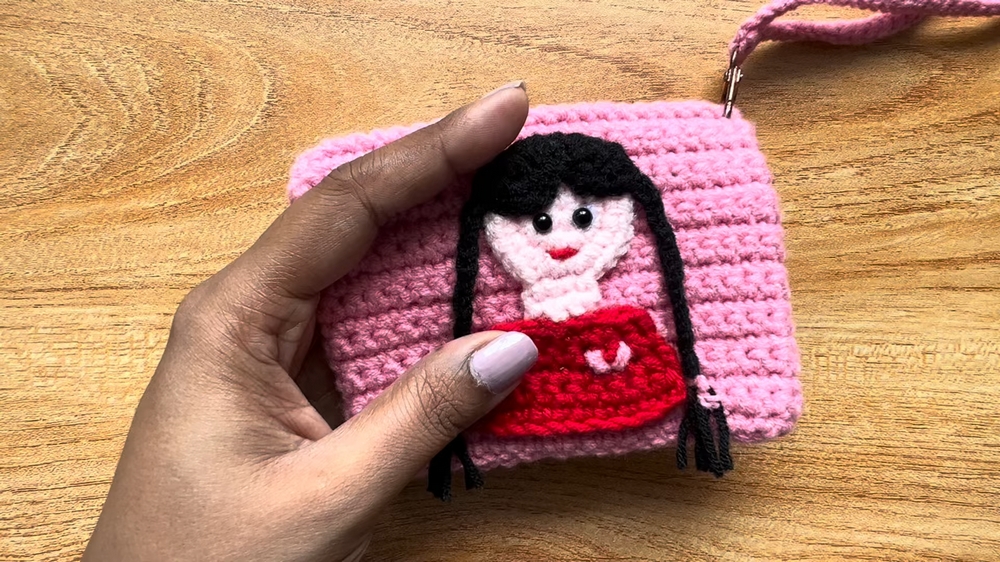
Special Features of the Mini Wallet
- Compact Size: Perfect for carrying small essentials while maintaining a stylish appearance.
- Versatility: Can be used as a mini wallet or purse organizer.
- Customizable Designs: You can modify the color, texture, and patterns—adjusting it for personalized gifts or unique designs.
- Easy to Attach: It has a loop to hang inside handbags for easy access.
- Beginner-Friendly: Uses basic crochet stitches, making it accessible for all skill levels.
- Durability: The use of sturdy materials like cotton or mixed cotton yarn makes the wallet long-lasting.
Level of Difficulty
The project is beginner-friendly, as it utilizes simple stitches such as chain stitches, single crochet, and decreases. However, paying attention to stitch counts and symmetry when shaping the wallet is crucial for an even and polished result.
Tutor’s Suggestions
- Creative Personalization:
- You can alter the design by using multicolored yarn, different button sizes, or even by adding details like braids, flowers, or characters to make it more appealing.
- Use of Materials:
- You don’t necessarily need a glue gun; stitching is a viable alternative for attaching accessories such as safety eyes.
- Attention to Detail:
- Always count the stitches per row to maintain symmetry. Skipping a stitch or misaligning stitches can make the wallet uneven.
- Yarn Type:
- Mixed cotton yarn is soft and flexible, but you can opt for pure cotton for a firmer, stiffer texture.
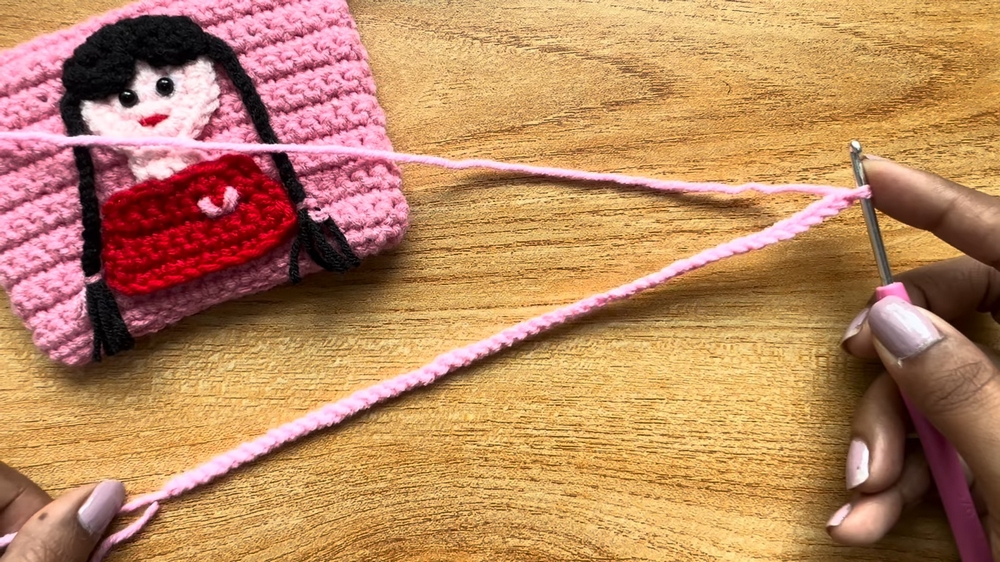
Step-by-Step Instructions
Part 1: Starting the Wallet Base
- Slip Knot and Chain Foundation:
- Use the pink yarn (or chosen base color) to make a slip knot and then crochet a foundation chain of 49 stitches.
- This chain determines the size of your wallet, so adjust the number of stitches accordingly for smaller or larger wallets.
- Half the chain will form the width of the finished wallet.
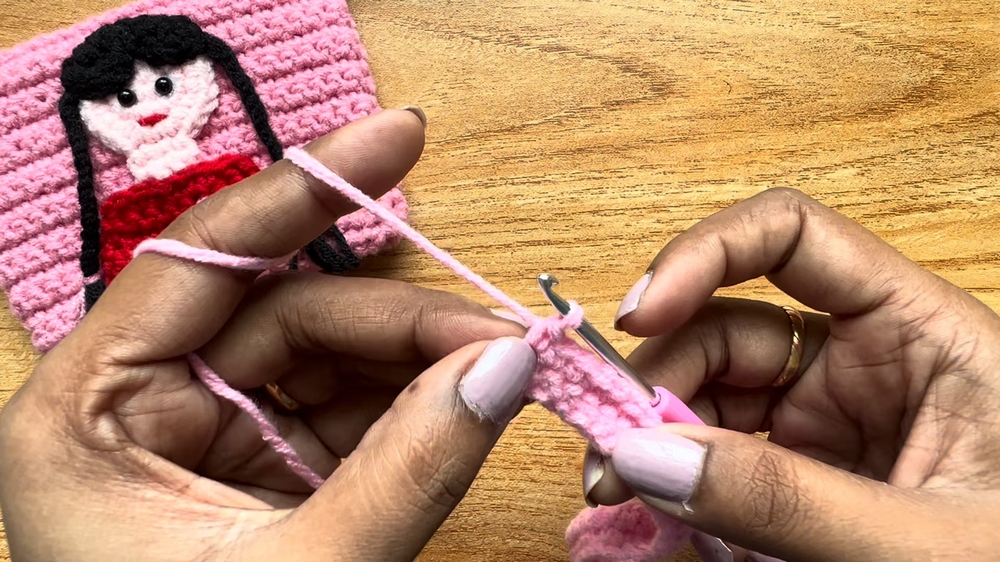
- First Row:
- Skip the first stitch and begin single crochet in the 48th stitch onward. Ensure you insert the hook, pull through, and complete each single crochet.
- Repeat until you reach the end of the chain.
- Turning the Work:
- At the end of the row, crochet one chain, turn your work, and repeat the single crochet process in each stitch across the row.
- Continue this process until you’ve completed 17 rows in total for the entire base of the wallet.
2: Creating the Wallet Flap
- Dividing the Stitches:
- Identify the middle of the row to begin shaping the flap. For 49 chain stitches, crochet only 24 stitches across half of the row.
- Decreasing for the Triangle Flap:
- Decrease one stitch at the start of each row to create a triangular shape for the flap.
- To decrease: Insert the hook into the first two stitches, pull through, and complete the single crochet as one combined stitch.
- Button Loop:
- Once the flap narrows down, leave 6 stitches at the center for the base of the button loop. From there, create an 8-chain loop (or adjust the size based on your button).
- Attach the loop to the same central stitch using a slip stitch and finish with one row of single crochets.
- Finally, secure by fastening off and cutting the yarn.

3: Assembling the Wallet
- Stitching the Sides:
- Fold the base in half and use a tapestry needle threaded with matching yarn to stitch the sides together.
- Ensure you sew neatly inside out so that the seams appear clean when you turn the pouch right-side out.
- Use a double knot to secure the stitches at the corners, ensuring durability.
- Tidying Up Loose Ends:
- Weave in any loose yarn ends with the tapestry needle, then trim off any excess.
- Attaching the Button:
- Sew or glue a button to the center of the wallet’s base, ensuring it aligns smoothly with the flap’s loop.

Uses of the Mini Wallet
- Storage Solution: Perfect for carrying coins, small essentials, or even as an accessory case inside handbags.
- Personalized Gifting: Ideal for occasions like birthdays, Kanya Pujan, or as handmade gifts for children and friends.
- Creative Expression: A canvas to showcase your crochet creativity by incorporating unique patterns or embellishments.
Tip for Best Results
Always double-check your row counts and ensure consistent stitch tension to maintain a polished finish. Counting stitches also helps beginners avoid alignment issues.
Conclusion
The mini crochet wallet is a functional yet fun project ideal for beginner crocheters. This pattern offers clear, step-by-step guidance with room for creative customization. Whether you're making this wallet for yourself or as a thoughtful handmade gift, it’s a versatile and rewarding project that will leave you with a beautiful, pocket-sized pouch.