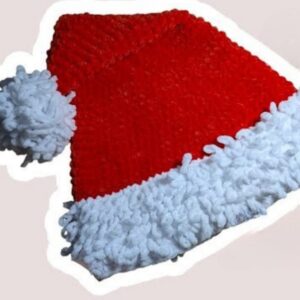
Enjoy making a cozy and stylish Crochet Puff Stitch Hat that is perfect for staying warm and adding a unique textured look everyone will adore.
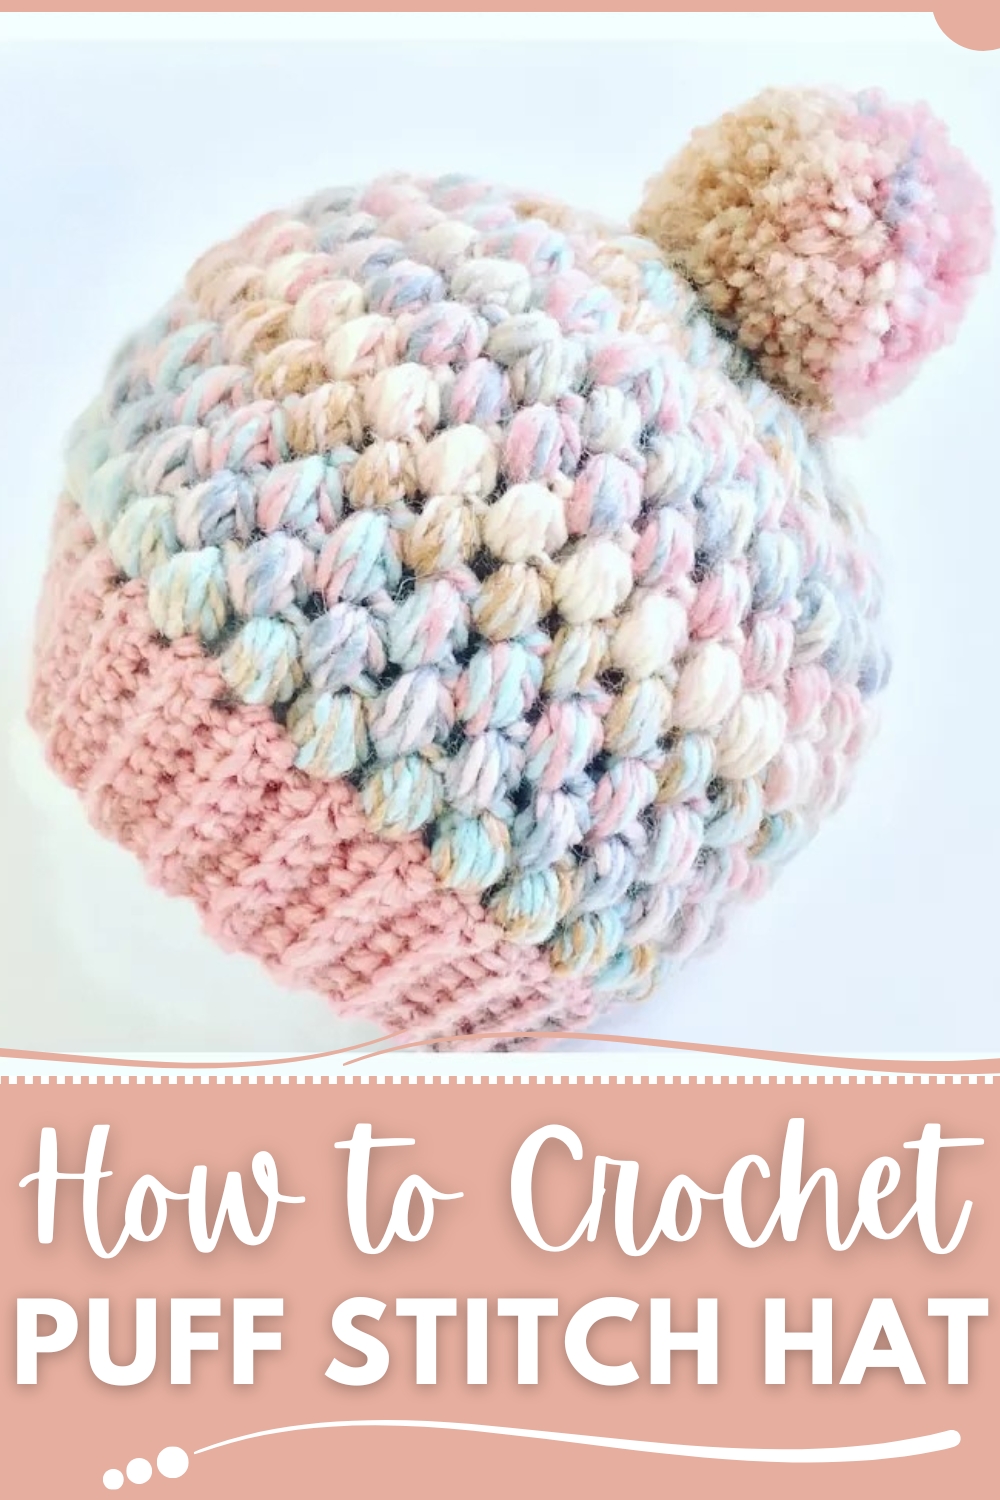
Simple Crochet Puff Stitch Hat Pattern You’ll Adore
This detailed crochet pattern will help you create a stunning, cozy puff stitch winter hat with optional customization using a pom pom. It's perfect for any level of crocheter, with clear steps for beginners and room for creative advancement for seasoned makers.
Follow the below guide to get started crocheting your comfy and stylish winter hat.
Materials Needed
To create this puff stitch winter hat, gather the following supplies:
- Yarn: King Cole Cotswolds Chunky (Color: Campbell or any chunky yarn of your choice)
- Crochet Hook: 6.5mm crochet hook
- Accessories: Yarn needle, scissors, stitch marker, pom pom maker (optional)
- Optional customization: Pre-made faux fur pom pom or make one with matching yarn
Pattern Overview
This pattern consists of two parts:
- Headband (band of the hat): Single crochet in back loops to create a ribbed effect.
- Hat Body: Puff stitches worked in continuous rounds for texture and structure.
The pattern includes instructions for decreases near the crown of the hat to close it neatly, with an optional pom pom finish.
Crochet Instructions
Headband (Ribbed Band)
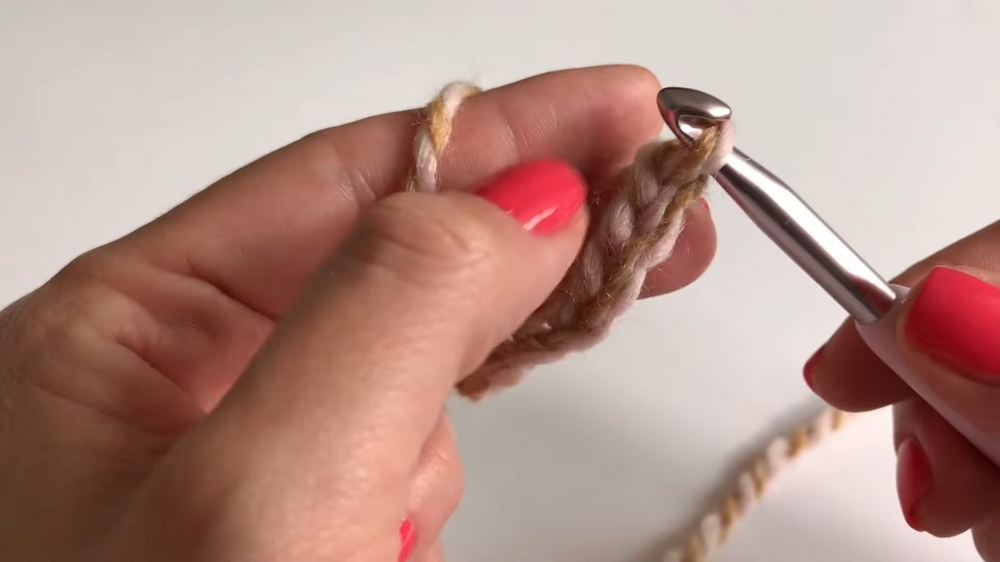
- Start With a Slip Knot and Chain:
- Create a slipknot on your crochet hook. Chain 7.
- Create a slipknot on your crochet hook. Chain 7.
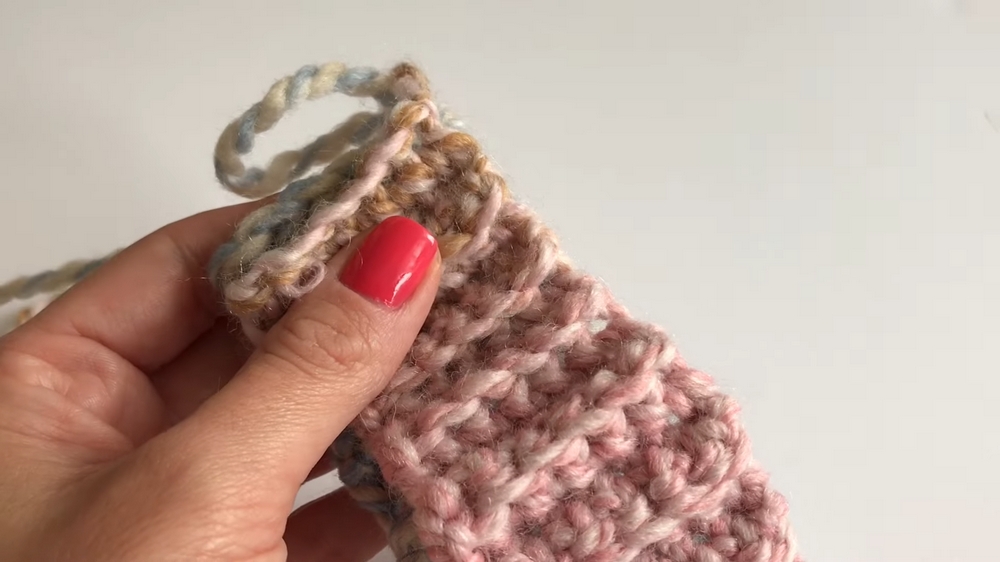
- Work Single Crochet Rows:
- Starting in the second chain from the hook, single crochet in each chain (6 stitches total).
- Chain 1, turn your work, and continue working single crochets in the back loop only of each stitch.
- Repeat until your ribbed band reaches the desired length to fit the circumference of your head (approximately 20 inches or customized to your head size).
- Join the Band:
- Fold the band lengthwise, aligning the edges. Use slip stitches to join both edges of the band, being careful not to twist it.
Hat Body (Puff Stitches)
- Foundation Round:
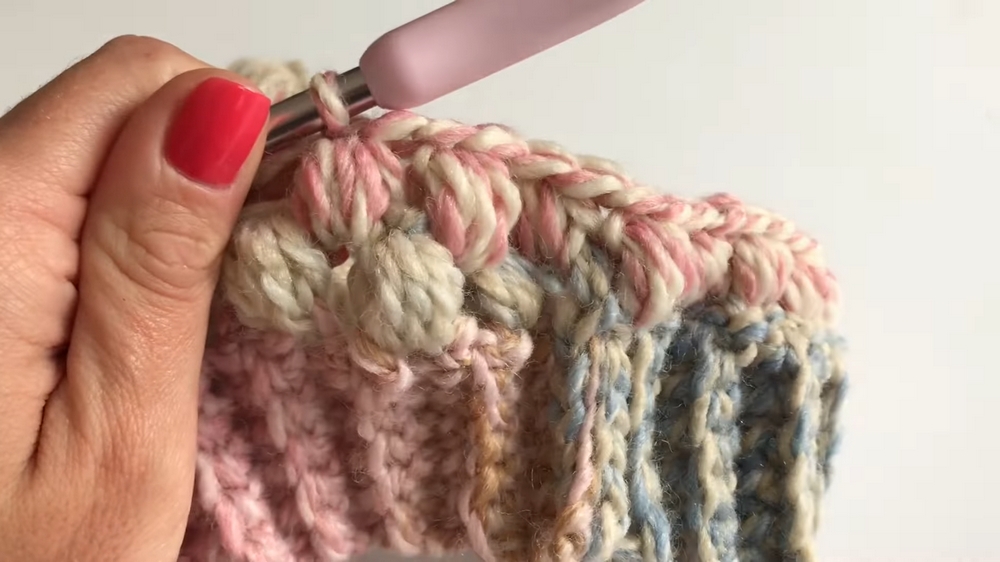
- Chain 2 to begin. Work a puff stitch into the first stitch. Puff stitch instructions:
- Yarn over, insert your hook, pull up a loop (3 loops on hook).
- Repeat the same step 3 more times until you have 9 loops on your hook.
- Yarn over and pull through all 9 loops. Chain 1 to secure the puff stitch.
- Skip one stitch and perform a puff stitch in the next stitch.
- Repeat this puff stitch + skip one stitch combo around the band to form the base row.
- Chain 2 to begin. Work a puff stitch into the first stitch. Puff stitch instructions:
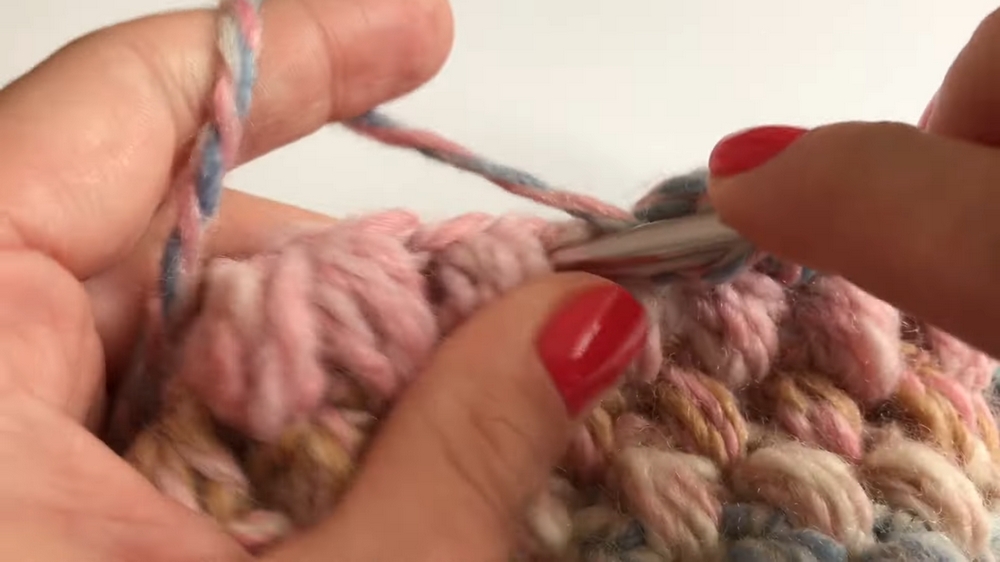
- Work in Continuous Rounds:
- To avoid joining and chaining, crochet in continuous rounds by working a puff stitch into the space between puff stitches from the previous row.
- Add a stitch marker to the first puff stitch of each round to track progress.
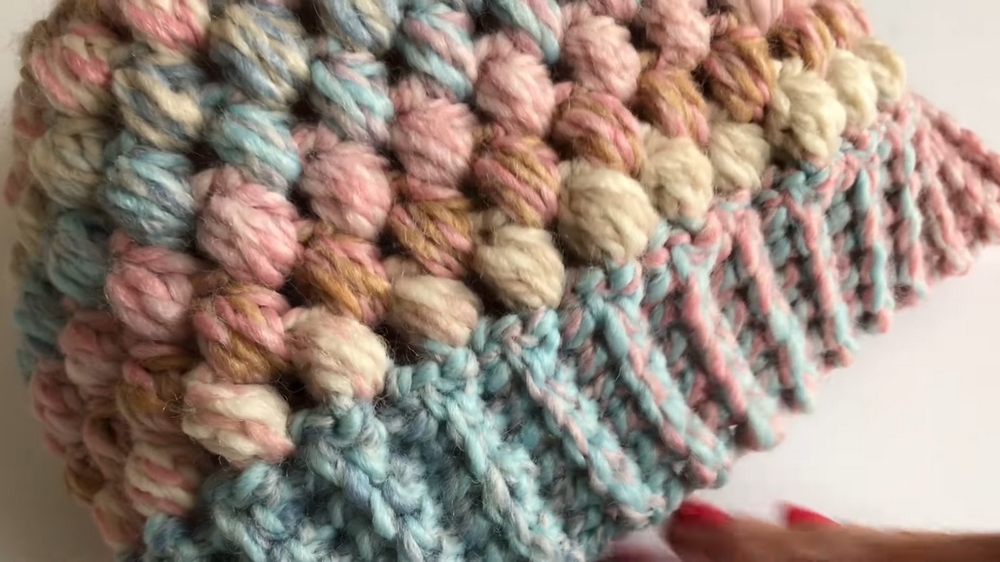
- Build the Hat Body:
- Repeat the puff stitch pattern until you complete 7 rounds (or the desired height of the hat).
Decrease/Shape the Crown
Start decreases to close the crown of the hat.
- First Decrease Round:
- Work 4 puff stitches, then create a decreasing puff stitch by working 2 puff stitches together:
- Begin a puff stitch but do not complete it (leave the loops on your hook).
- Start a second puff stitch in the next space, and pull through all loops. Chain 1 to complete.
- Continue the pattern of 4 puff stitches + 1 decrease around the round.
- Work 4 puff stitches, then create a decreasing puff stitch by working 2 puff stitches together:
- Second Decrease Round:
- Work 3 puff stitches, followed by a decreasing puff stitch. Repeat this around.
- Subsequent Decrease Rounds:
- Continue decreasing the number of puff stitches between decreases in each round until only puff stitch decreases remain.
- Close the Crown:
- When only a small opening remains, cut the yarn (leave a long tail) and use a yarn needle to weave through the remaining stitches around the edge. Pull tight to cinch the top shut. Secure with a knot.
Finishing Touches
- Weaving in Ends:
- Use a yarn needle to weave in any loose yarn ends on the inside of the hat.
- Pom Pom (Optional):
- Create a pom pom using a pom pom maker (or by hand) with the same yarn or a complementary faux fur texture. Attach it securely to the top of the hat using a yarn needle.
- Create a pom pom using a pom pom maker (or by hand) with the same yarn or a complementary faux fur texture. Attach it securely to the top of the hat using a yarn needle.
Tips for Success
- Counting Stitches: Always count your puff stitches to ensure proper alignment and a symmetrical hat.
- Using Markers: Mark the start of each round to prevent confusion when working continuous rounds.
- Testing the Fit: Try on the band before moving on to the puff stitch rounds. The ribbed band should fit snugly without overstretching.
- Tension Control: Maintain consistent tension throughout to ensure even puff stitches and a smooth result.
Customization Options
- Size Adjustment: Adjust the length of the ribbed band and number of puff stitch rounds for a tighter or looser fit.
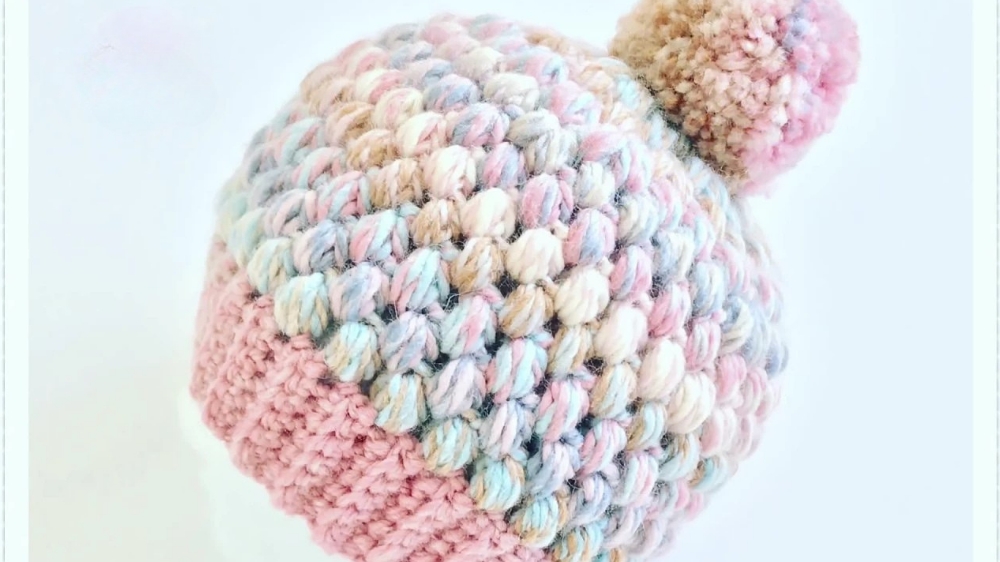
- Colors: Use multicolored, self-striping yarn like King Cole’s Cotswolds Chunky for a vibrant, varied look, or use solid tones for a minimalist appeal.
- Extra Warmth: Add a fleece lining to the inside of the hat to make it warmer for cold winters.
Conclusion and
Your puff stitch winter hat is now complete! With its stunning texture, vibrant colors, and cozy warmth, this hat is the perfect addition to your winter wardrobe or a thoughtful handmade gift. Make it your own by adding a pom pom or experimenting with different yarn colors and textures.
Important Points
This project is beginner-friendly yet satisfying for experienced crocheters looking for a quick and enjoyable project. Remember, crochet is as much about the process as the finished piece – enjoy each loop and stitch.