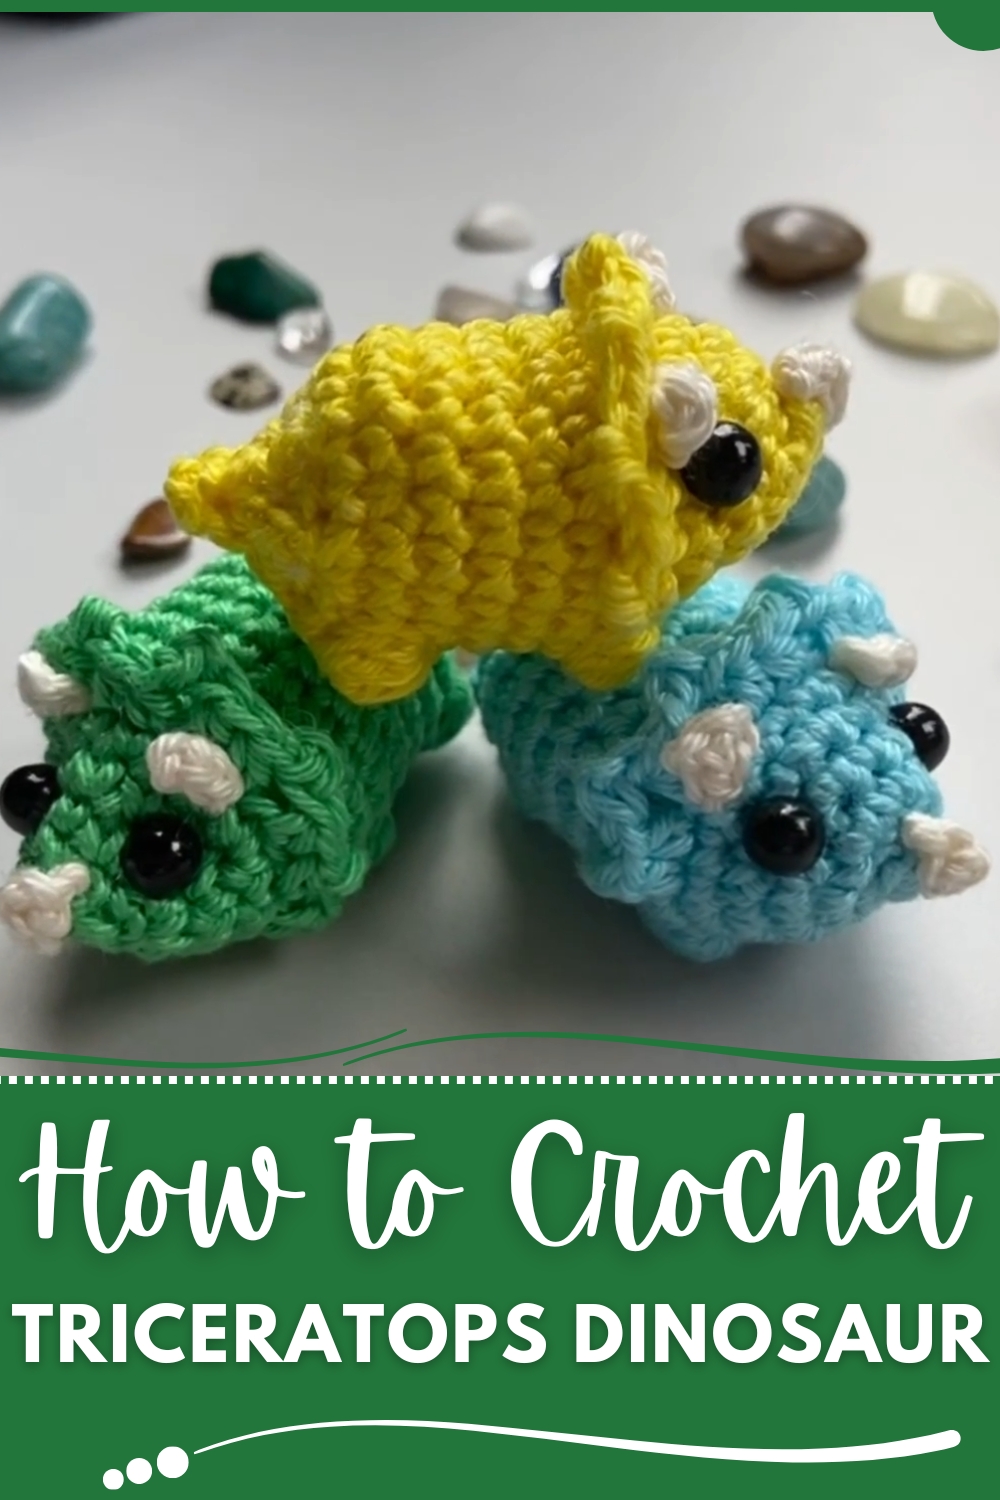
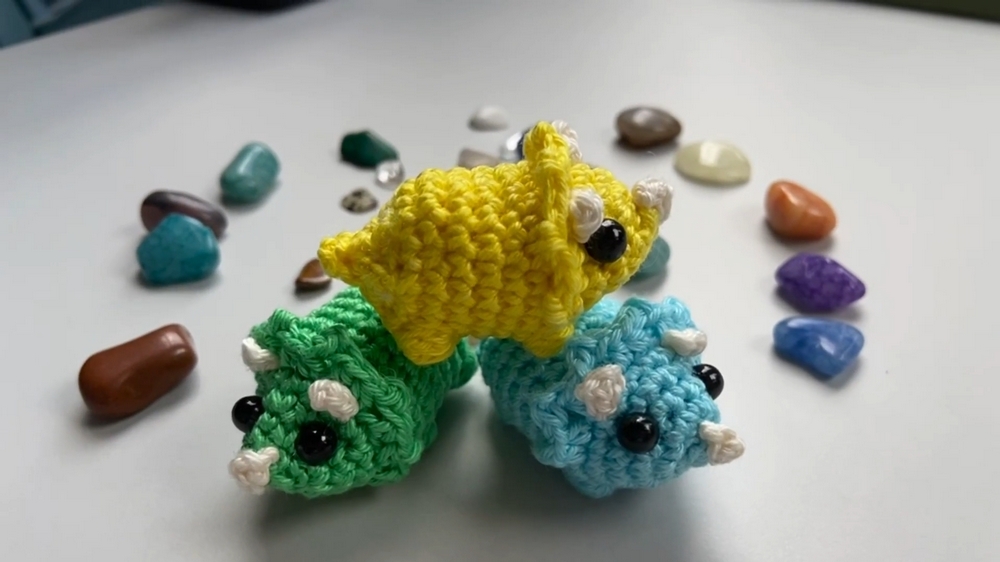
Prehistoric fun comes alive with the Crochet Triceratops Dinosaur pattern, bringing charm and playful detail to handmade treasures.
Dinosaurs have long sparked fascination, and among them, the triceratops holds a special place with its gentle yet majestic appearance. The Crochet Triceratops Dinosaur pattern captures that sense of wonder, bringing to life the iconic three-horned friend in soft, detailed form. With its sturdy body, curved frill, and expressive features, it carries a balance of charm and strength that makes it both playful and endearing. Its form is appealing not only to children who love dinosaurs but also to adults who appreciate whimsical accents in décor or collections.
Iconic Crochet Triceratops Dinosaur for Creative Souls
What makes this pattern particularly appealing is its versatility. It can be worked as a delightful toy for children, a thoughtful handmade gift, or even as part of themed decorations for nurseries or playful spaces. Its structured shape provides a satisfying build, while the combination of simple stitches and shaping techniques ensures that it remains approachable yet rewarding to complete. The result is a sturdy, cuddly dinosaur that holds both character and warmth.
Beyond its aesthetic charm, it also becomes a keepsake, something that carries sentiment and storytelling through its handmade touch. Whether given as a gift, displayed as décor, or cherished as a playful companion, this triceratops radiates personality and timeless appeal.
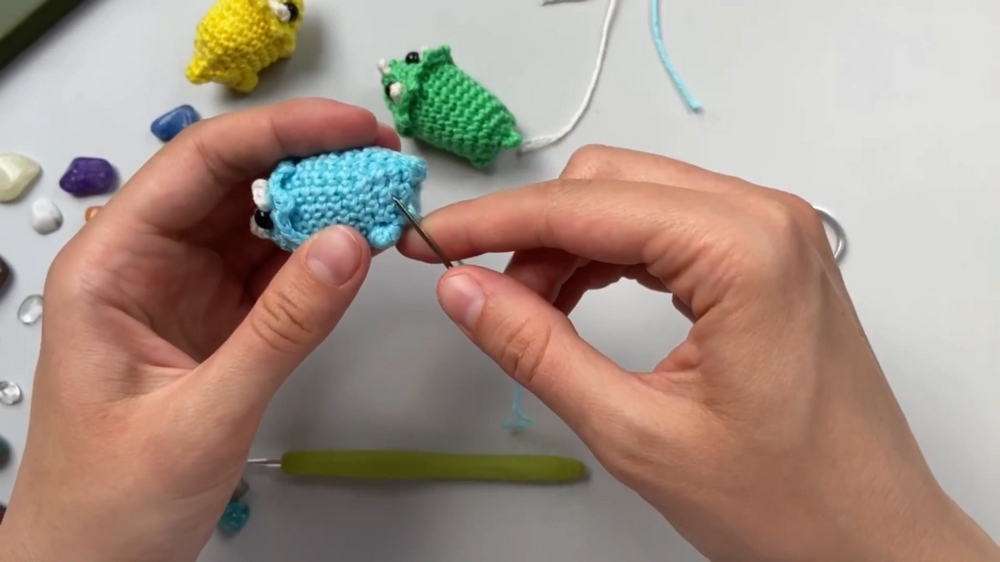
Materials Needed
- Yarn: Two colors of yarn (e.g., mint green and amplifier blue), both cotton-based.
- Hook: A 2mm crochet hook, suitable for the yarn weight.
- Eyes: Safety eyes for adding the dinosaur’s cute facial features.
- Stuffing: Polyfill, yarn scraps, or pillow stuffing to fill the body.
- Tools: Scissors and a darning needle for cutting and finishing.
Step-by-Step Instructions
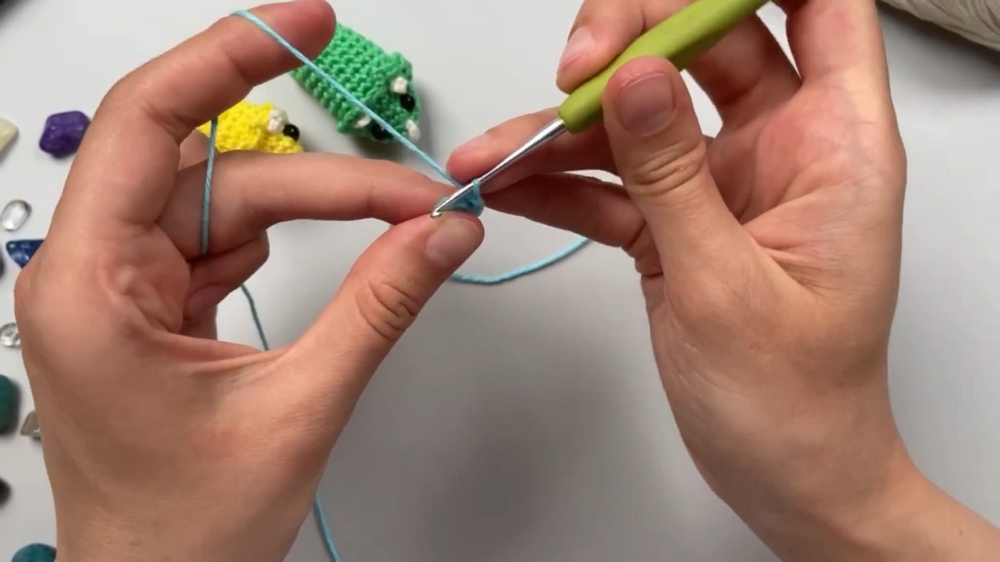
1. Starting the Magic Ring
- Begin with a magic ring.
- Create 6 single crochets (SC) into the ring using mint green yarn.
2. Second Row
- Work 1 single crochet into the back loops of each stitch around.
- This creates an additional textured row.
3. Third Row (Increases Start)
- Make 2 single crochets in each stitch to increase (for a total of 12 stitches).
4. Fourth Row
- Create three single crochets, then increase by working 2 single crochets in the same stitch.
- Repeat this sequence three times to end with 15 stitches.
5. Fifth Row
- Work five single crochets, followed by an increase.
- Repeat this sequence three times to finish with 18 stitches.
6. Shaping the Body
- Work two rows of 18 single crochets each in the back loops only.
- This step helps build and define the dinosaur's body.
7. Adding Legs
- Use the back loop of the first row to attach the legs.
- For each leg, crochet 5 stitches, then join them together in the next round.
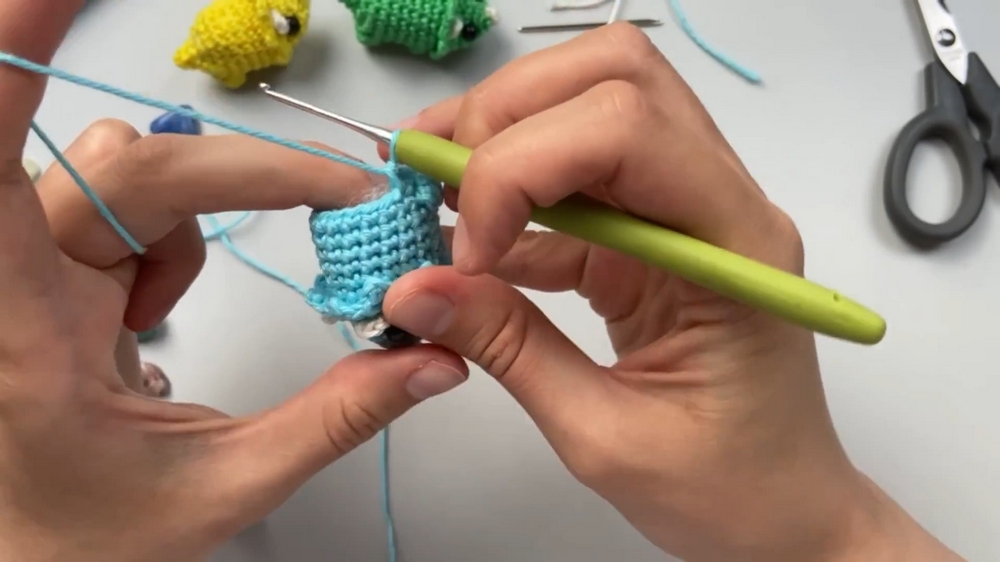
8. Creating Spikes
- Change to amplifier blue yarn.
- Crocheting the spikes involves chains, slip stitches, and single crochets worked into the top row.
- Make three spikes at equal intervals along the back.
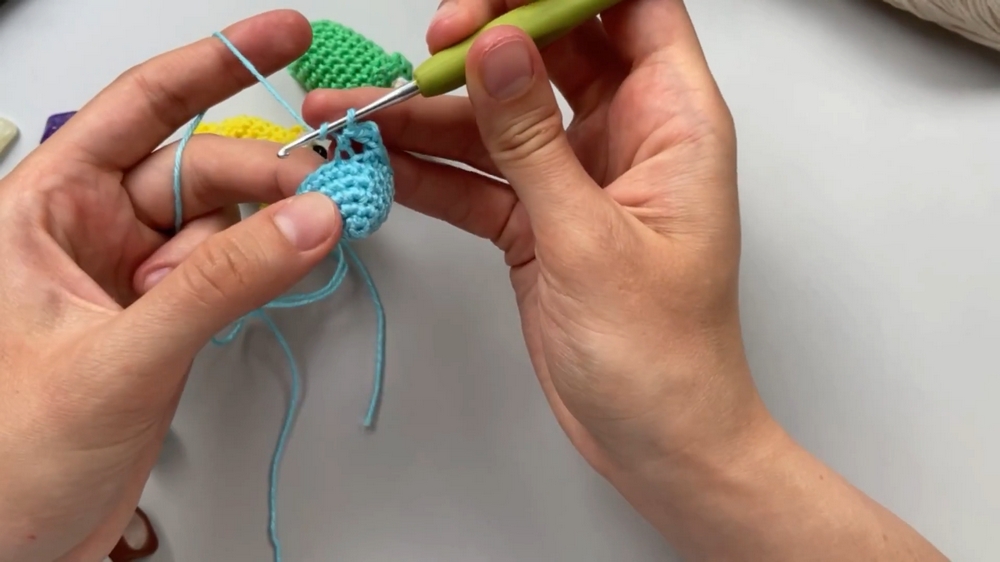
9. Adding the Face
- Attach safety eyes on either side of the head, beneath the spikes.
- Embroider small nostrils using black thread or contrasting yarn for added detail.
10. Stuffing the Dinosaur
- Use polyfill or a stuffing material of your choice to fill the body and legs. Ensure the stuffing is even and firm but not overly packed.
11. Finishing and Closing
- Decrease the stitches in the final few rows to close the body:
- Decrease from 18 stitches to 12, then to 6, and finally to 1 stitch in consecutive rows.
- Pull the final loop tight to secure and weave in the loose ends.
Special Features
- Textured Finish: Using front and back loop stitches creates a unique texture that mimics scales.
- Adorable Details: The spikes and safety eyes add personality and charm to the dinosaurs.
- Customization: The design allows for experimenting with colors to make each dinosaur unique.
Level of Difficulty
The project is categorized as beginner to intermediate, depending on one’s familiarity with decreases, magic rings, and shaping techniques. The small size of the project makes it manageable for beginners, while the detailed spikes and shaping add a slight challenge.
Tutor’s Suggestions
- Use contrasting yarn as stitch markers for easier counting during increases and decreases.
- Crochet tightly to minimize gaps, especially when adding stuffing.
- When attaching legs or decreasing, take time to ensure even stitch placement for symmetry.
- Rewind or pause the pattern as needed to follow intricate steps, especially for shaping the spikes and legs.
Uses of the Dinosaur
- Children’s toys
- Desk or shelf décor
- Keychains or bag charms (adjusting the size slightly)
- Handmade gifts for anniversaries, birthdays, or baby showers
Tip at the End
When stuffing the dinosaur, use a blunt object like the back of a crochet hook to evenly push the stuffing into tight corners such as the legs and head. This ensures the final shape looks polished and symmetrical.
Conclusion
This mini-dinosaur crochet project is a delightful way to add personality to your crochet repertoire. With its charming details, playful design, and ease of execution, it’s perfect for crocheters of all skill levels. Follow the steps carefully, and you’ll have an adorable dinosaur ready to showcase or gift in no time.