
Transform your wardrobe with this FREE Crochet Jumper Tutorial, perfect for all skill levels and offering endless customization options and cozy comfort!
Summer just got an upgrade with these adorable crochet bloomer ruffle shorts, perfect for hot days by the beach or lounging around in style. a cozy yet fashionable piece fits exactly how you like—these shorts are made entirely to your measurements, making them versatile for everyone. Designed with customizable features, they allow you to adjust the length, flow, and even add unique ruffles for extra flair. Whether worn over a swimsuit or paired with casual tops, they effortlessly transition between poolside chic and everyday wear.
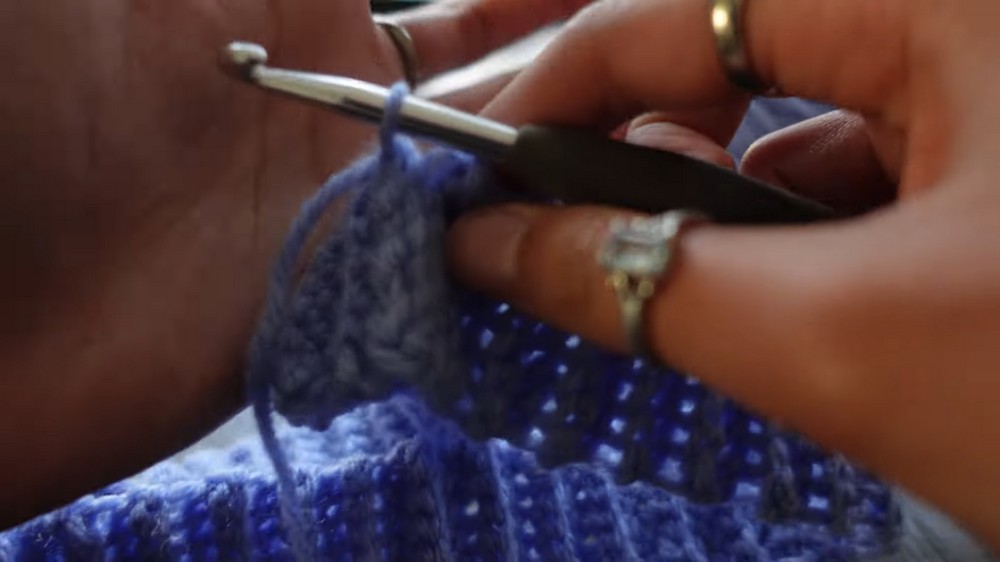
how to crochet bloomer ruffle shorts | beginner-friendly tutorial

Using basic crochet techniques such as single crochet, half double crochet, and ribbing, this project is suitable for all skill levels, with helpful tips that guide you at every step. The focus on "made-to-fit" means you can try them on as you go, ensuring the perfect fit. The ruffles add a playful touch, while the choice of yarns allows experimentation with textures and colors. With only a few materials—like acrylic yarn, hooks, and stitch markers—you'll be amazed at how a simple project can bring so much practicality and charm. These shorts offer not just comfort but the joy of having a handmade piece that's stylish, customizable, and uniquely yours!
Step-by-Step Details for the Crochet Shorts Tutorial
Introduction
This tutorial walks you through creating versatile and adorable crochet shorts that are perfect for summer. The pattern is highly customizable—you can make them longer, shorter, more flowy, or even turn them into pants! This beginner-friendly guide provides a detailed overview of the steps required, emphasizing the personalized 'made-to-fit' design.
Materials Needed
- Yarn: Acrylic yarn (Big Twist Value acrylic yarn is used, 380 yards per skein). Cotton yarn is also an option.
- Hooks: Two sizes: 5.5 mm hook (body of the shorts) and 5 mm hook (waistband).
- Miscellaneous: Scissors, two stitch markers, and a measuring tape.
Special Features
- Custom Fit: The pattern is 'made-to-fit,' meaning you try it on after every step to ensure the perfect size.
- Versatility: You can adjust the design to include ruffles, flowy fits, or even create pants.
- Ribbing & Texture: The use of back-loop-only stitches creates a stretchy ribbed texture for added comfort.
Level of Difficulty
This tutorial is beginner-friendly but requires patience and attention to detail. While the instructions are straightforward, the need for frequent measurements and creative decision-making adds a slight layer of complexity.
Step-by-Step Instructions
1. Creating the Waistband
- Chain the thickness: Start with a slip knot using the 5.5 mm hook. Chain the desired thickness of your waistband (8 chains used in the video).
- Form the texture: Add a turning chain and single crochet across the row, skipping the turning chain.
- Start ribbing: Work single crochet into the back loop only for the stretchy ribbing effect.
- Measure the length: For low-waist shorts, measure the waist or hip circumference and subtract ~2 inches for stretch. (Example: 32 inches hips = 94 rows.)
2. Joining the Waistband
- Form a loop: Slip stitch the two ends together carefully to create a circular waistband.
- Base row: Chain one and single crochet into each row (no skipping stitches) to form the base of the shorts.

3. Creating the Body
- Hip Increases:
- Mark two points using stitch markers after dividing the total rows in half (e.g., 94 rows ÷ 2 = 47 rows per side).
- Use the 5 mm hook to create back-loop-only half double crochets, adding 3 increases at the marked points.
- Turn after each row: Switch directions with each layer to maintain texture and stretch.
4. Measuring and Splitting for Legs
- Determine crotch depth: Measure from waist to crotch or test by trying the shorts on.
- Leg division: Fold the shorts in half to split evenly. Use two stitch markers to segment each leg.

5. Working on the Legs
- Bridge chain: Create a bridge for the crotch by chaining 18–20 stitches (adjustable based on fit).
- Circular stitching: Work back-loop half double crochets around the chain to link the legs seamlessly, ensuring no gaps.

6. Adding Ruffles to the Hem
- First row: Work double crochet increases (2 double crochets in each stitch) to form the ruffled texture.
- Second row: Add one regular row of double crochets to define the ruffles better.
7. Ruffles on the Body
- Plan rows: Identify the visible textured rows (ribbed edges) for ruffles. Skip one row between each ruffle placement.
- Create overlapping layers: Follow the same ruffling method for each row.

Tutor’s Suggestions
- Personalization Tips:
- Measure frequently or try the shorts on after each step to ensure a perfect fit.
- Adjust the number of ruffles, their size, and placement based on your preference.
- Beginner Advice:
- Take your time with the ribbing as it forms the foundation for the texture.
- Use stitch markers effectively to keep track of increases and splits.
Uses
These cute summer shorts are ideal for lounging, wearing over swimsuits, or as a casual yet stylish outfit staple. With customizable fabric and fit, they can transition to cooler-weather clothing (like pants) based on your yarn choice and design modifications.
Tip
Always work with an even number of rows for ruffles to maintain balance and symmetry. If you’re unsure of measurements, use stitch markers to guide adjustments as you go.
Conclusion
This crochet shorts tutorial is an amazing project for beginners seeking a fun and customizable summer outfit. The made-to-fit design ensures a personalized touch, and the creative freedom allows you to make shorts that are truly one of a kind. While the tutor acknowledges it’s her first tutorial, the steps are clear, and the pattern is wonderfully versatile. Happy crocheting!
