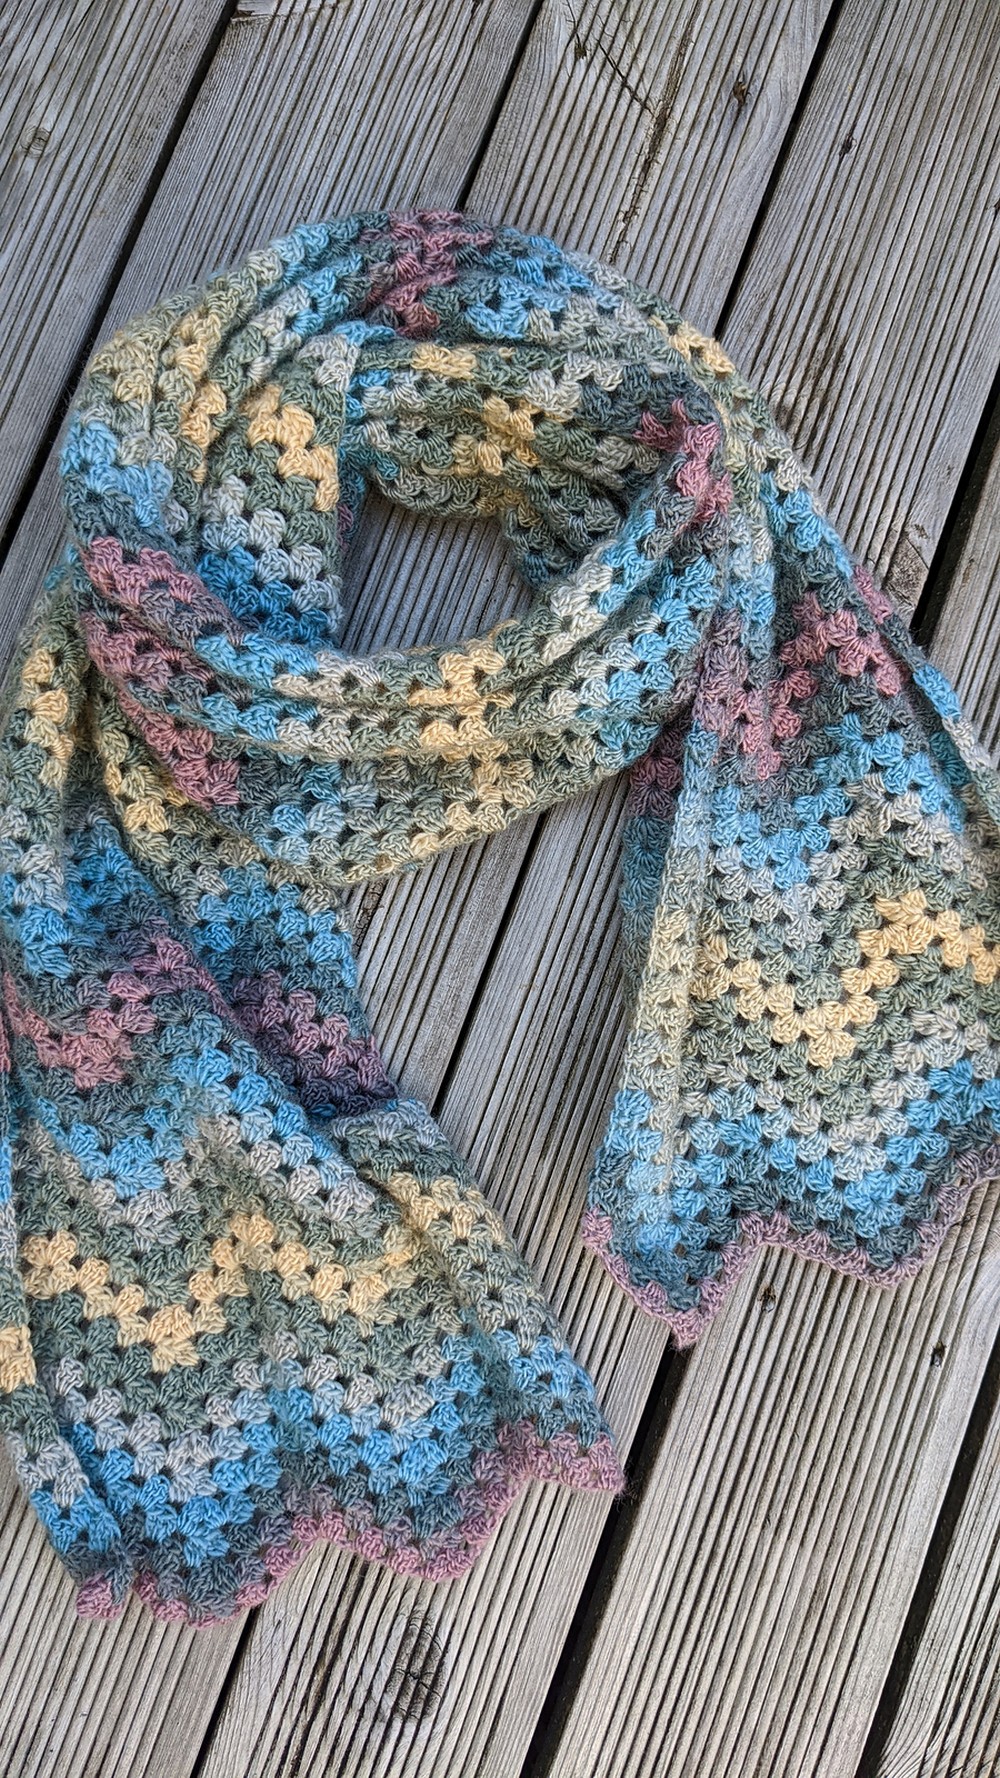
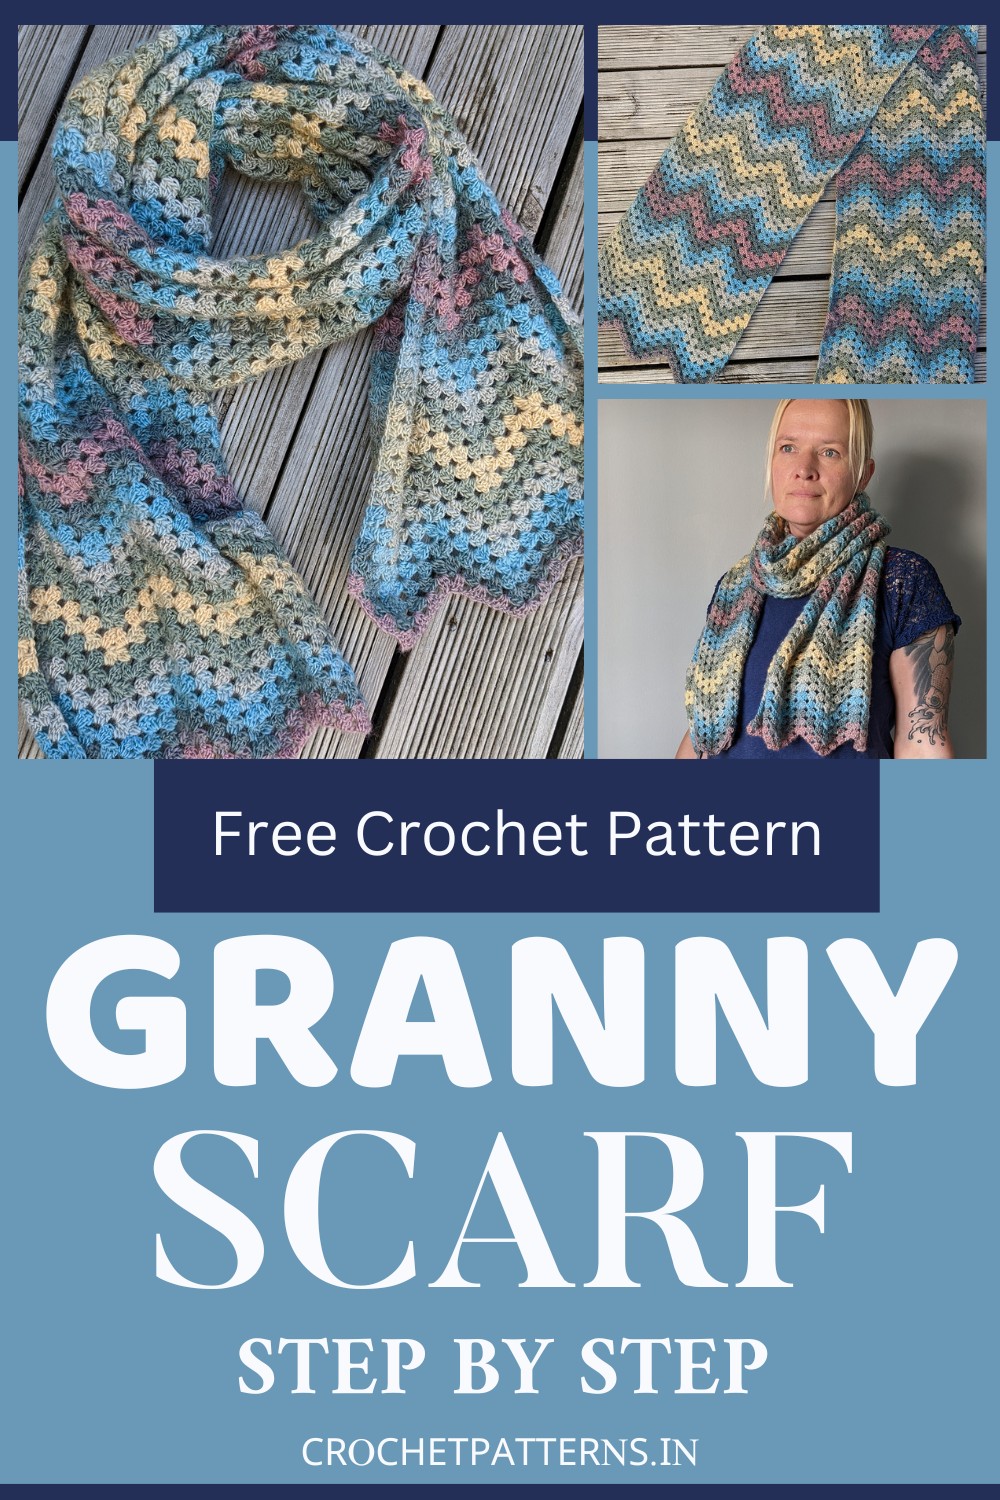
This Crochet Granny Scarf pattern is a marvel of textile craftsmanship, a dance of yarn brought to life through a symphony of loops and stitches. It's a testament to the beauty that can be woven from mere strands of fiber with only a hook and skilled hands. The subtle interplay of chain spaces and double crochet clusters creates a delightful texture that encourages one to touch and admire, a sensory celebration in every way. It’s a versatile pattern that, while being remarkably elegant, maintains a timeless simplicity. Truly, it's a privilege to behold the artistry embodied within this pattern. It tugs at nostalgia while also echoing a modern elegance, showcasing the ceaseless evolution of the art form that is crochet.
Crochet Granny Scarf Pattern

Yarn and Notions:
- Yarn: King Cole Riot Double Knit in shade 3351 Forest (or similar)
- Weight: Double knit / 3 lightweight or light worsted / 8-ply
- Composition: 30% wool, 70% premium acrylic
- Quantity: 3 balls (each ball 100g with 294 meters / 324 yards)
- Total Yardage: Approximately 880 meters / 970 yards
- Hook: 4mm / G-6
- Additional tools: Tapestry or darning needle to sew in ends
Pattern Notes:
- The pattern is written in US terminology.
- Stitch techniques used include double crochet and chain stitches.
Measurements:
- Width: 28 cm / 10.5 inches
- Length: 175 cm / 68 inches
Abbreviations:
- ch: chain
- chsp: space created by the chain in the previous row
- dc: double crochet
- dc3tog: For row 2: (yarn over, insert hook into the chsp, yarn over and draw up a loop, yarn over, pull through 2 loops), repeat over the following two stitches leaving 4 loops on your hook, yarn over and pull through all four loops.
- dc3cl: For row 3 and repeats: Working in the same chsp, yarn over, insert hook, yarn over, draw up a loop, yarn over, pull through 2 loops, repeat twice more leaving 4 loops on your hook, yarn over and pull through all four loops.
- (-): repeat the instructions between.
- (): work all the instructions in the same chsp.

Scarf Pattern:
- Start: Chain (ch) 81.
- Row 1: In the 5th chain from the hook, make a dc3tog.
- Skip 2 chains, chain 1 (ch 1), dc3tog in the next chain space (chsp), repeat 3 times, chain 2 (ch 2), dc3tog in the next, skip 2 chains, chain 1 (ch 1).
- Repeat the above sequence 3 times.
- After the final sequence, omit the last "skip 2 chains and dc3tog", and instead, do one double crochet (dc) in the very last stitch.
Instructions:
- Follow the pattern as outlined above.
- This pattern repeats the sequence detailed in Section 2 for creating the texture and length of the scarf. Each dc3tog and dc3cl creates clusters that develop the scarf’s unique pattern.
- Remember the repetitions and skips as they are essential for the pattern’s integrity and final appearance.
Additional Details:
- Please ensure that the final measurement aligns with the given measurements if the gauge is correct. Adjustments to hook size may be necessary depending on your personal tension.
Row 2:
- Start by creating a chain of 3 (ch3) which forms the first double crochet (dc).
- Now, working the stitches in the chain spaces (chsp's) across, execute a double crochet 3 cluster (dc3cl).
- (Chain 1 (ch 1), then do a group of 3 double crochets (dc3). Repeat this step twice. Then, chain 1 (ch 1).
- Create a central group: (Double crochet 3 (dc3), chain 2 (ch2), and double crochet 3 again (dc3) into the same chain space.
- Chain 1 (ch1), do a double crochet 3 (dc3). Repeat this step twice. Then, chain 1 (ch 1).*
- In the next two chain spaces (chsp), create a double crochet 3 cluster (dc3cl), which should be on either side of the two dc3tog or dc3cl from the last row.
Repeat the instructions enclosed in asterisks (*) three times, but omit the last dc3cl. Instead, do one double crochet (dc) into the top of the starting chain 3 (ch3) from the previous row.
Note: This row sets up the pattern for the body of the scarf. The middle group (dc3, ch2, dc3) creates a corner in the texture, with the chains and dc3cl adding spacing and additional texture.
Continue repeating row 3 working through your yarn to the end.
Finishing
It is up to you, but you may wish to block your cowl for a really neat finish; please refer to the yarn content to choose the correct method. There are lots of tutorials online or inquiry at your local yarn shop.


