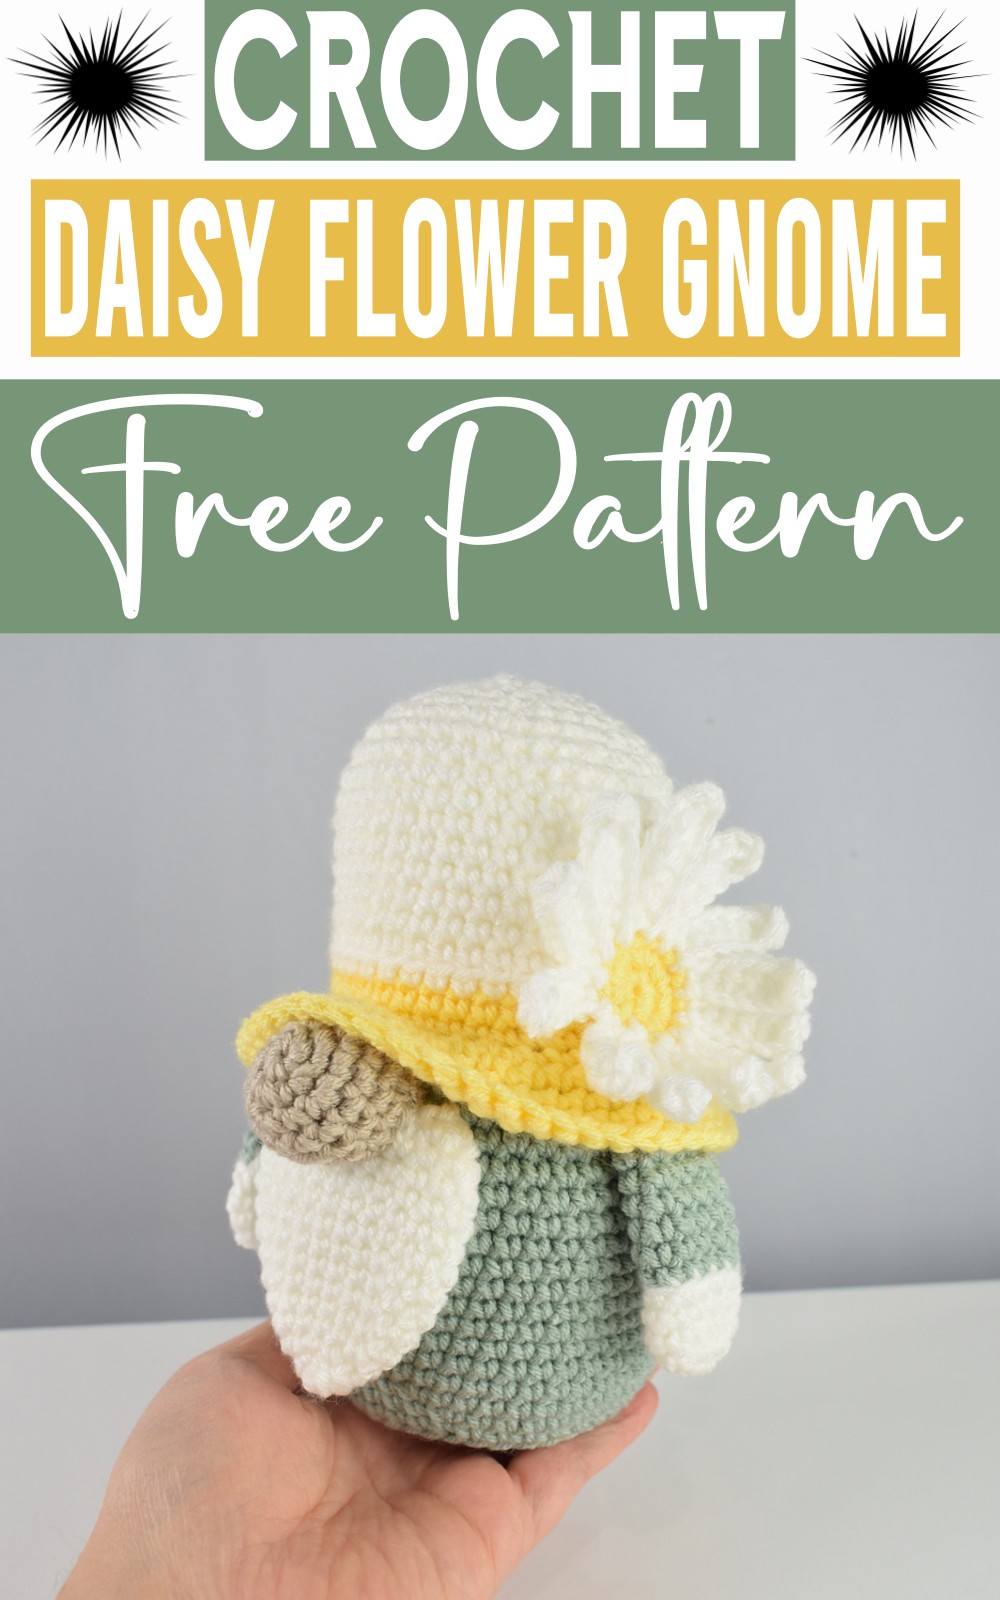
Here, we will show you a vibrant and adorable Crochet Daisy Flower Gnome pattern that's guaranteed to add a whimsical touch to your home or garden! This pattern offers a delightful opportunity to apply and enhance your crochet skills while creating something truly unique and eye-catching. The gnome features fresh hues of light mint and yellow, topped with a charming white hat decorated with a daisy appliqué. This easier pattern is equally suited for experienced crafters seeking a fun, quick project or beginners eager to dive into something new and exciting. With our easy-to-follow guide, you'll have your little gnome ready in no time.
Crochet Daisy Flower Gnome
Materials:
- Worsted weight yarn (Yarn Bee Soft and Sleek solids, 100% Acrylic, 5.0 oz/142 g, 232 yds/212 m) in the following colors:
- Light mint: 30-40 gr
- Light yellow: 10 gr
- White: 20 gr
- A small amount of Beige for the nose
- Crochet hook size 3.5mm/ US crochet hook size E
- Poly fiber fill for stuffing
- Tapestry needle
- A piece of cardboard (optional)
Finished Size:
- The finished size of the gnome is 16cm tall
Stitch Abbreviation:
- SC: single crochet
- DC: double crochet
- SS: slip stitch
- CH: chain
- Rep: repeat
- Dec: decrease
- Inc: increase
- MR: magic ring
- HDC: half double crochet
- FO: fasten off
- BLO: back loop only
Pattern Notes:
- The pattern is written in US crochet terms.
- Worked in one piece, starting from the base up to the hat.
- Worked in continuous rounds. Don’t join rounds unless indicated.
- Yarn weight affects the size of the gnome.
- Adjust hook size for tighter stitches if crocheting loosely.
- When stuffing, ensure it's firm to maintain shape, but don’t overstuff.
- For beginners, there are helpful guides available for amigurumi techniques.
Gnome Body:
- Base (with Light Mint yarn):
- Start with an MR, 6 SC into it.
- (Round details follow a similar increasing pattern, eventually reaching 48 SCs around by Round 22.)
- Switch to Light Yellow yarn after Round 24, and continue with specified stitch patterns.
- Switch to White yarn after Round 27.
- Hat:
- Begins at Round 26 with a specific increase pattern.
Beard:
- Starting with an MR, a series of SC and increases create a bearded shape extending down from the face.
Hands:
- Starting with White color yarn, small tubes are formed and later attached to the sides.
Nose:
- Begins with a Beige color in an MR and forms a small bulbous shape.
Daisy Applique:
- Start with Yellow yarn in an MR, 11 DC into it. Then SS to join into the 2nd CH.
- Switch to White for petals: Each petal involves CHs, HDCs, and an SC, repeating around for a total of 12 petals.
Assembly:
- Sew the beard just below the hat's brim.
- Attach the nose above the beard.
- Sew hands on either side of the body.
- Attach the Daisy applique onto the hat.