
The Beginner Crochet Granny Triangle Bandana is an absolute delight for every crochet enthusiast! Its design manages to be both timeless and trendy, perfectly marrying aesthetic charm and practicality. The result is a stunning accessory that adds a touch of wonderfully whimsical handmade elegance to any outfit.
Beginner Crochet Granny Triangle Bandana
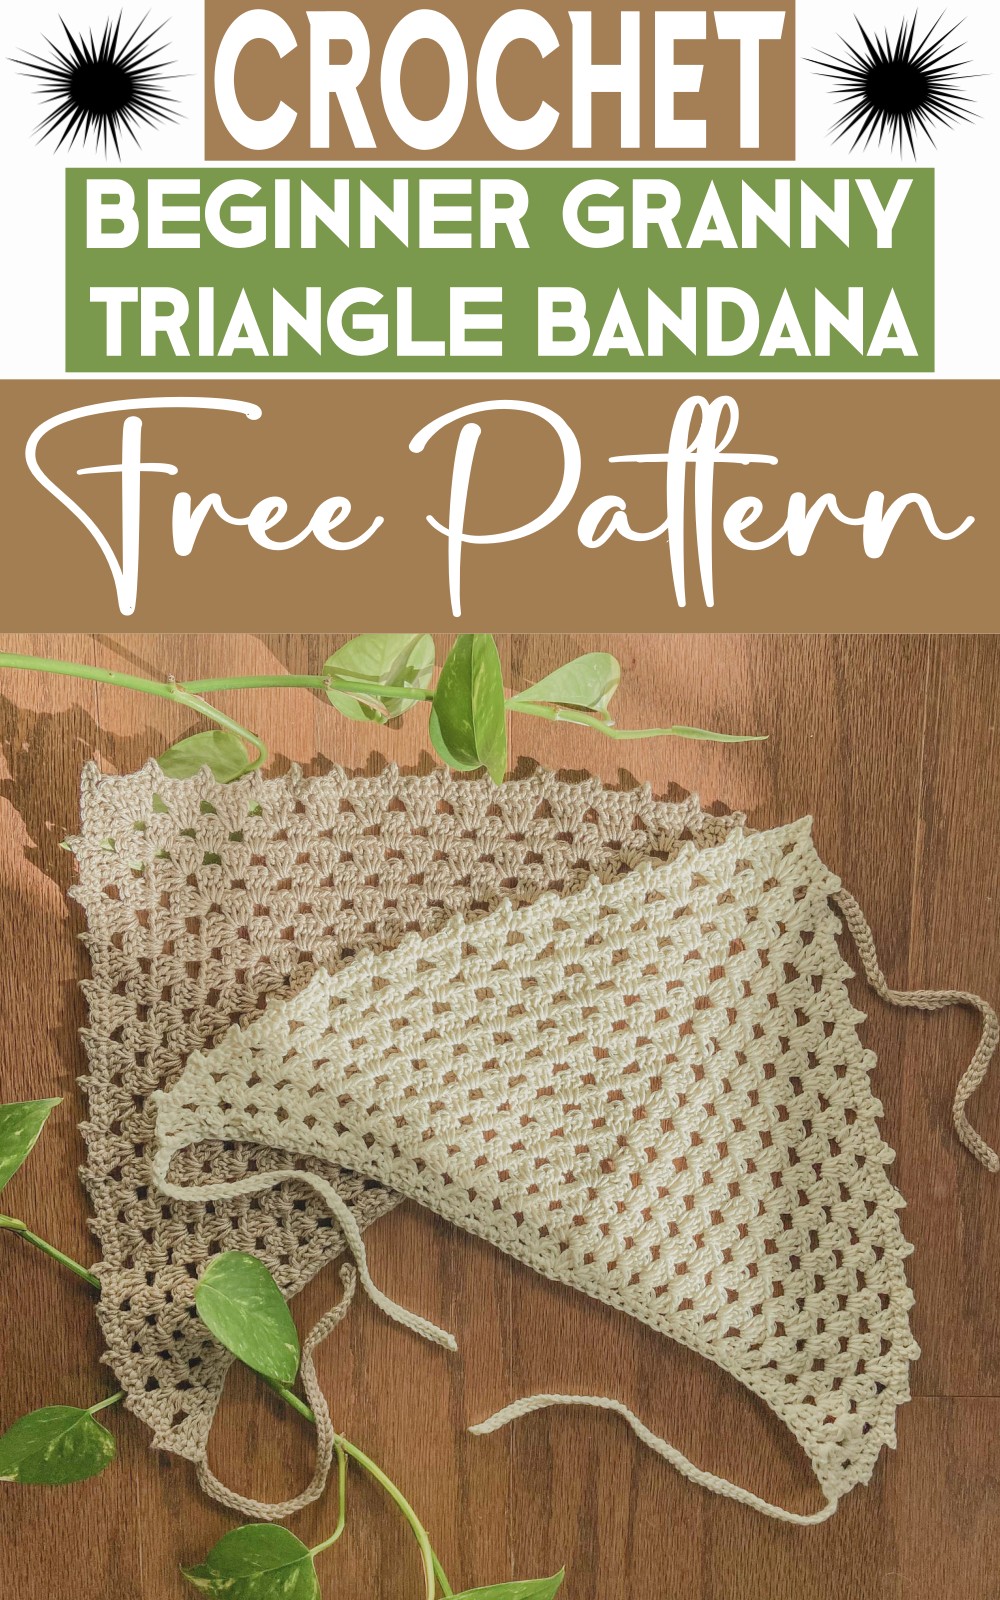
The clarity of instructions, paired with thoughtful stitch selections, makes this a perfect pattern for beginners while offering enough intrigue for more experienced crafters. It truly is a testament to how quality design can transform simple materials into an endearing, functional work of art, all the while adding a beautiful splash of creativity to the everyday!
Materials
- Fine (2) Yarn
- 3.5mm Hook
- Scissors
- Darning Needle
Stitches & Abbreviations
- Ch = Chain
- St(s) = Stitch(es)
- Sc = Single Crochet
- Dc = Double Crochet
- Sl st = Slip Stitch
Measurements
- Gauge: 4" x 4" square = 6 dc clusters wide x 6 dc clusters tall
- Size: 8 inches tall x 13 inches wide (not counting straps)
Pattern Notes
- This pattern uses US crochet terms.
- The turning chain 3 does count as a stitch!
Pattern
Autumn Breeze Bandana
Create a Magic Ring.
- Row 1: Ch 3 (counts as a double crochet stitch), work 2 dc into the ring, ch 3, work 3 more dc into the ring. Close your magic ring.
Row 2:
- Turn your work. Ch 3, work 2 dc into the first st, ch 1, work 3 dc in the top corner ch space, ch 3, work 3 dc in the same top corner ch space, ch 1, work 3 dc in the last st of the row.
Row 3:
- Turn your work. Ch 3, work 2 dc into the first st, ch 1, work 3 dc in ch space, ch 1, work 3 dc in the top corner ch space, ch 3, work 3 dc in the same top corner ch space, ch 1, work 3 dc into the ch space, ch 1, work 3 dc into the last st of the row.
- Row 4:
- Repeat the process from Row 3, adding another 3 dc into each new ch space that forms as the triangle expands.
Rows 5-15:
- Continue the pattern established in Row 4, always increasing the number of ch-1 spaces along the sides by one in every row and working the (3 dc, ch 3, 3 dc) into the top corner ch space for each row.
Continue until you have completed 15 rows, or however many you need for the size you're making.
Picot Edging
Row 1 of Edging:
- Turn your work. Ch 1 (does not count as a st), sc 3, ch 3, sl st into the 3rd ch from the hook, sc 4 (with one sc worked into the ch space).
- Ch 3, sl st into the 3rd ch from the hook, sc 4. Repeat between * * until the top corner ch space.
- In the top corner ch space: sc 1 in ch space, ch 3, sl st into the 3rd ch from the hook, sc 4 (with 1 sc in the top corner ch space).
- Repeat the ch 3, sl st into the 3rd ch from the hook, sc 4 until 3 sts remain.
- Sc in the last 3 remaining sts.
Ties
Creating the Ties:
- Without fastening off, ch 46. Sl st in the 2nd ch from the hook and into each ch until the end of the ch.
- Sc across the bottom of the bandana (no set number, just enough to get to the other edge).
- Ch 46 again, sl st in the 2nd ch from the hook and into each ch until the end.
- Work 1 sl st into the main body of the bandana to secure the tie.
Finish:
- Fasten off and weave in your ends.


