
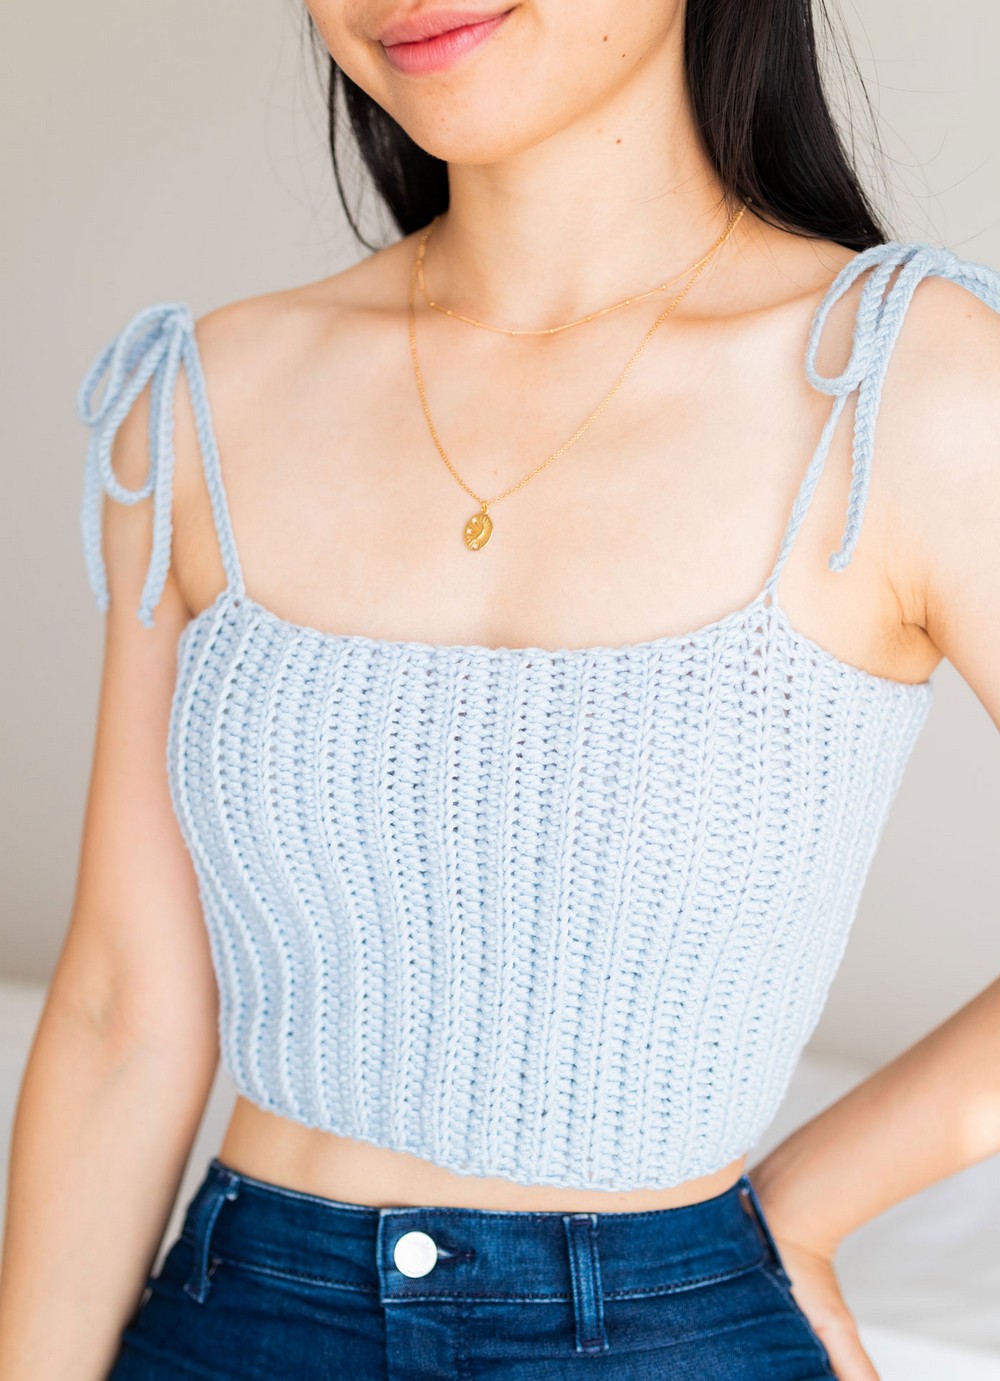
This crochet pattern for the Skylar Ribbed Crop Top is an example of the beauty of simplicity and elegance in crafting. The choice of yarn, especially the versatile Merino, lends this piece a softness and warmth that makes it perfect for any season. Its adaptable design ensures a flattering fit for various body types, making it a cherished addition to any wardrobe. This crop top pattern is not just a set of instructions but an invitation to create a piece of art that melds functionality with fashion in a seamless manner.
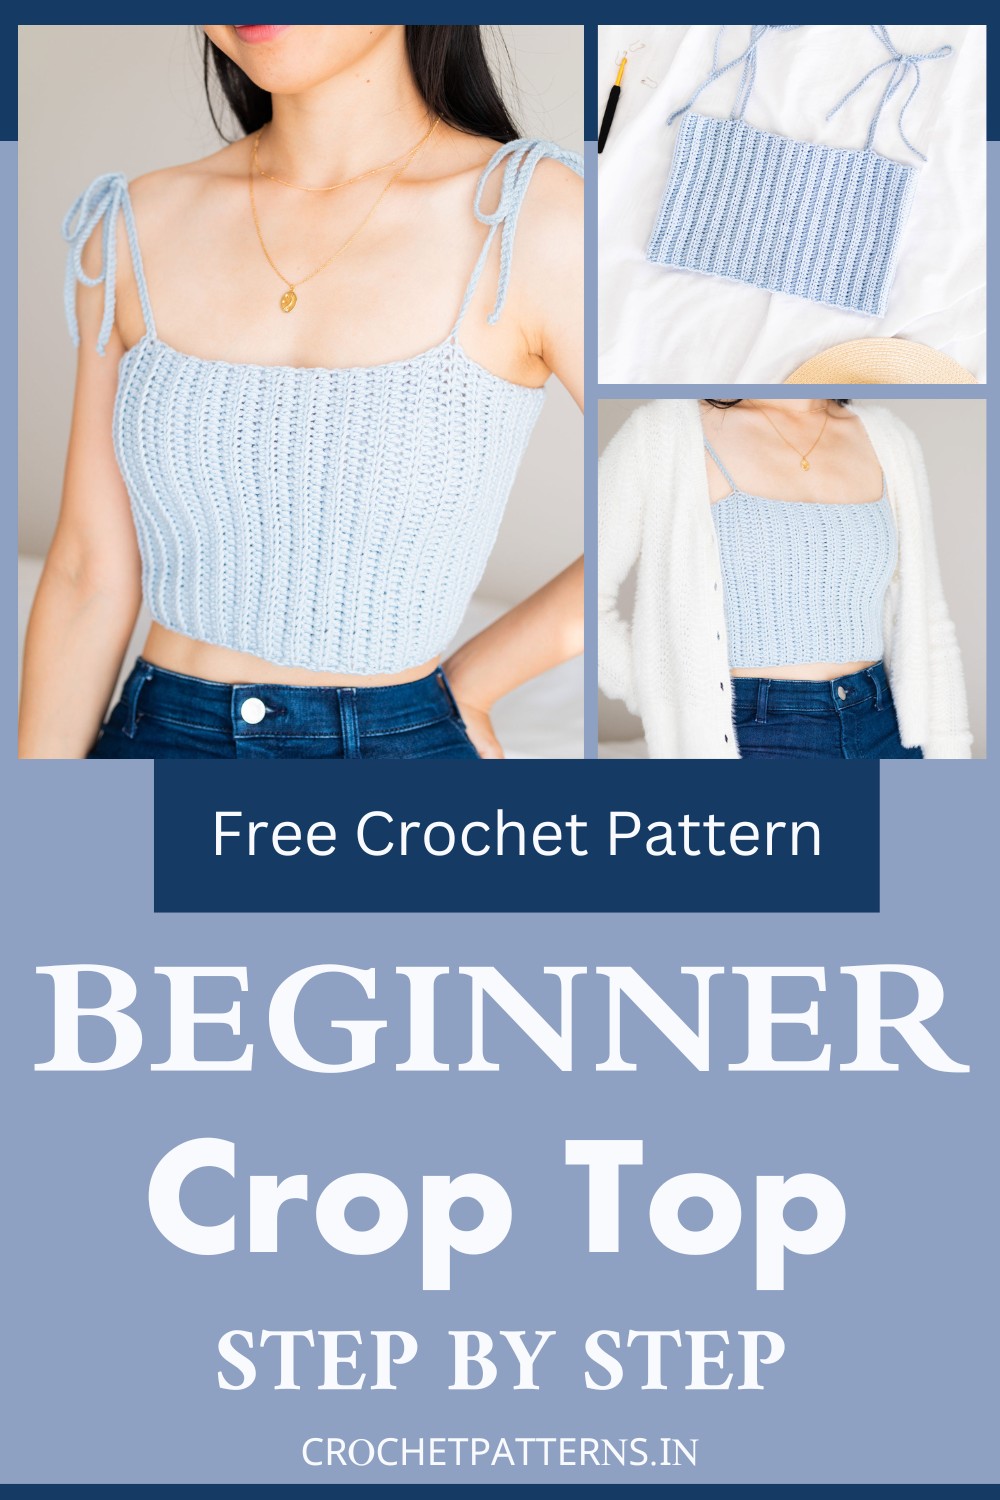
Crochet Beginner Crop Top Pattern
Materials Needed:
- Yarn: Drops Merino Extra Fine – DK/Light (3), 105m/50g, 155yds/1.8 oz. Color: Ice Blue (39). Amount approx. 110(135, 165, 210, 250, 300, 350)g.
- Crochet Hook: 5mm (US H)
- Darning Needle
- Scissors
- Safety Pins or Stitch Markers
Sizes (To Fit Bust):
- 76(86, 96, 106, 117, 127, 137)cm OR 30(34, 38, 42, 46, 50, 54) inches
- Width: 31(33, 38, 43, 48, 53, 58)cm OR 12(13, 15, 17, 19, 21, 23) inches
- Length: 21(23, 25, 28, 31, 33, 36)cm OR 8(9, 10, 11, 12, 13, 14) inches
Stitches & Abbreviations:
- Ch = Chain
- HDC = Half Double Crochet
- BLO = Back Loop Only
- St = Stitch
Gauge:
- 10cm/4” square = 19 stitches wide x 11.5 rows tall in BLO HDC
Pattern Overview:
Create a ribbed, straight-edge crop top using back loop half double crochets. The top is crafted by working flat pieces that are then seamed into a tube, with braided tie straps added.
Crop Top Body:
- Foundation Chain: Ch 41(46, 51, 56, 61, 66, 71).
- Row 1: HDC into the 2nd ch from hook, then HDC in each st to the end, turn.
- Row 2: Ch 1, HDC in BLO in each st to the last, HDC in last st, turn. Repeat your st count from Row 1.
- Repeat Row 2: Until your piece measures your desired length, around 61(66, 76, 86, 97, 107, 117)cm or match to your waist measurement.
Assembly:
- Sew the panel ends together to form a tube. For a neat seam, stitch back loops only.
- Fit the top and mark strap placement with pins or markers about 7cm/2.5" from the edges.
Straps:
- Cut 3 yarn strands at 150(150, 157, 157, 165, 165, 172)cm.
- Fold strands at their midpoint and loop through the marked points on the top, creating 6 equal strands.
- Separate into 3 sets of 2 strands.
- Braid the strands until about 50(50, 55, 55, 60, 60, 65)cm long or till 5cm/2" of yarn remains.
- Tie a knot at the end and trim excess yarn.
Notes:
- Customize length by adjusting the foundation chain or row repeats.
- Use a yarn with a bit of stretch for a comfortable fit.
- Your top might stretch out a bit after wearing, depending on the yarn choice.


